
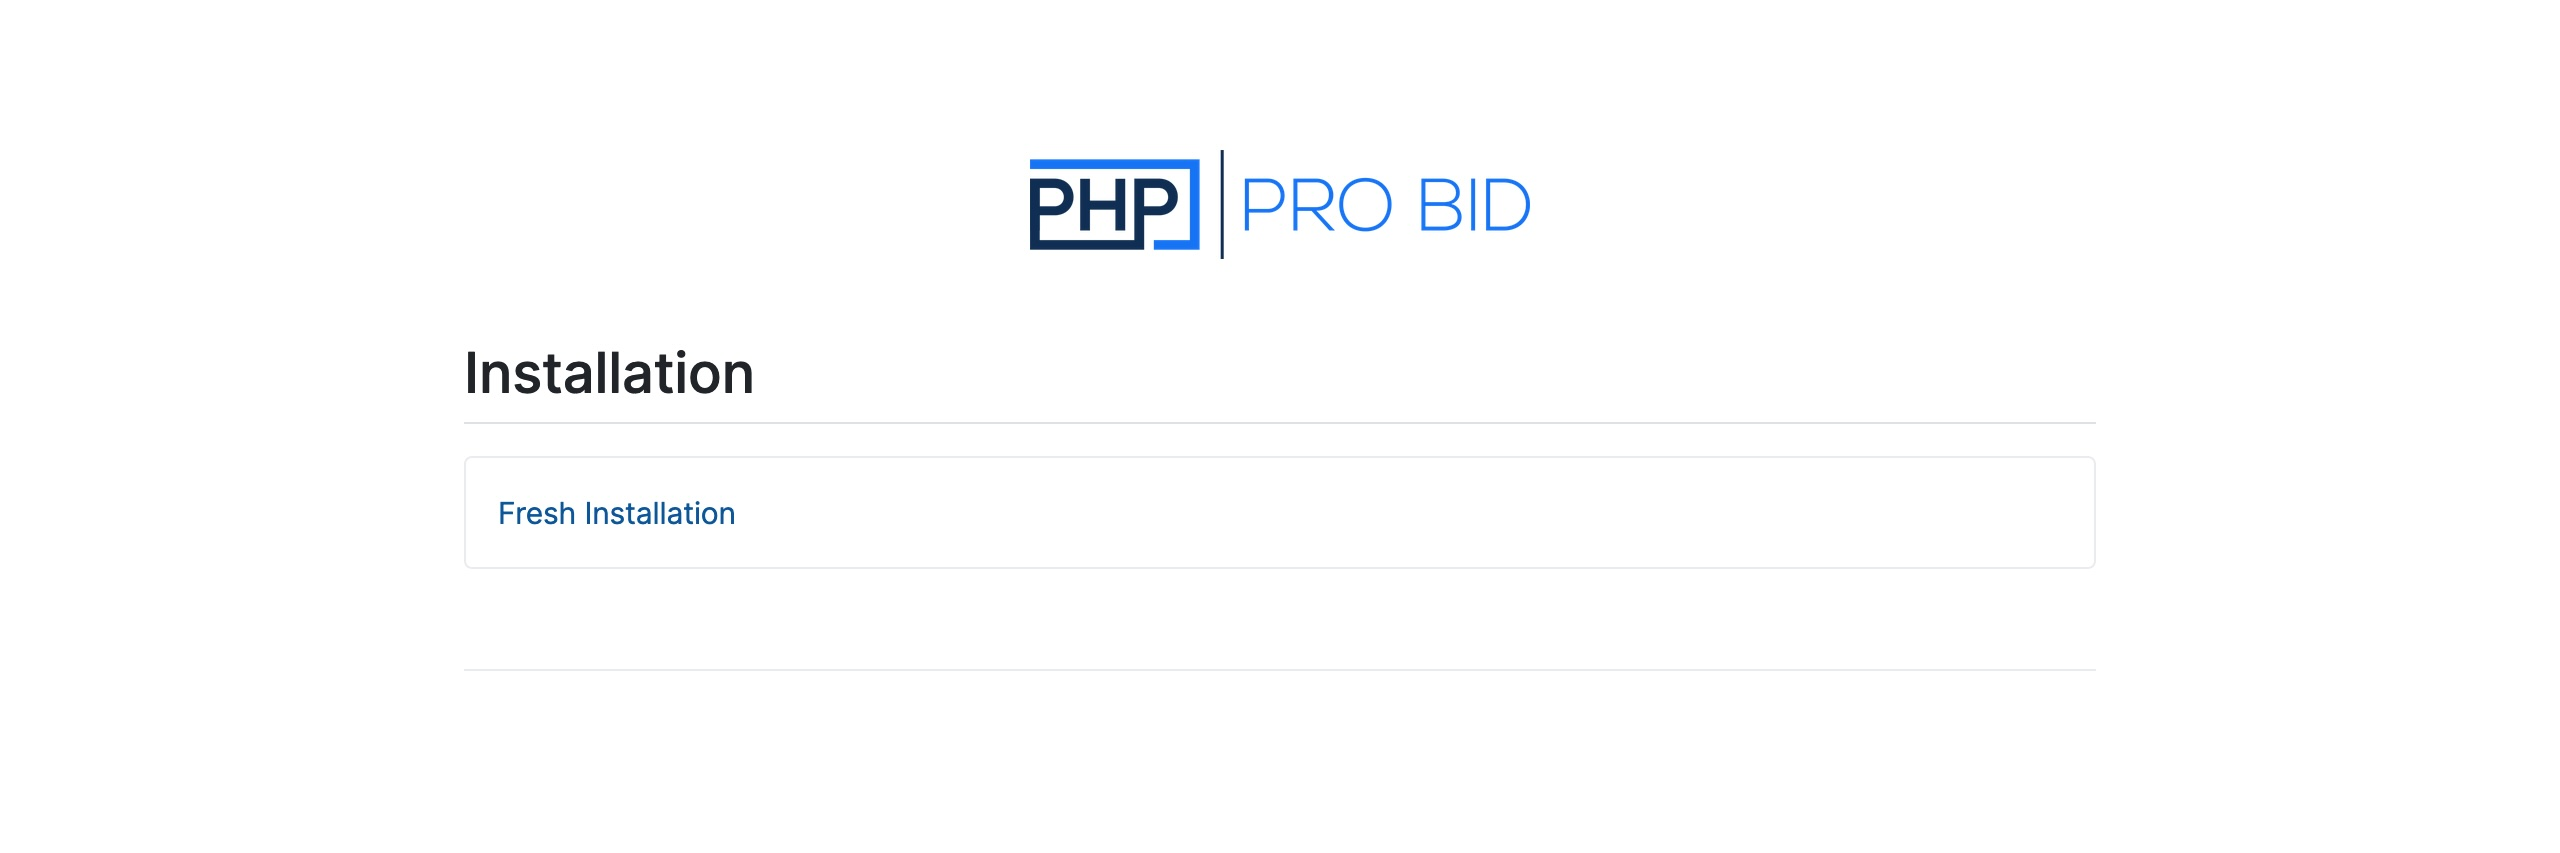
Fresh Installation
Bought a license and not sure how to install the software? You're in the right place. This guide walks through a clean install of PHP Pro Bid v10 on your own server, from downloading the kit to the confirmation screen. The installer is a three-step wizard, and it checks your server for you before it writes anything.
Before you start
You'll need three things ready:
- Your PHP Pro Bid client account username and password (used once, to verify your license).
- A web server with PHP and MySQL/MariaDB, and the ionCube Loaders installed — the installer confirms these for you in Step 2.
- An empty database with a user that has full privileges on it.
Download & upload the files
- Download the V10 Kit zip file from the client area.
- Unzip the files on your computer.
- Upload the files to your
public_htmlfolder (or a subfolder, if you want the site to live under a path). - Open the URL in your browser. The installation page loads automatically.
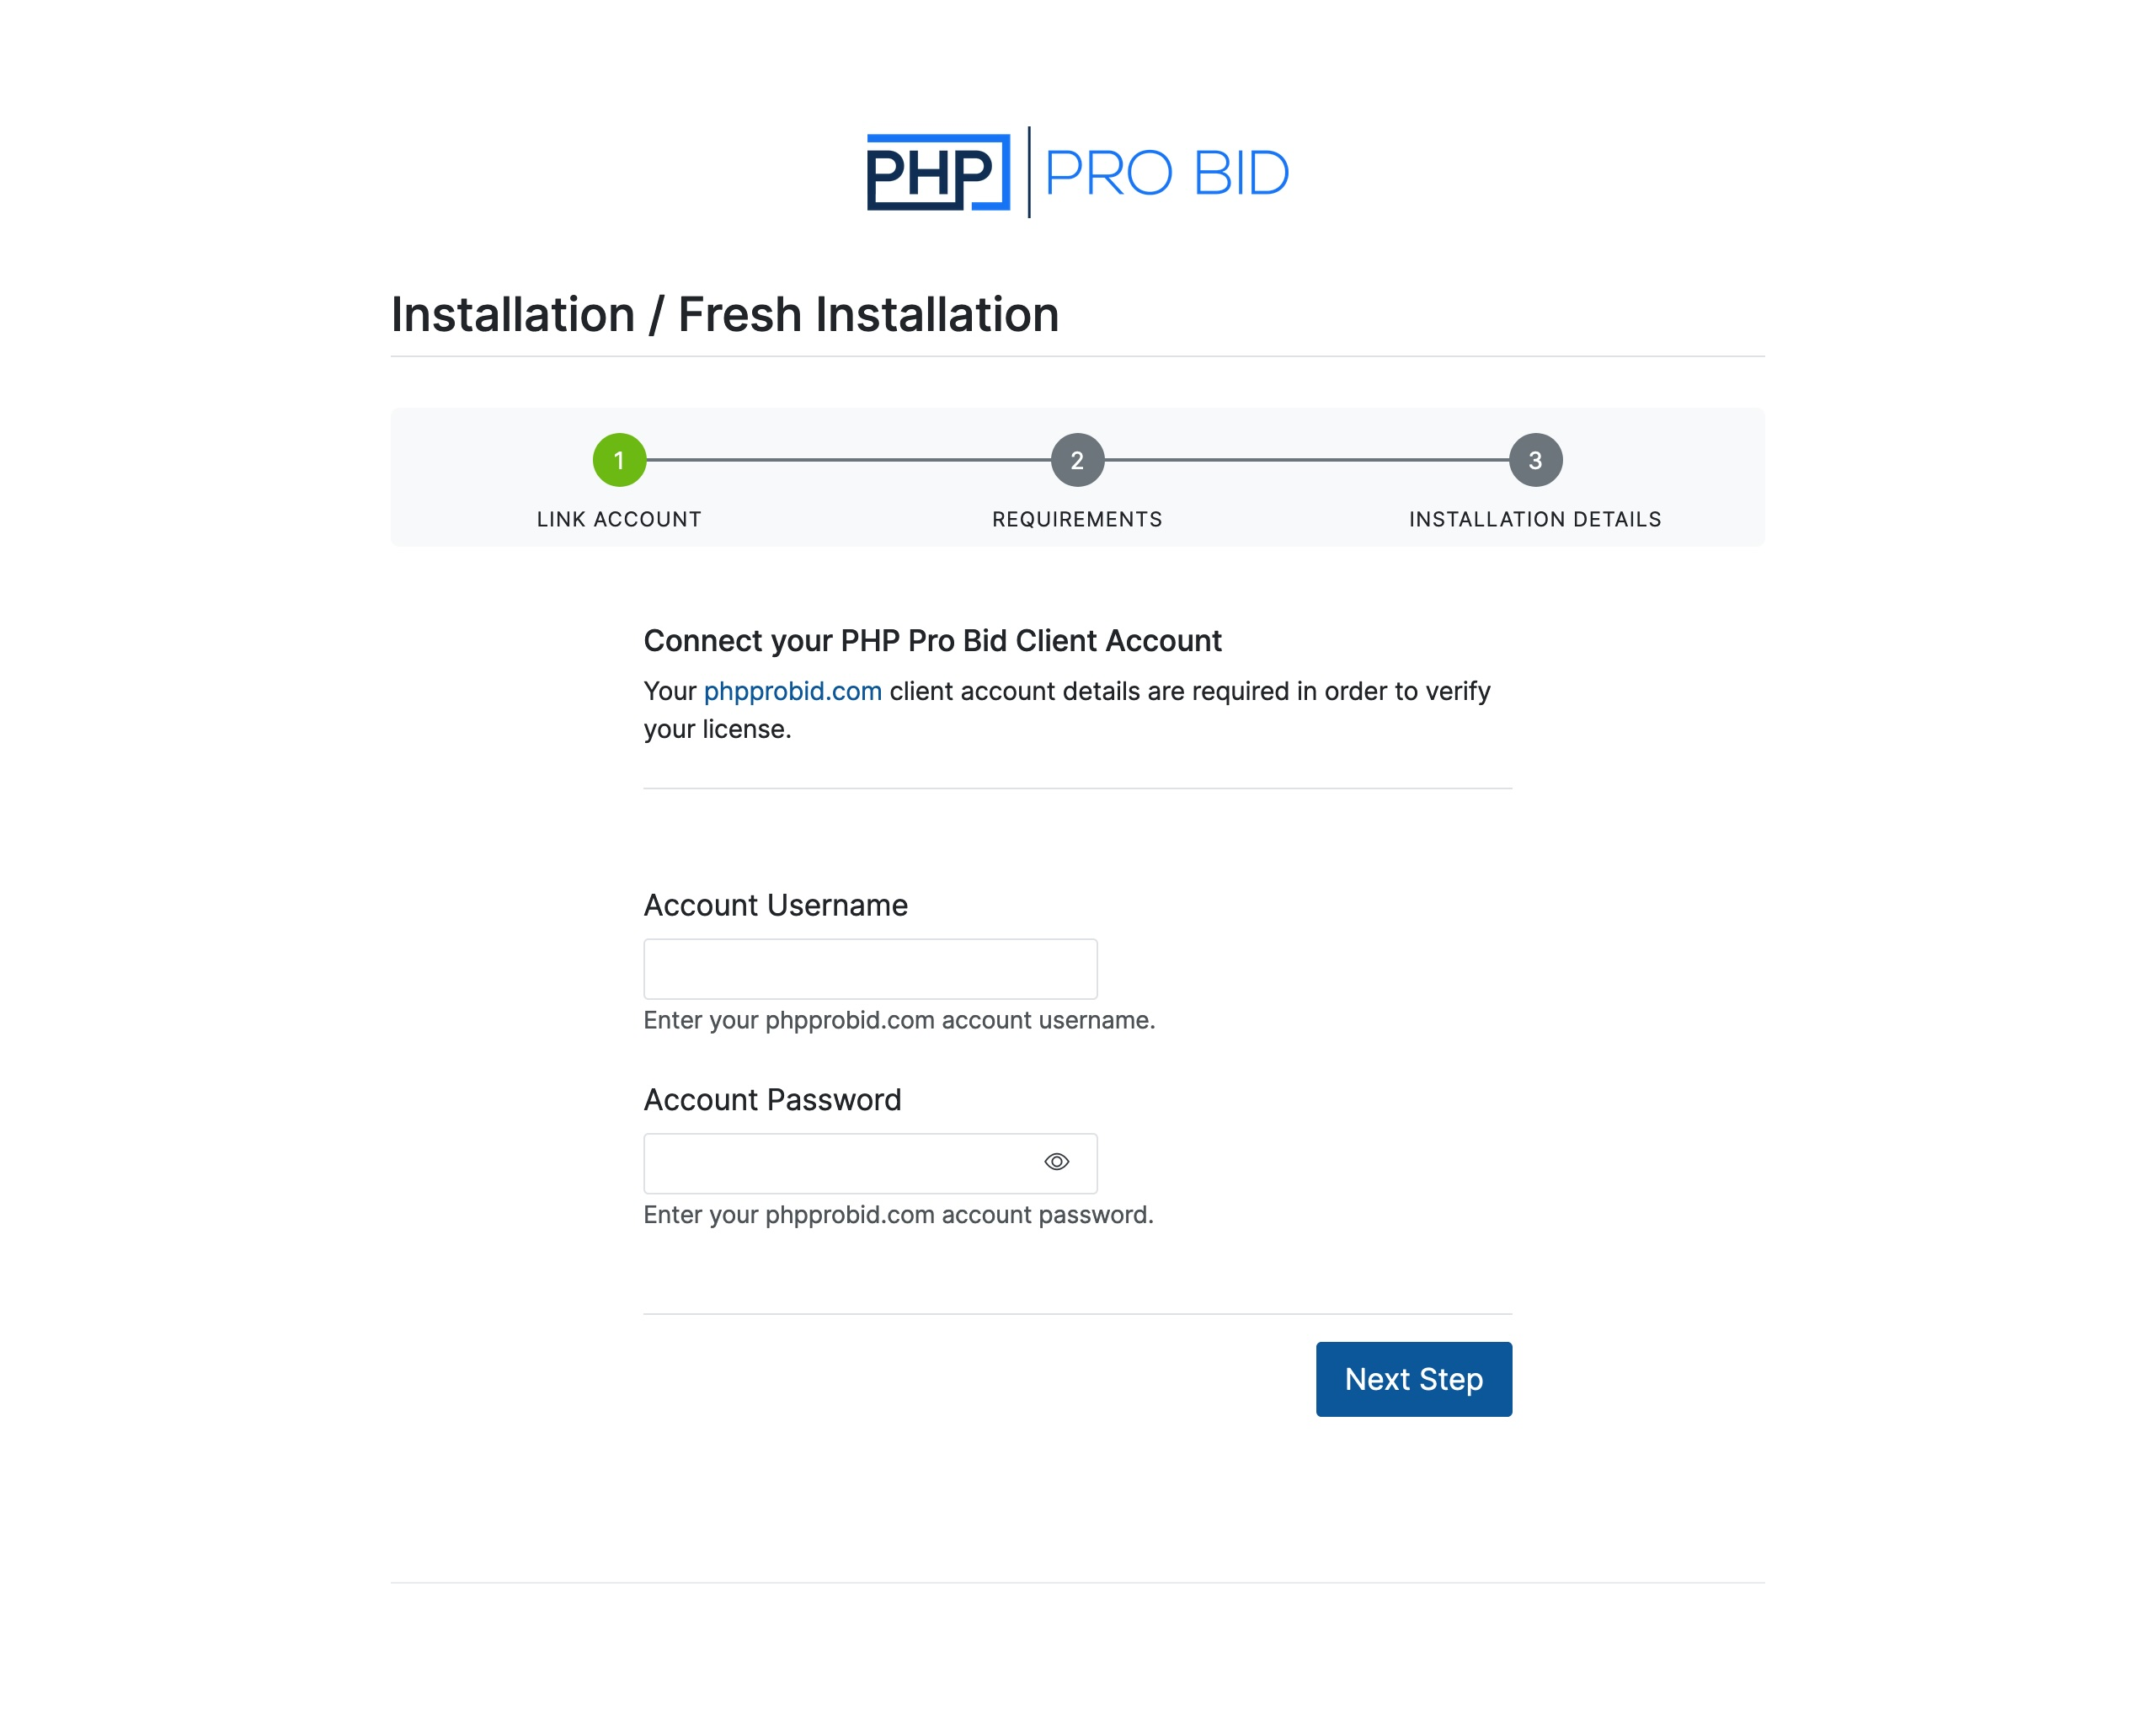
Step 1 — Link Account
Enter the username and password for your phpprobid.com client account. These are used only to connect to our API and verify your license — your password is not saved on your installation. Click Next Step to continue.
Step 2 — Server Requirements
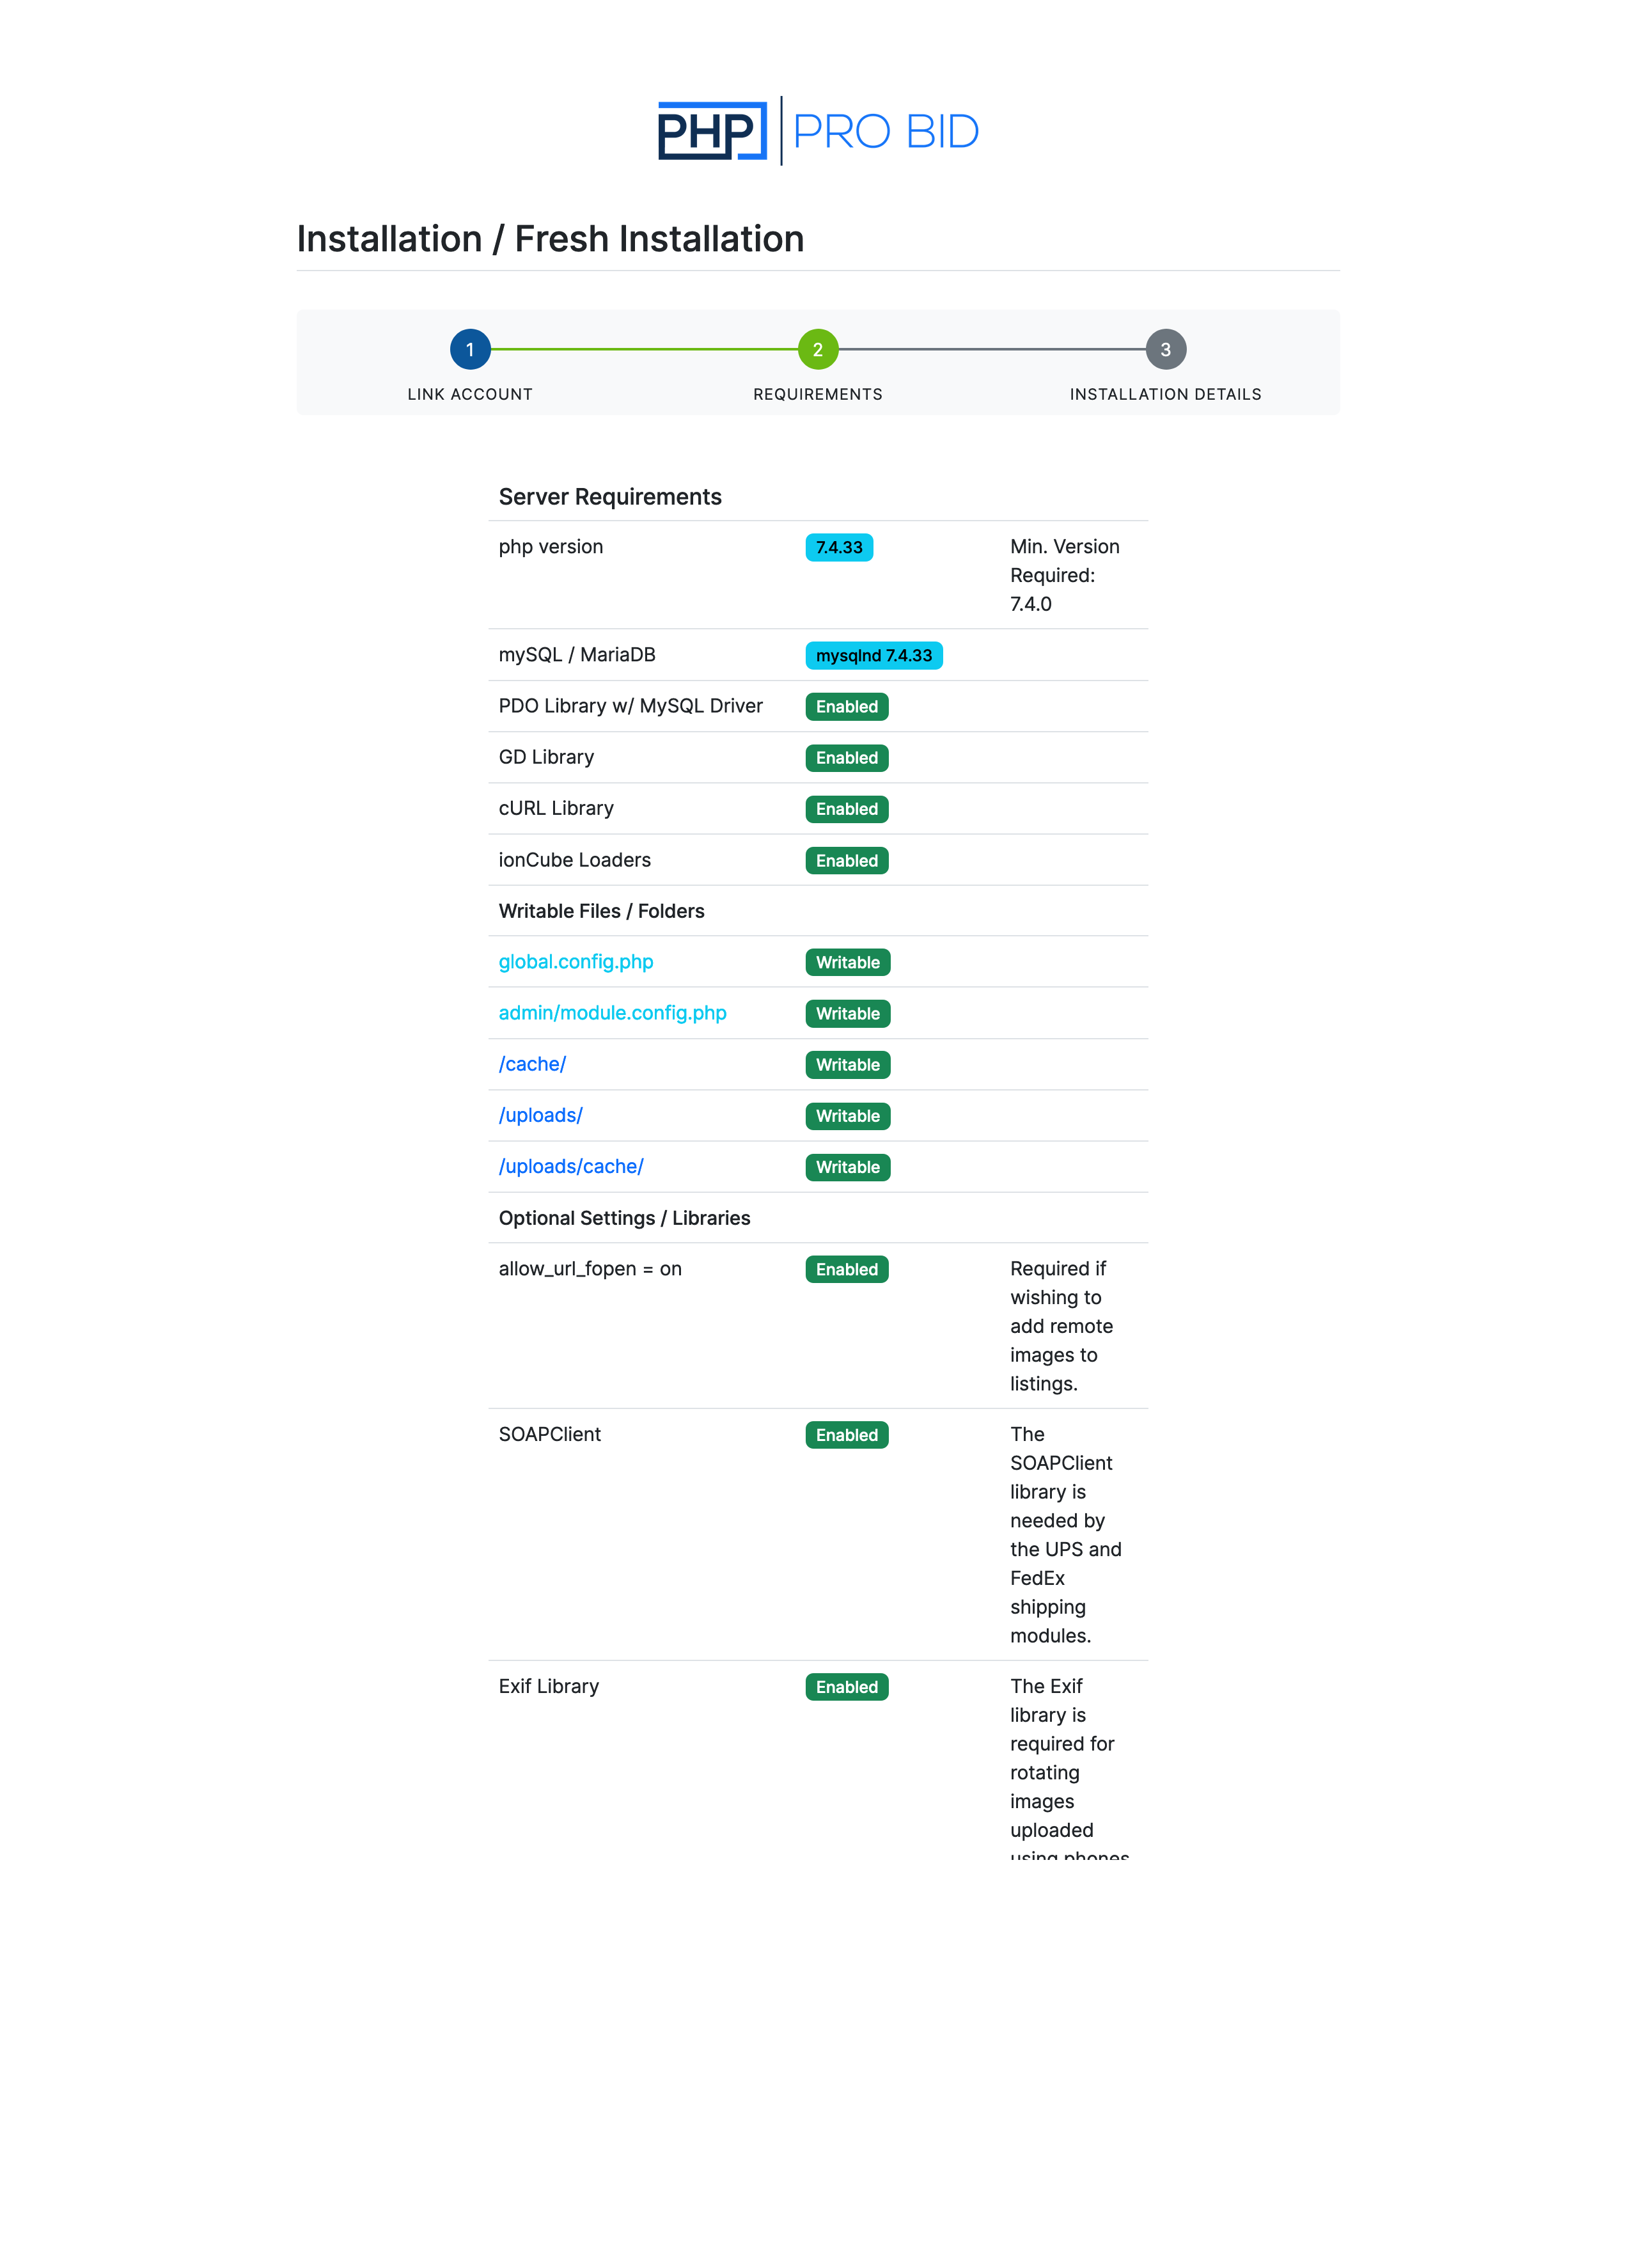
The installer checks your server automatically and only continues if every required item passes. If something fails, fix it on your server (or ask your host) and refresh the page.
The checks are grouped into three parts:
- Server requirements — PHP, MySQL/MariaDB, the PDO MySQL driver, the GD library, cURL, and the ionCube Loaders. These are mandatory.
- Writable files & folders —
global.config.php,admin/module.config.php,/cache/,/uploads/and/uploads/cache/must be writable so the installer can save your settings. - Optional settings & libraries — not required to install, but each unlocks a feature:
allow_url_fopen— needed to add remote images to listings.- SOAPClient — needed by the UPS and FedEx shipping modules.
- Exif — rotates images uploaded from phones and tablets.
- cURL — used by the USPS and Australia Post shipping modules.
When everything required shows as enabled, click Next Step.
Step 3 — Installation Details
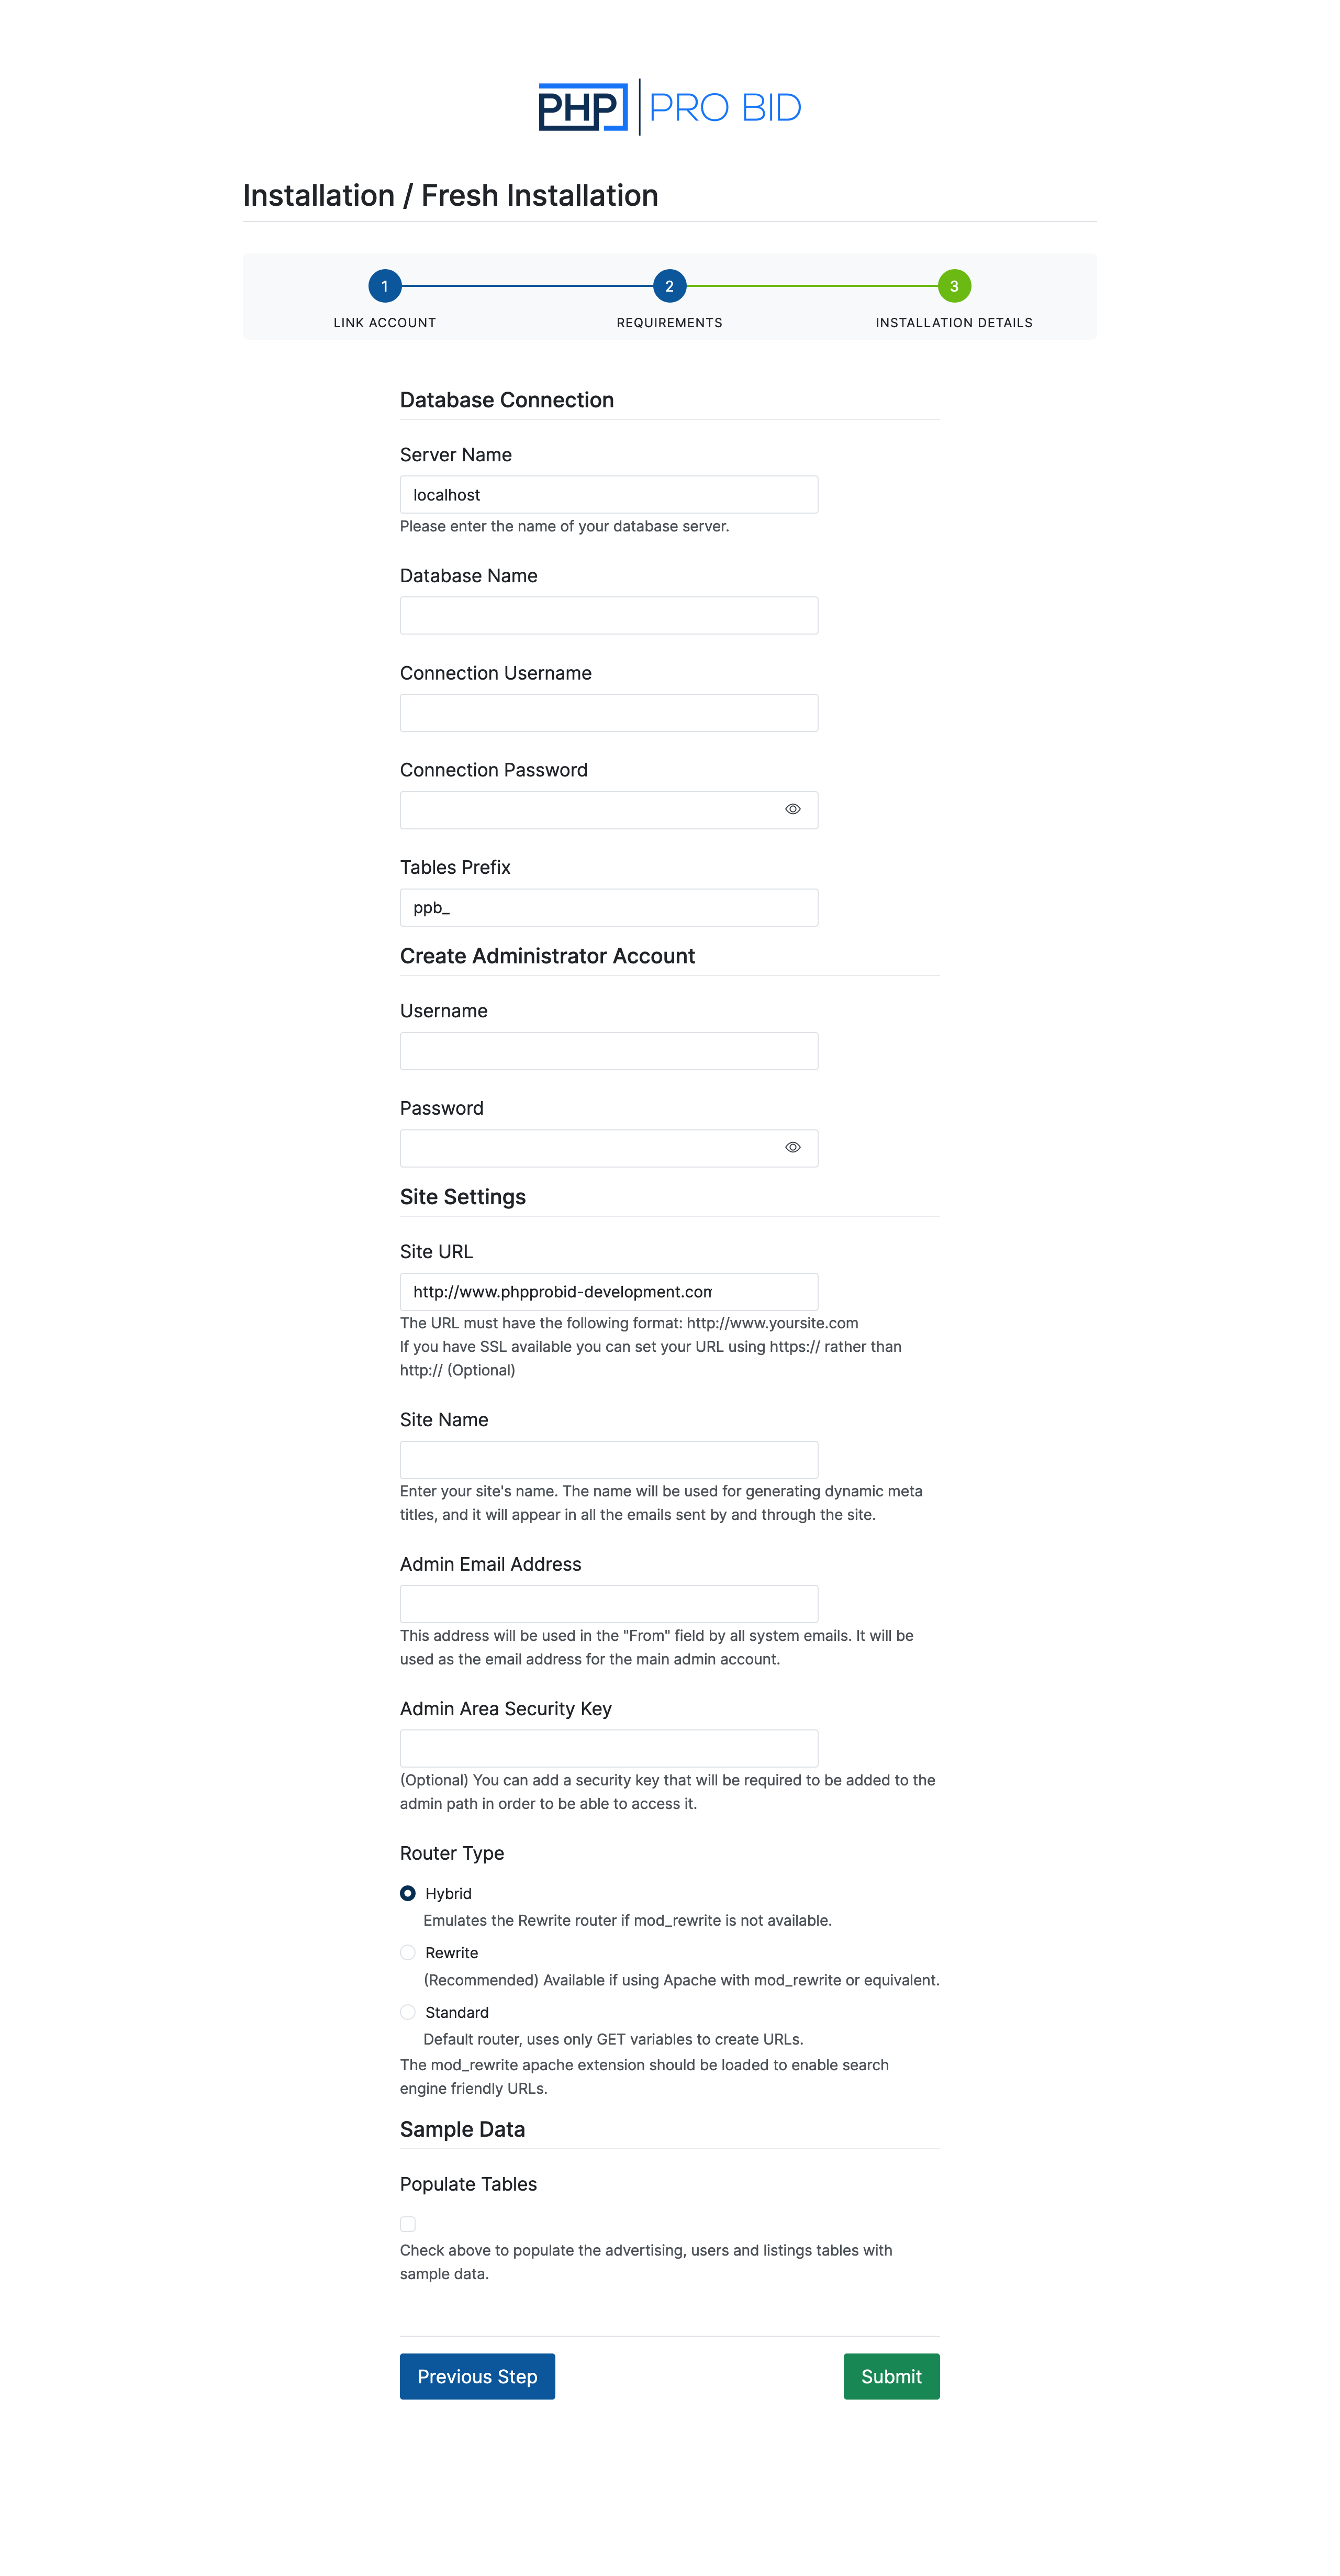
This is the main configuration screen. Fill in each section:
Database Connection
- Server Name — usually
localhost. - Database Name — the empty database you created.
- Connection Username and Connection Password — the database user with access to it.
- Tables Prefix — defaults to
ppb_. If the database already contains PHP Pro Bid tables from another installation, enter a different prefix to keep the two sets apart.
Create Administrator Account
- Username and Password — the login for your main admin account. You'll use these to reach the admin control panel after installing.
Site Settings
- Site URL — the address of your site, in the format
http://www.yoursite.com. If you have SSL, usehttps://instead. - Site Name — used to generate page titles and appears in the emails your site sends.
- Admin Email Address — the "From" address for all system emails, and the contact for the main admin account.
- Admin Area Security Key (optional) — an extra key that must be added to the admin path before the admin area will load.
- Router Type — Rewrite is recommended if your server runs Apache with
mod_rewrite(it produces search-engine-friendly URLs). Hybrid falls back automatically when rewrite isn't available; Standard uses plain query-string URLs. - Populate Tables (optional) — tick this to load sample advertising, users and listings so you can see how a populated site looks. Leave it unticked for a clean start.
When the form is complete, click Submit.
Finishing up
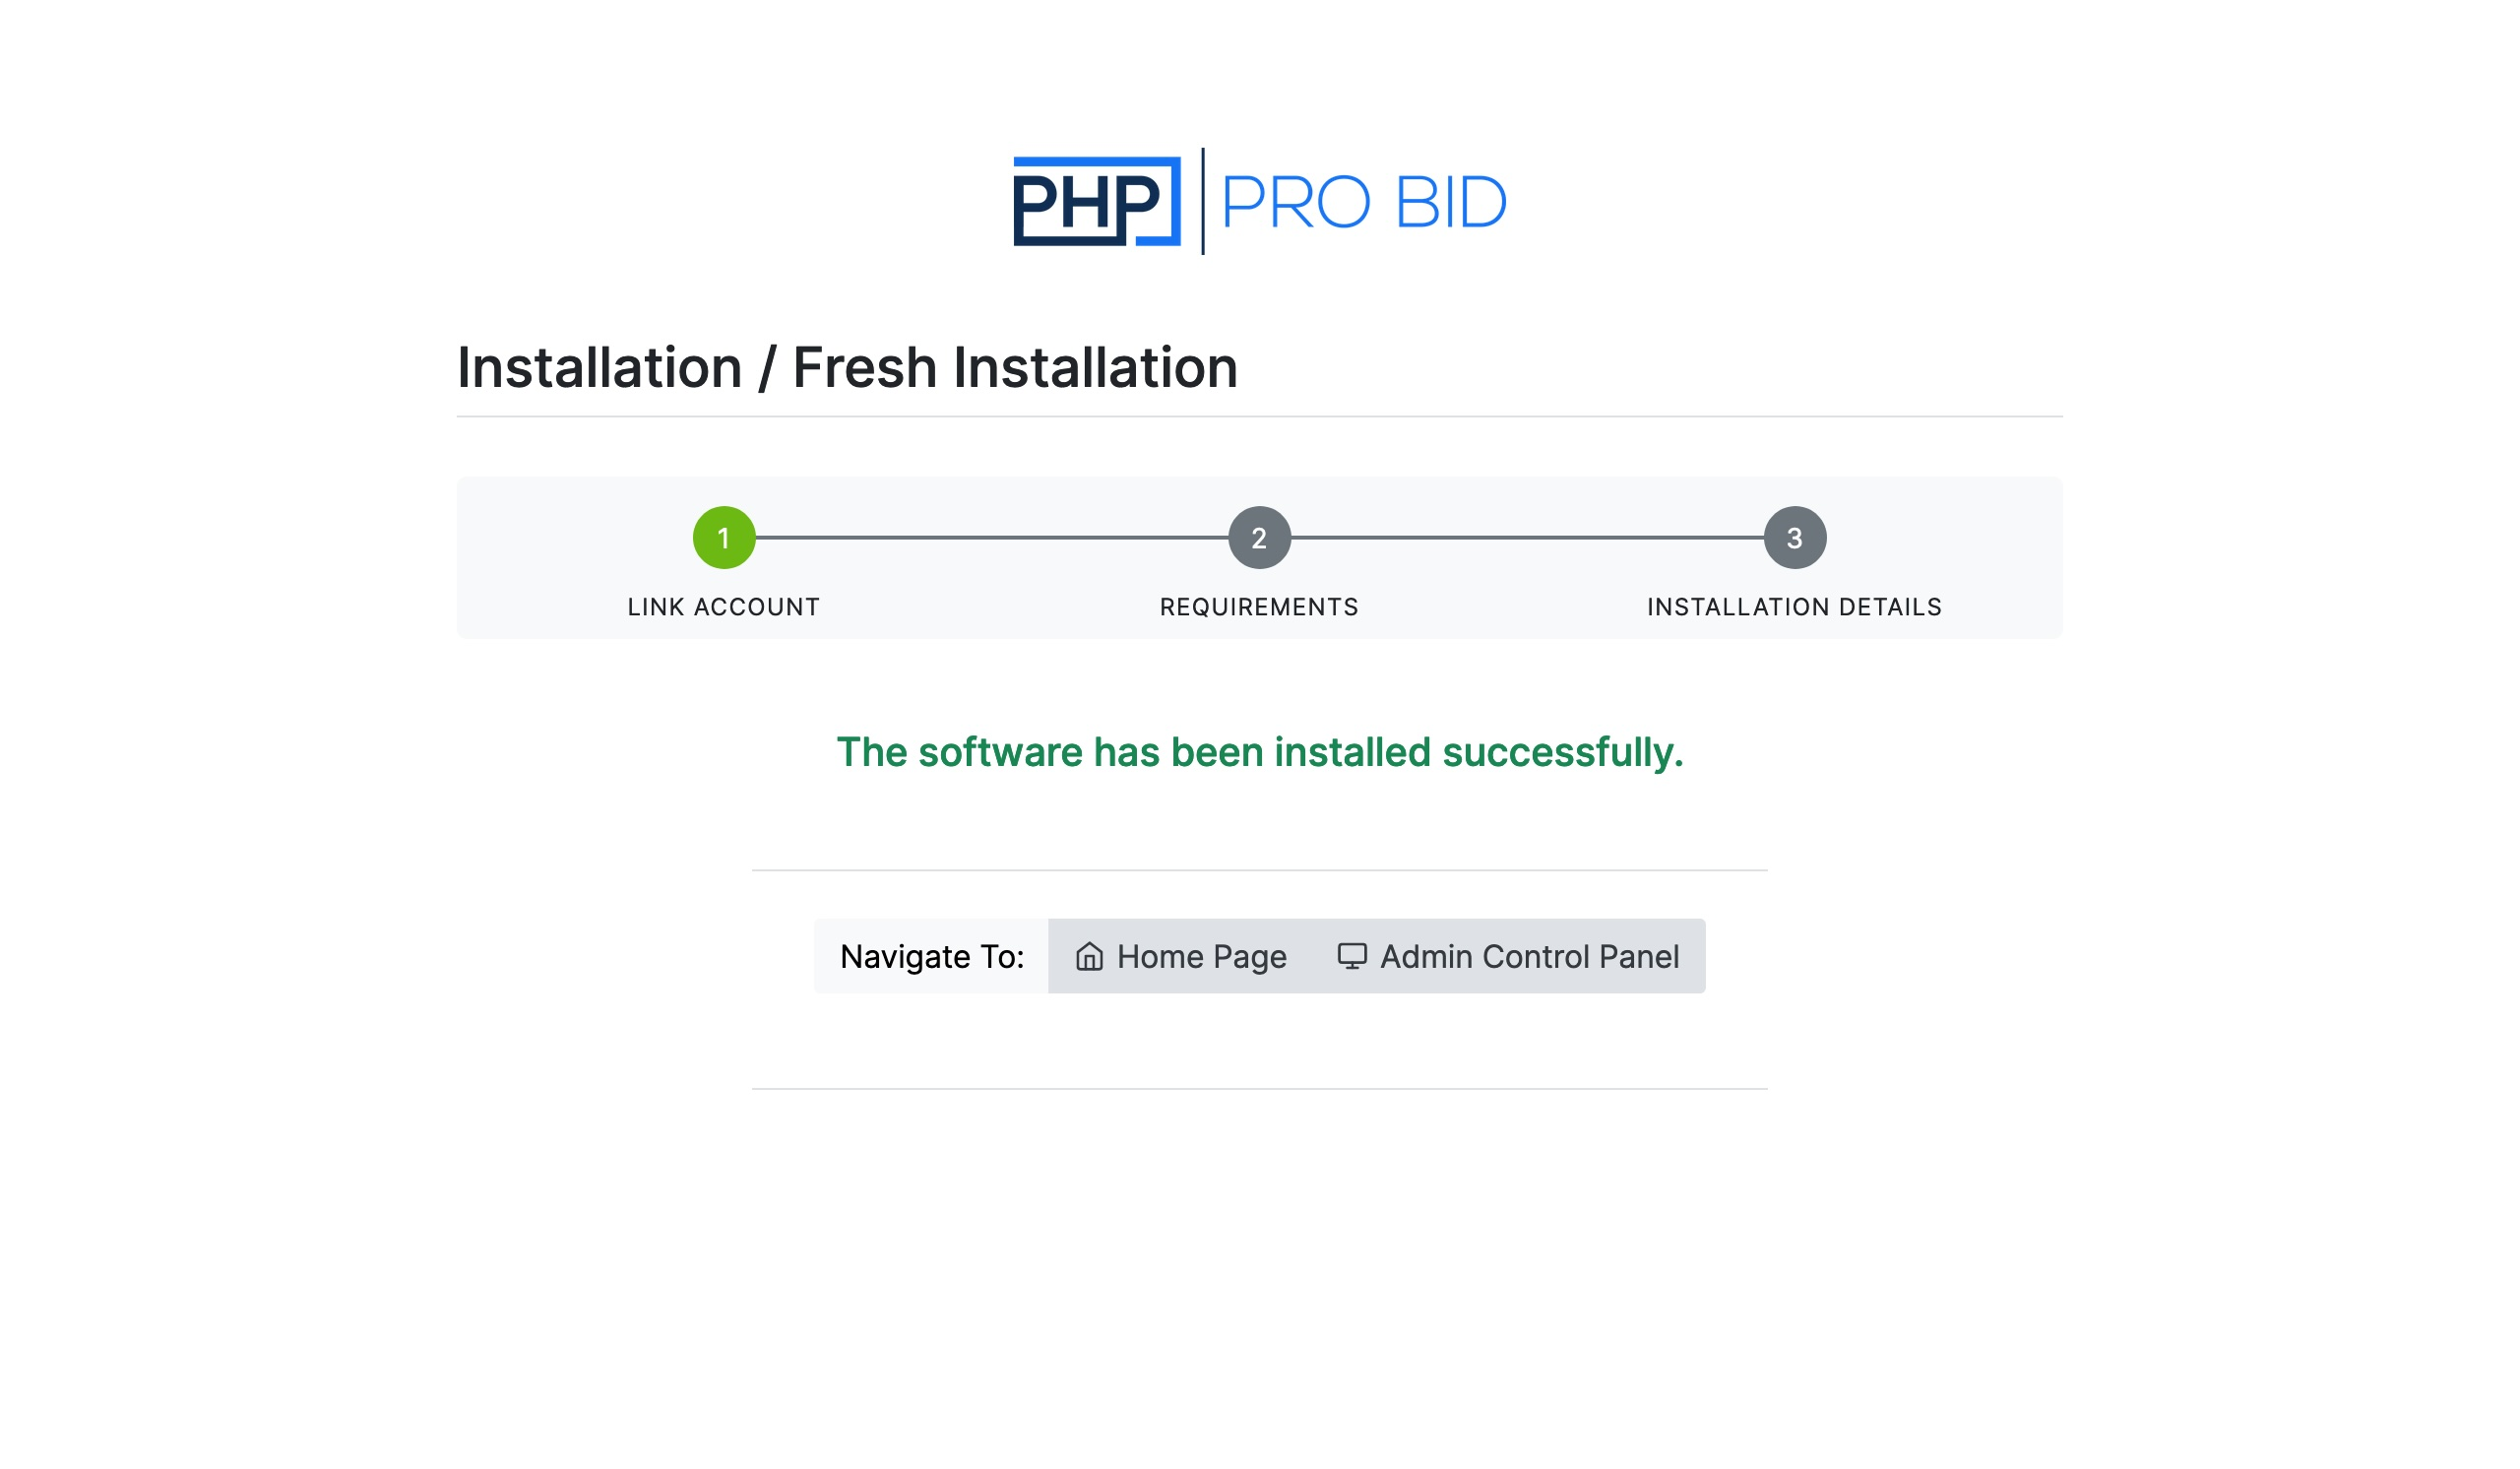
If everything checks out, you'll see the success screen. The software is installed and ready to use — from here you can jump straight to your Home Page or the Admin Control Panel.
If the installer reports an error instead, correct the issue it names and run the installation again. If you're stuck, open a support ticket and we'll help you through it.
Security tip: once the site is live, delete the install/ folder from your server so
the installer can't be run again.