
Event Lots
Adding a Lot
After creating an event, click Add Lot on the Manage Event page. This opens the standard Create Listing form, but with the event details locked in at the top.
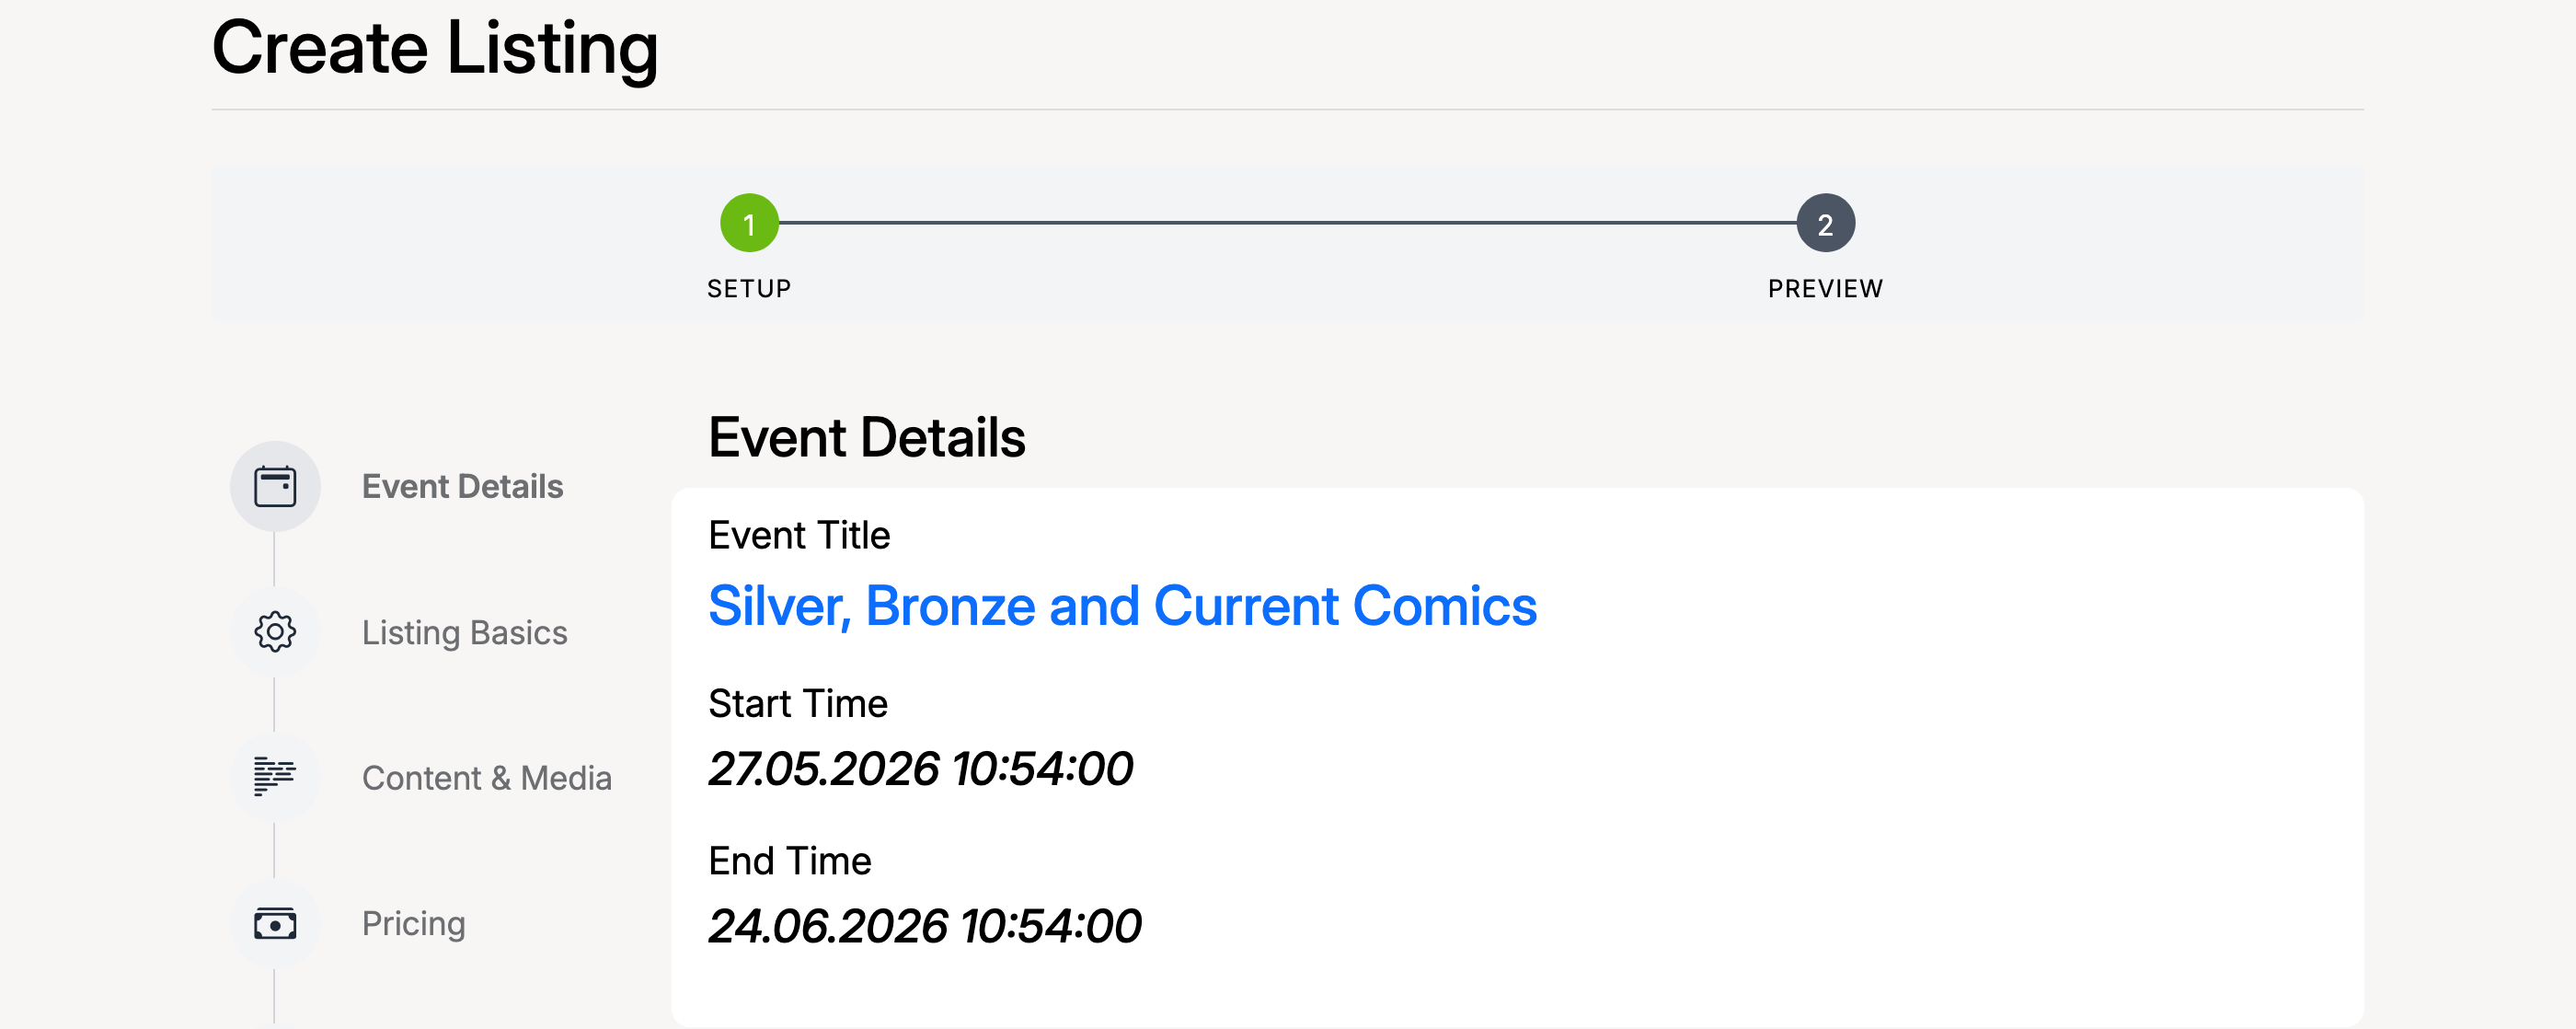
Event Details
The first section shows which event the lot belongs to, including the event title, start time, and end time. These are inherited from the event and cannot be changed here.
Listing Basics
Below the event details, fill in the lot’s listing basics — the same fields as a standard listing.
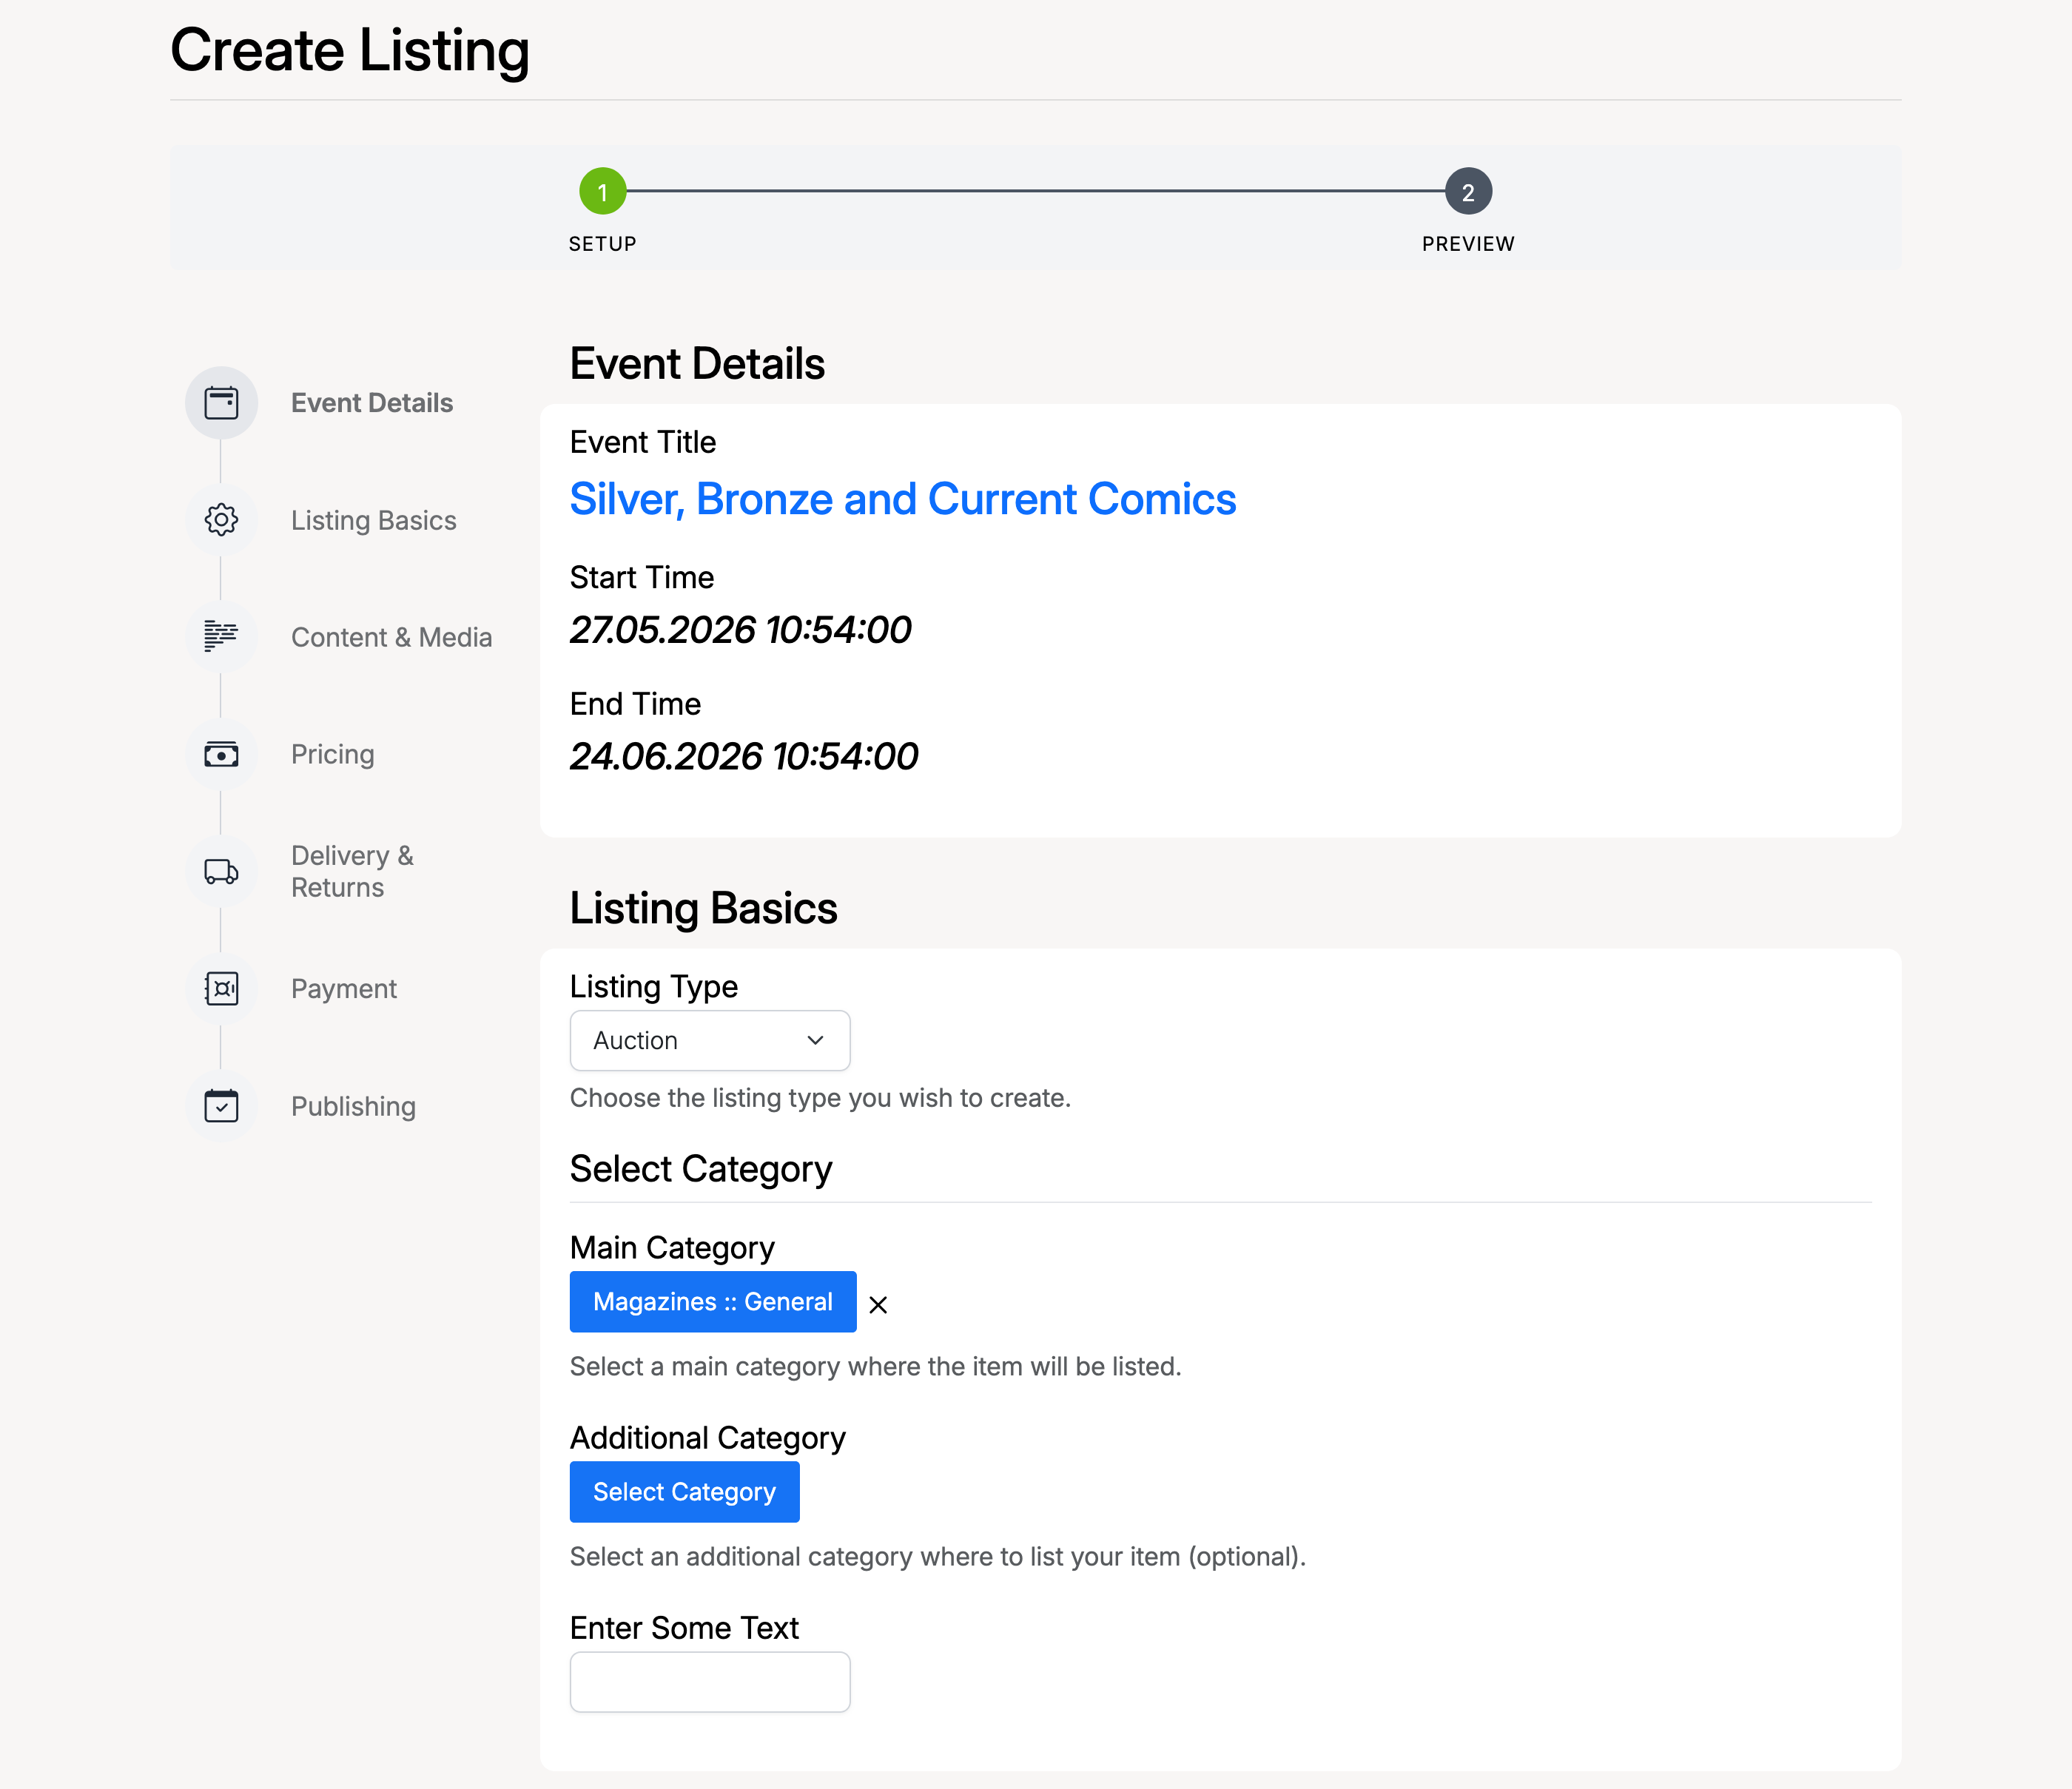
- Listing Type — select Auction, Product, or Classified for this lot.
- Main Category — the category for this individual lot (can differ from the event category).
- Additional Category — optionally list the lot in a second category.
Content & Media
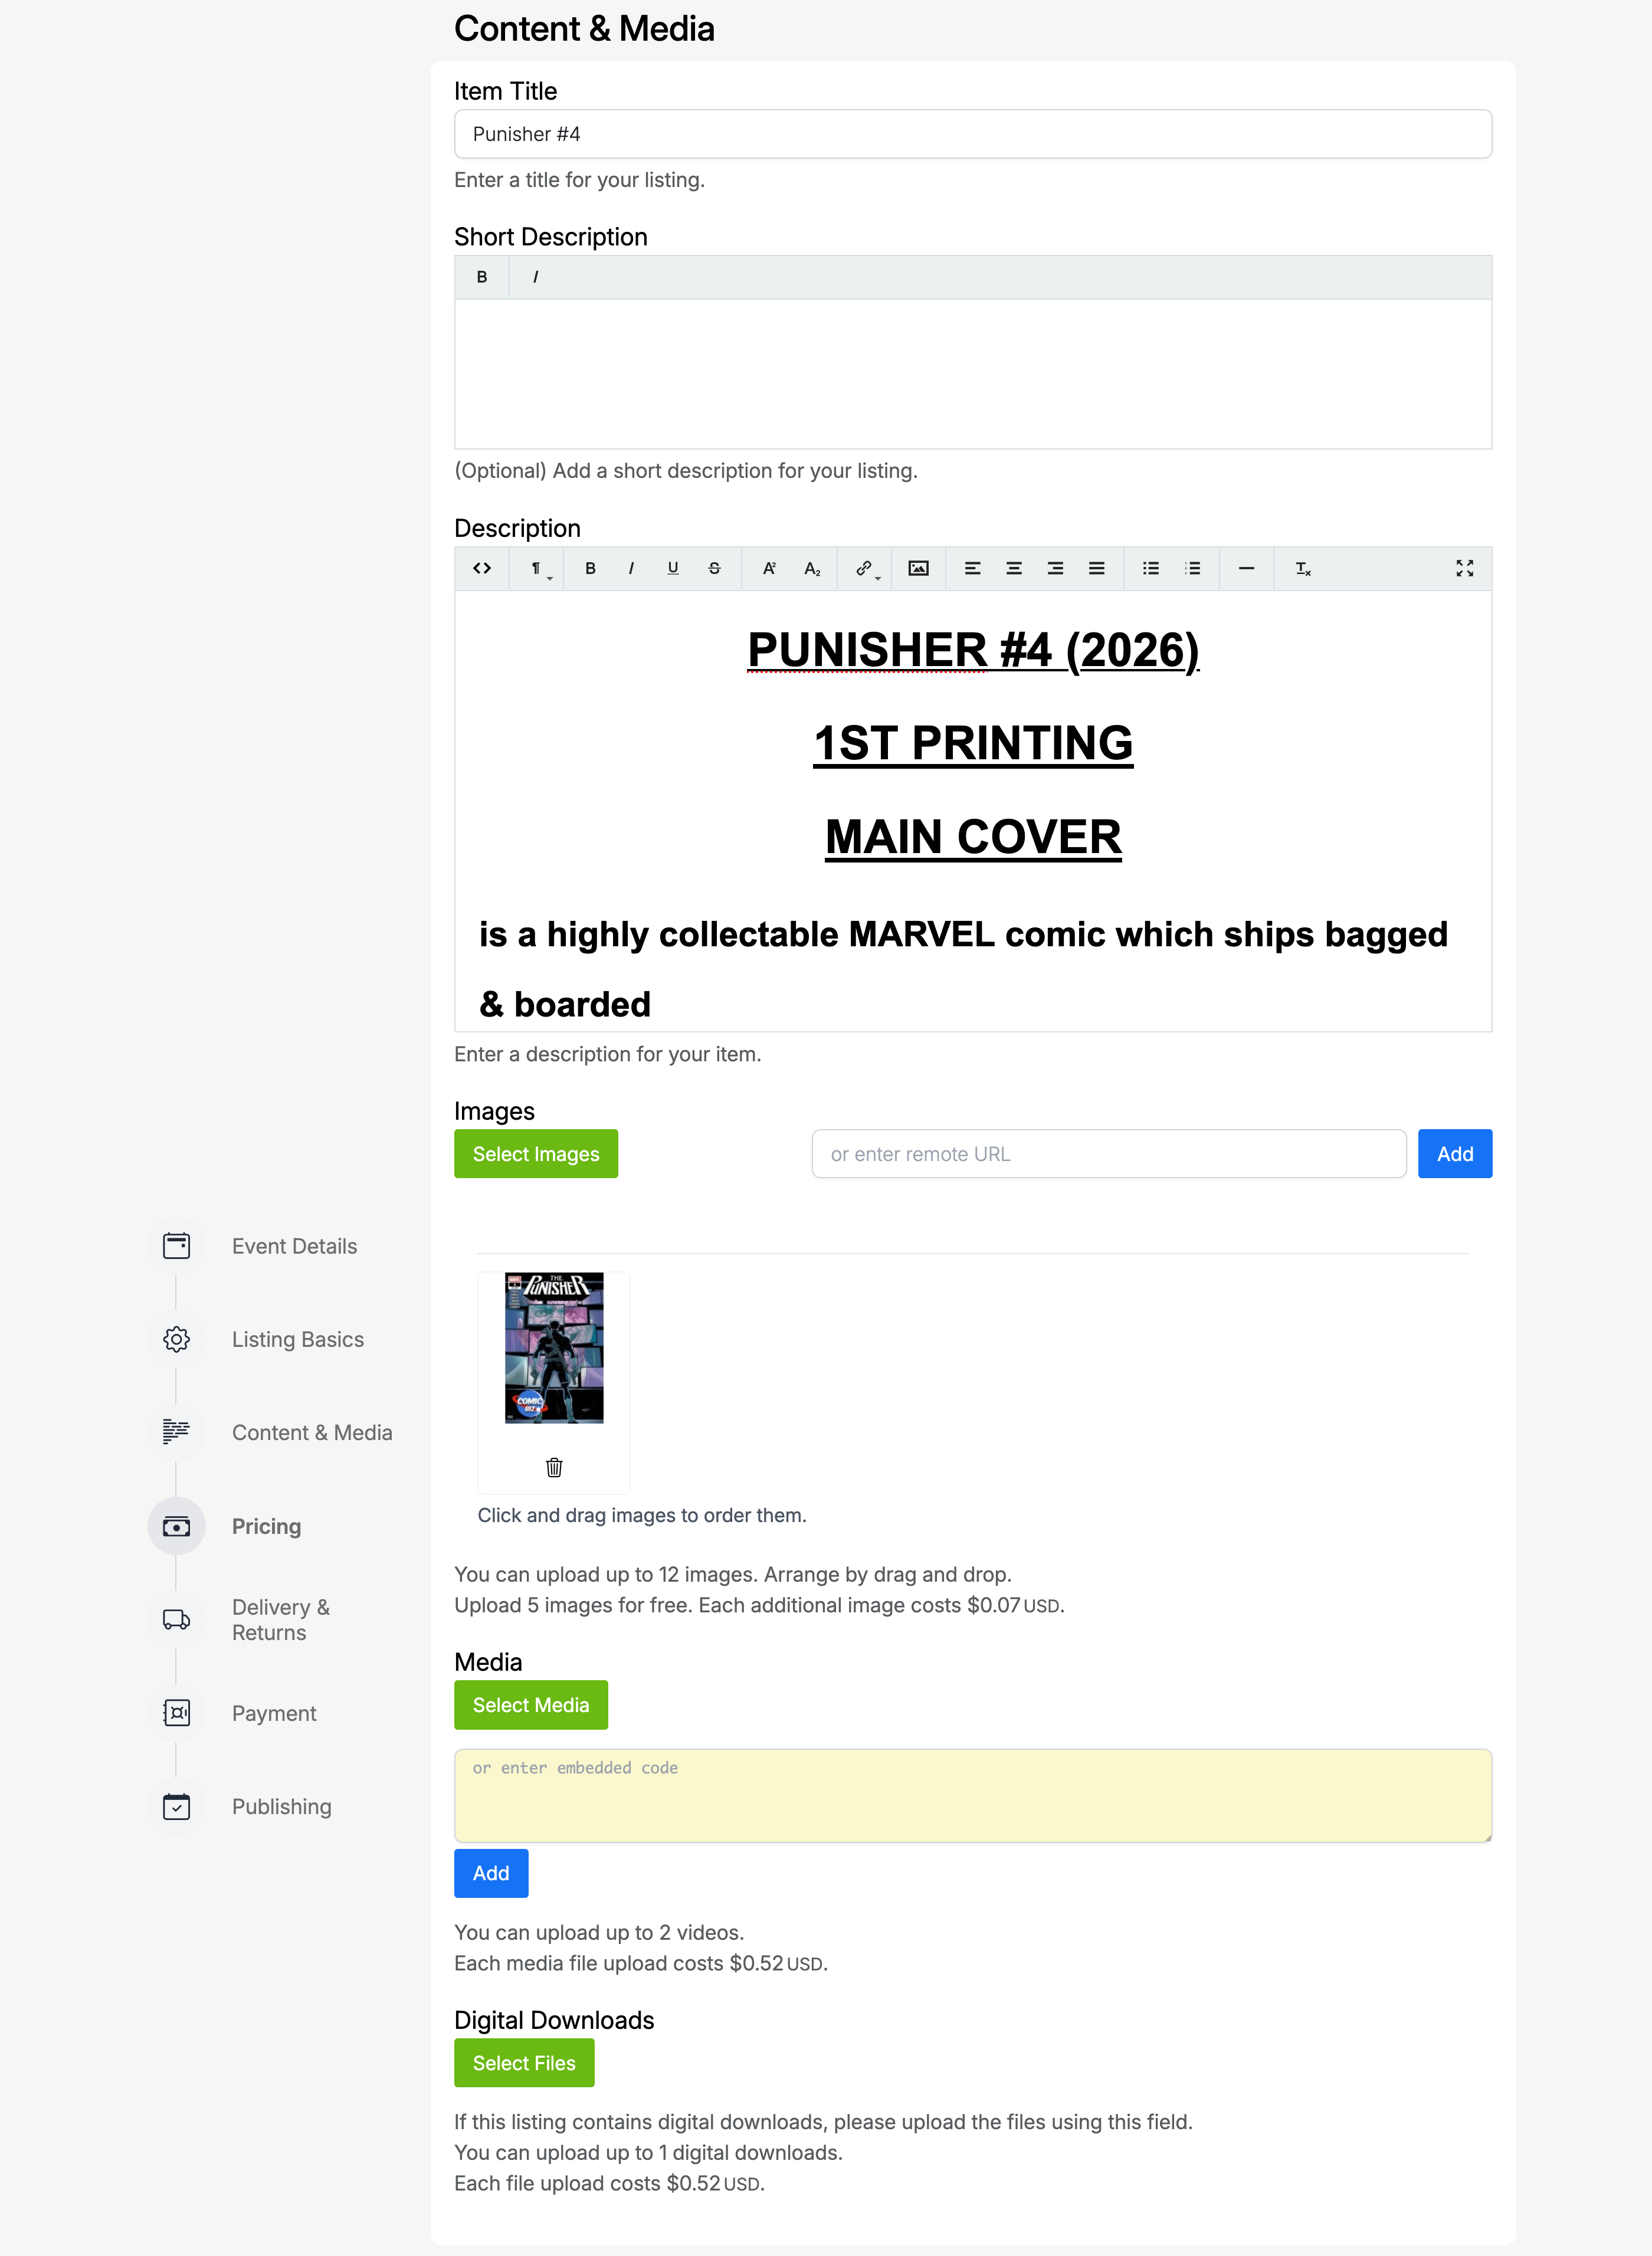
Add the lot’s title, description, images, media, and digital downloads.
Pricing
Set the currency and start price for the lot. The pricing options depend on the listing type you selected.
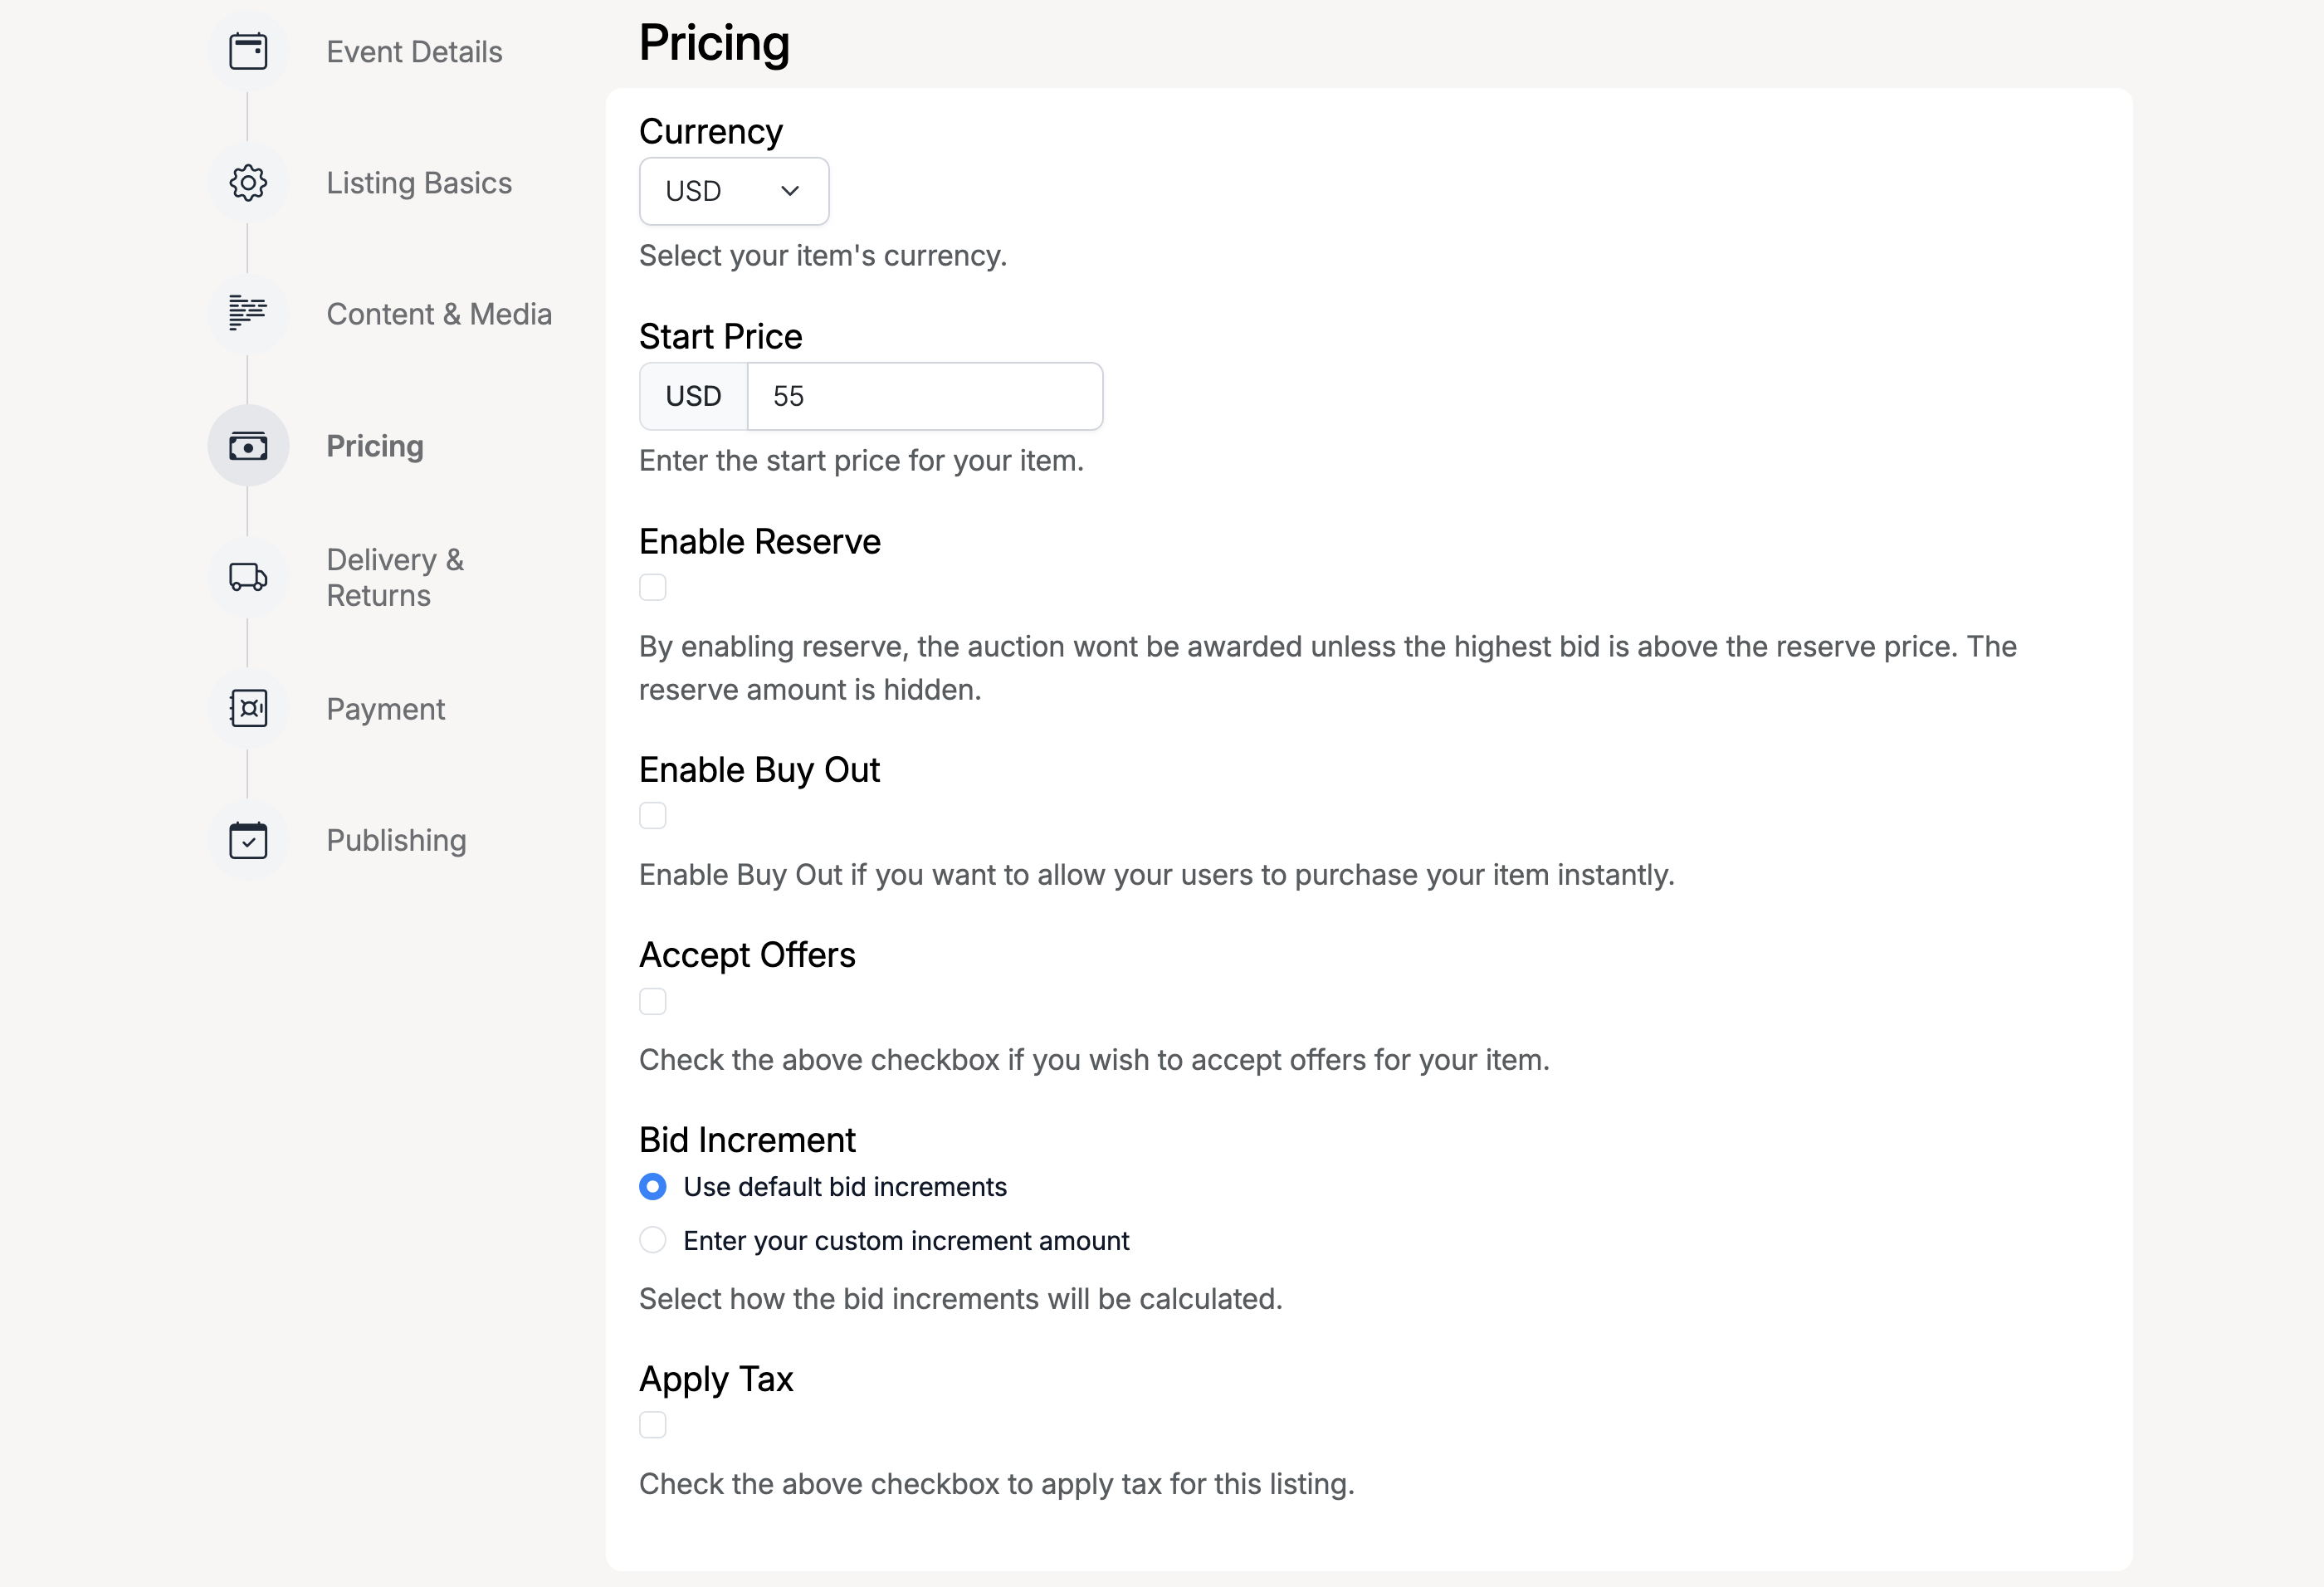
- Currency and Start Price — the lot’s starting bid amount.
- Enable Reserve — set a hidden reserve price.
- Enable Buy Out — allow instant purchase.
- Accept Offers — let buyers submit offers.
- Bid Increment — use default increments or set a custom amount.
- Apply Tax — apply tax to this lot.
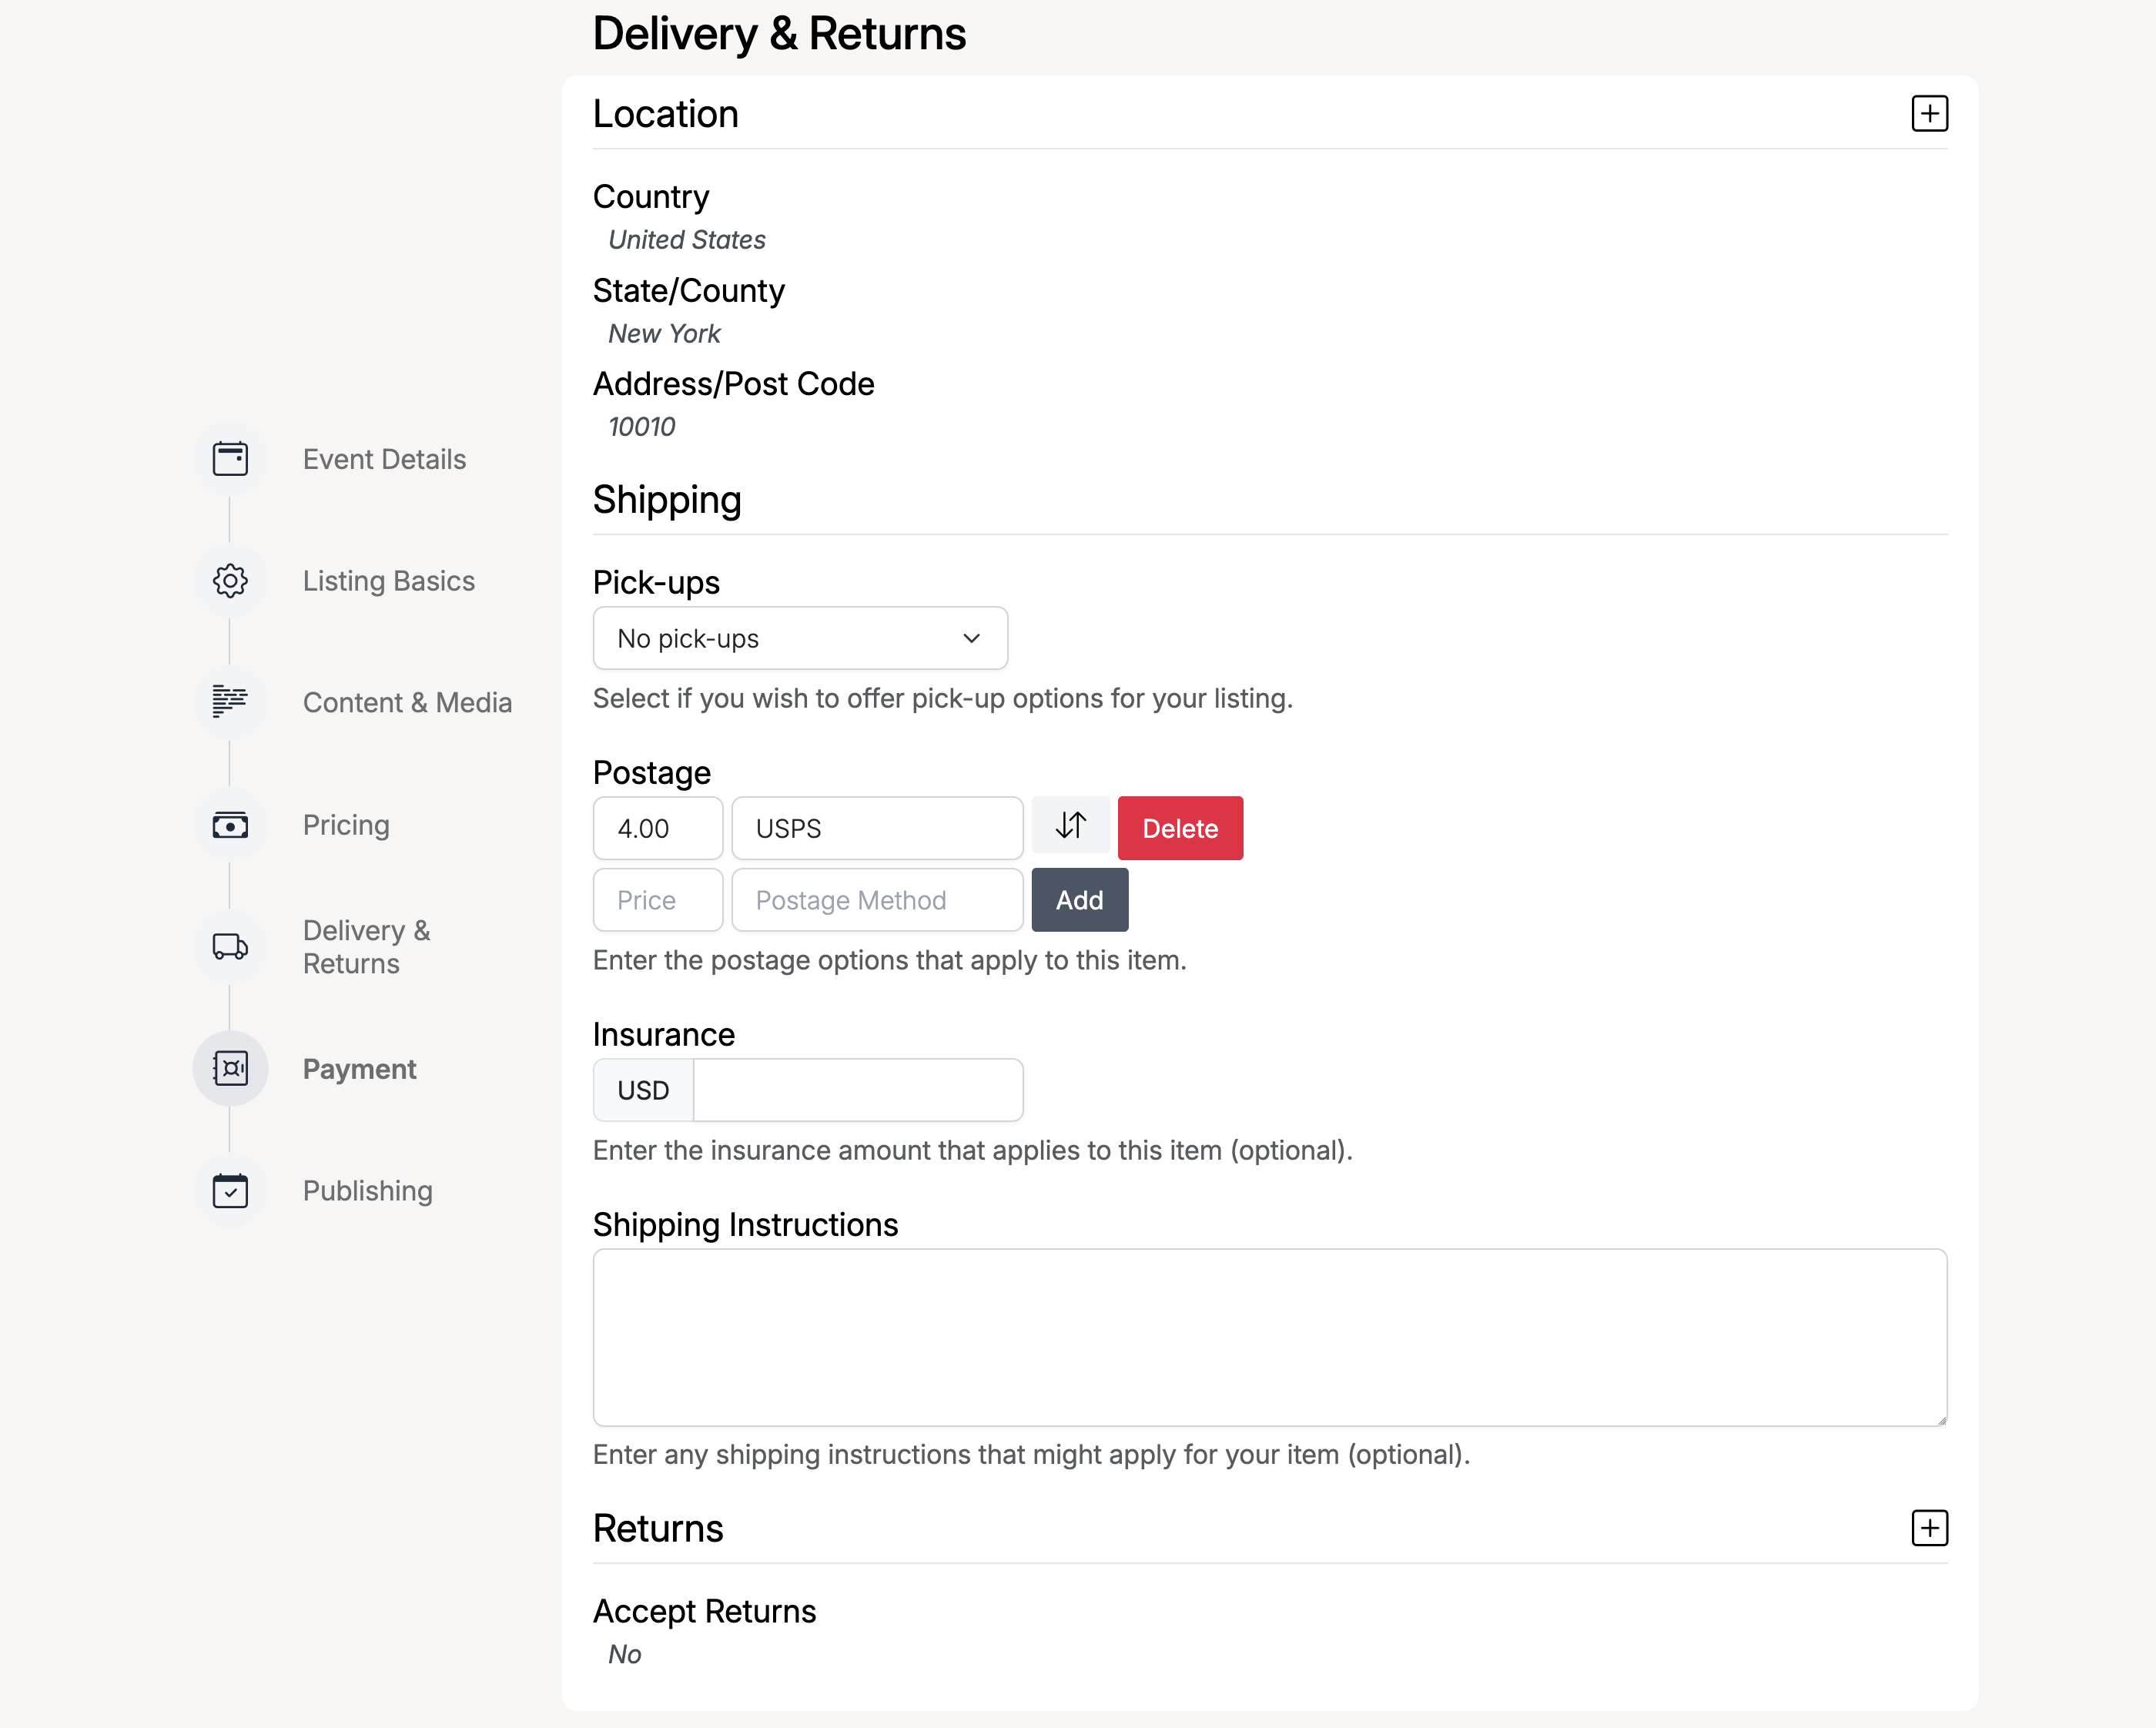
Delivery & Returns
Set the lot’s location and shipping options. These can override the event-level delivery settings if needed.
Payment & Publishing
Select payment methods and choose listing features for the lot.
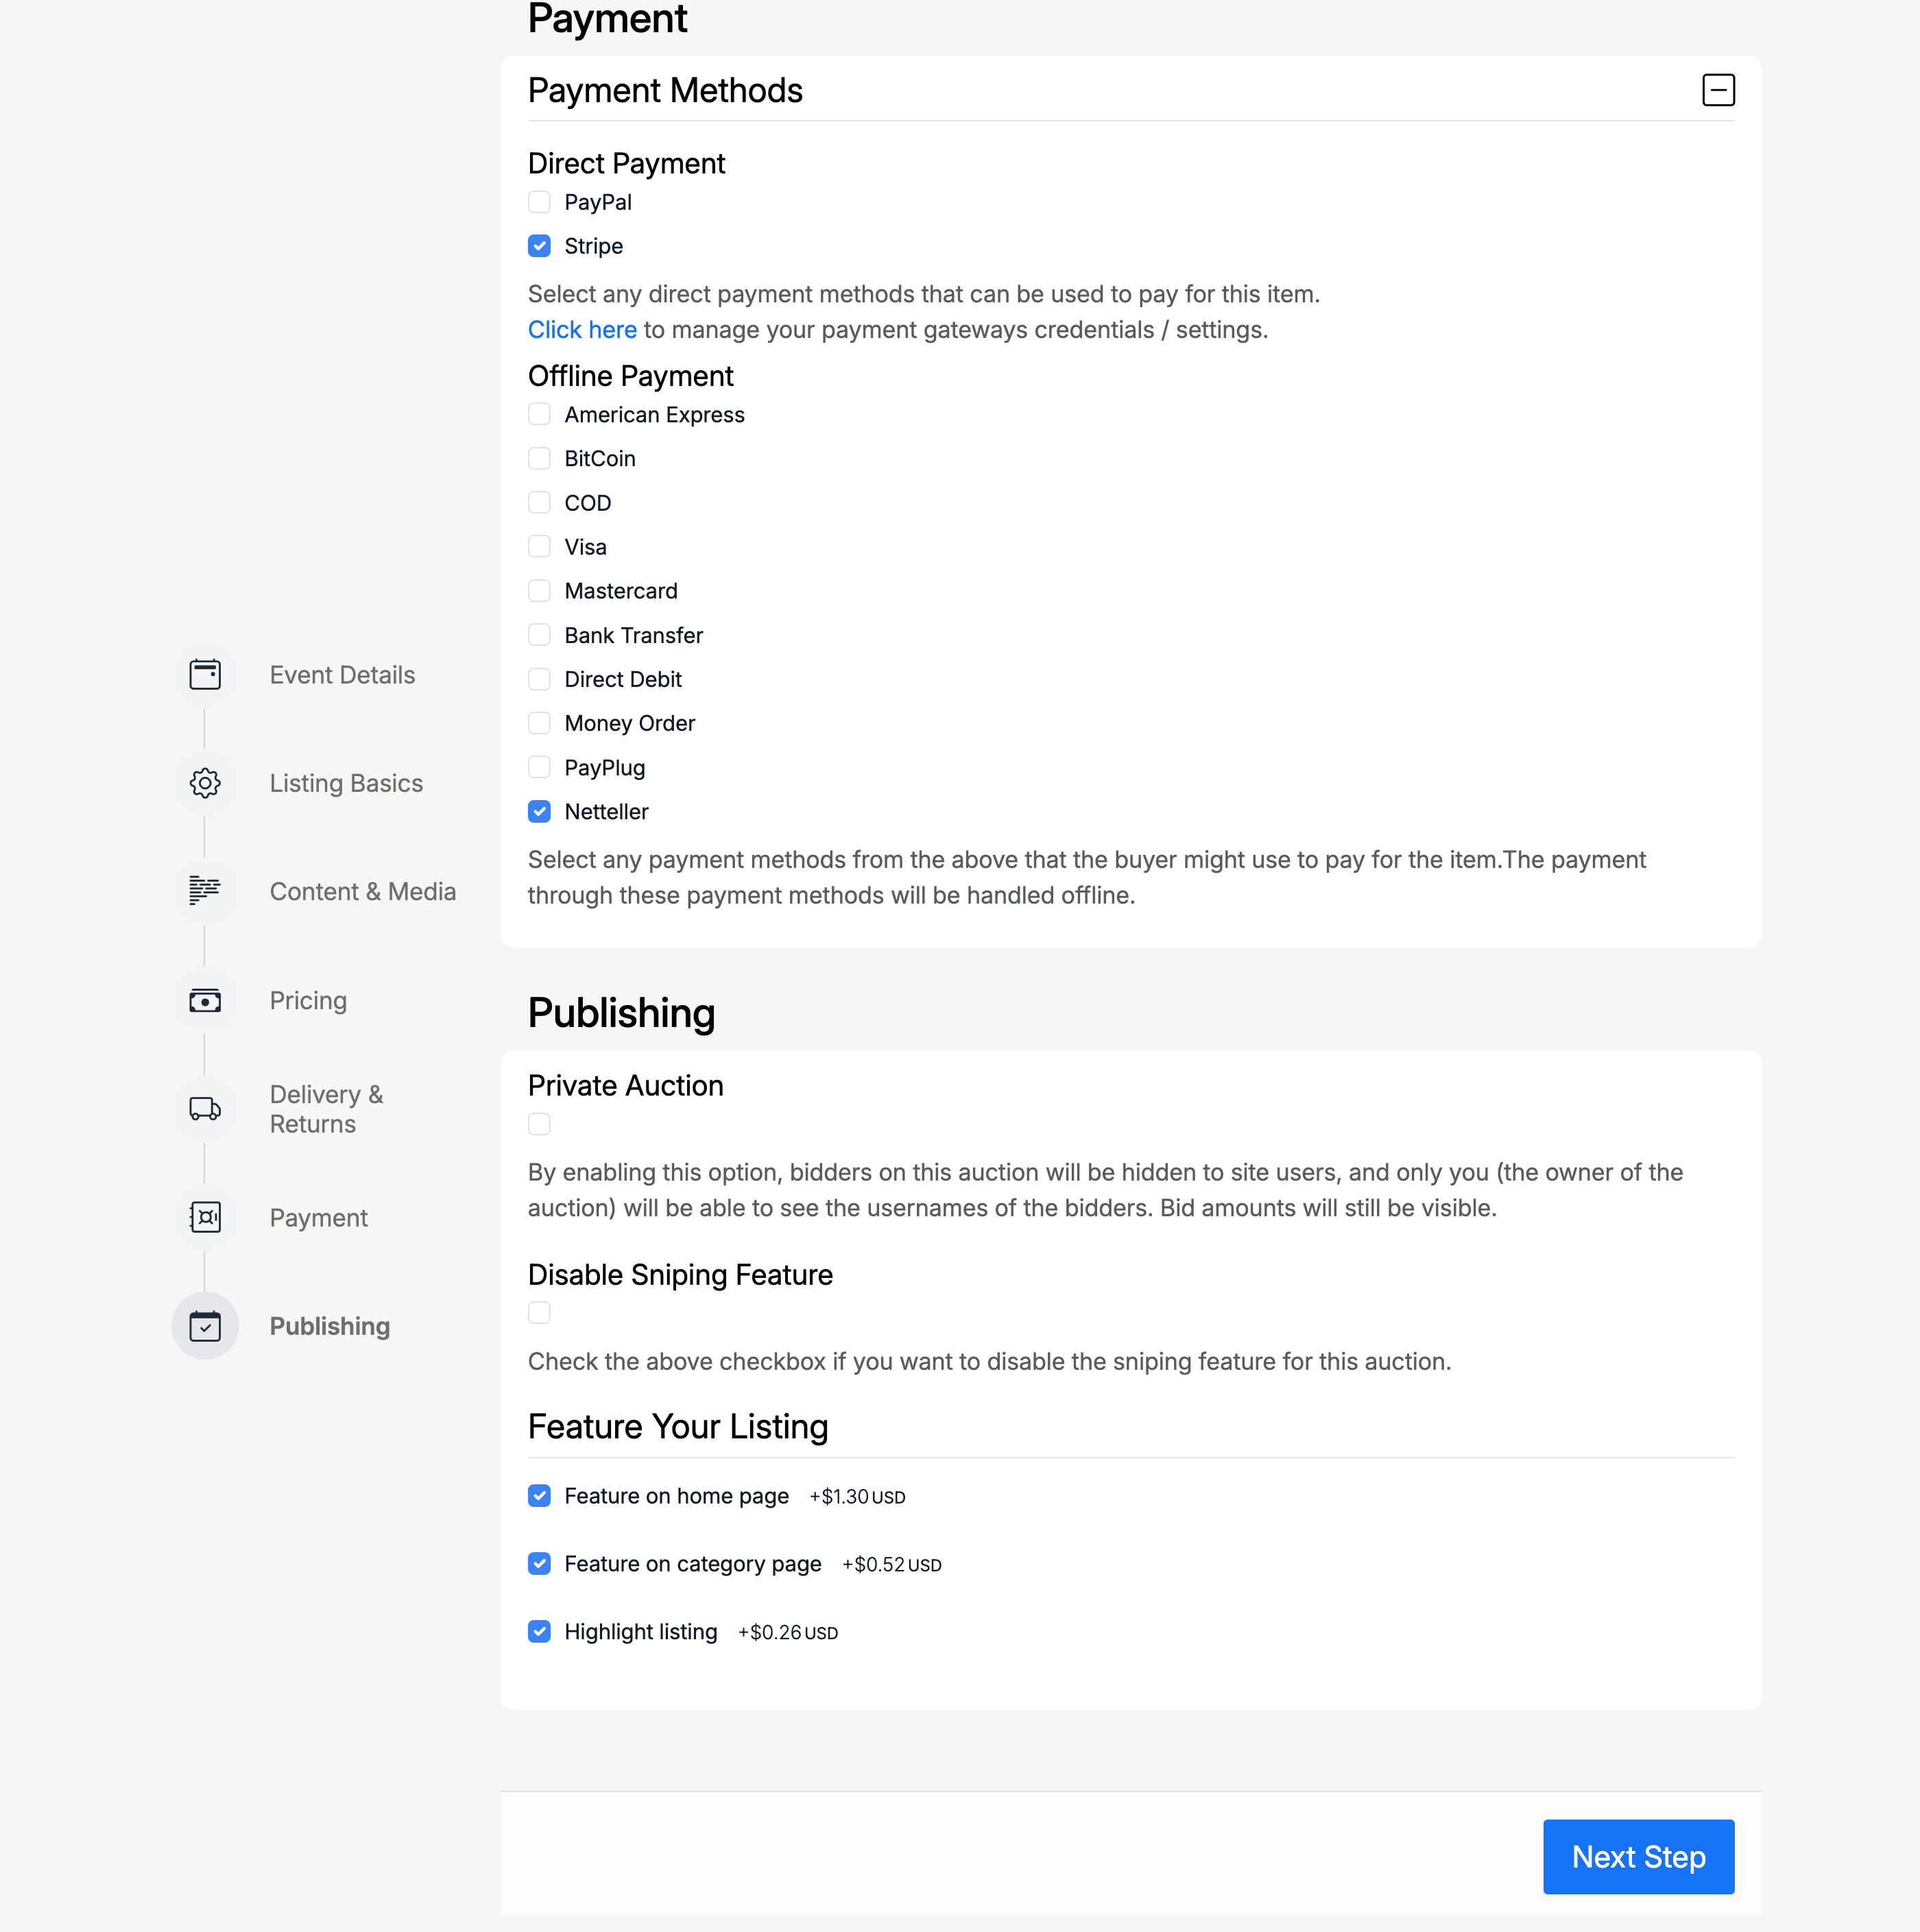
- Payment Methods — direct payment (PayPal, Stripe) and offline payment options.
- Private Auction — hide bidder usernames from other users.
- Disable Sniping Feature — turn off anti-sniping for this lot.
- Feature Your Listing — paid upgrades to feature the lot on the home page, category page, or as a highlighted item.
Lot Preview
The preview step shows the lot as it will appear to buyers, including the event details box and a breakdown of listing setup fees.
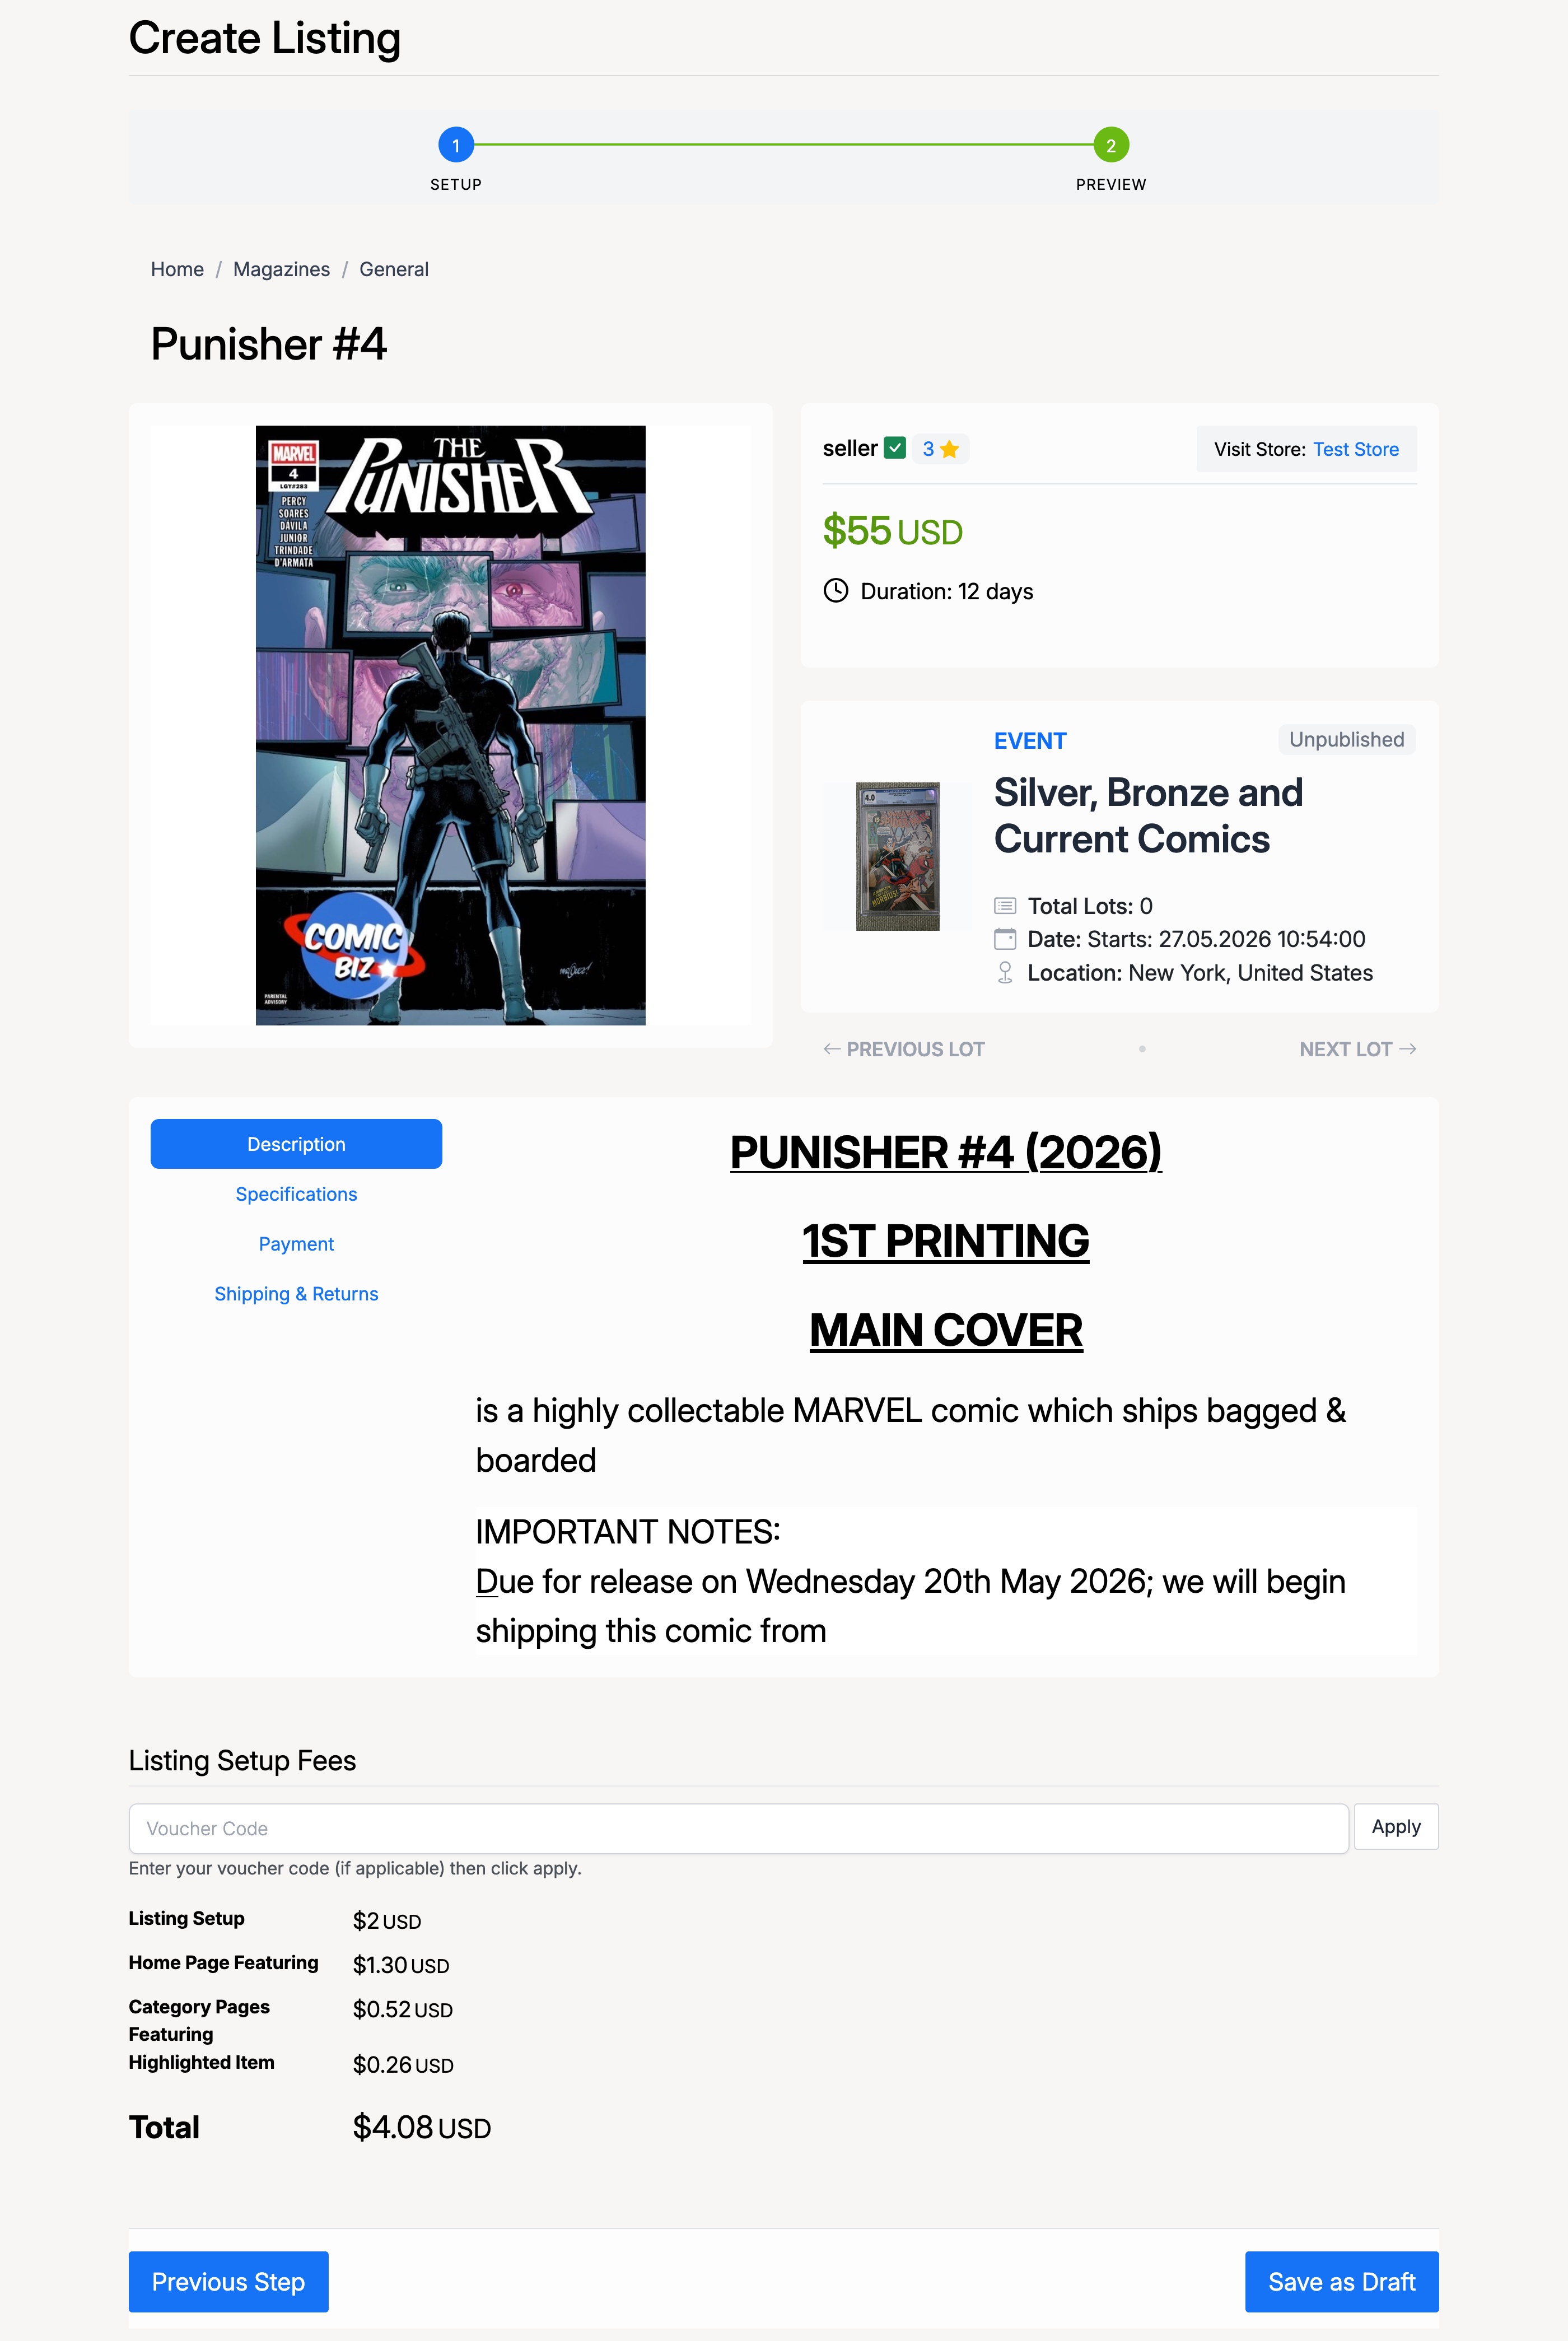
The lot preview includes the event information panel on the right, showing the event name, lot count, dates, and location. At the bottom, the Listing Setup Fees section shows the cost breakdown. Click Save as Draft to add the lot to the event.
Lot Confirmation
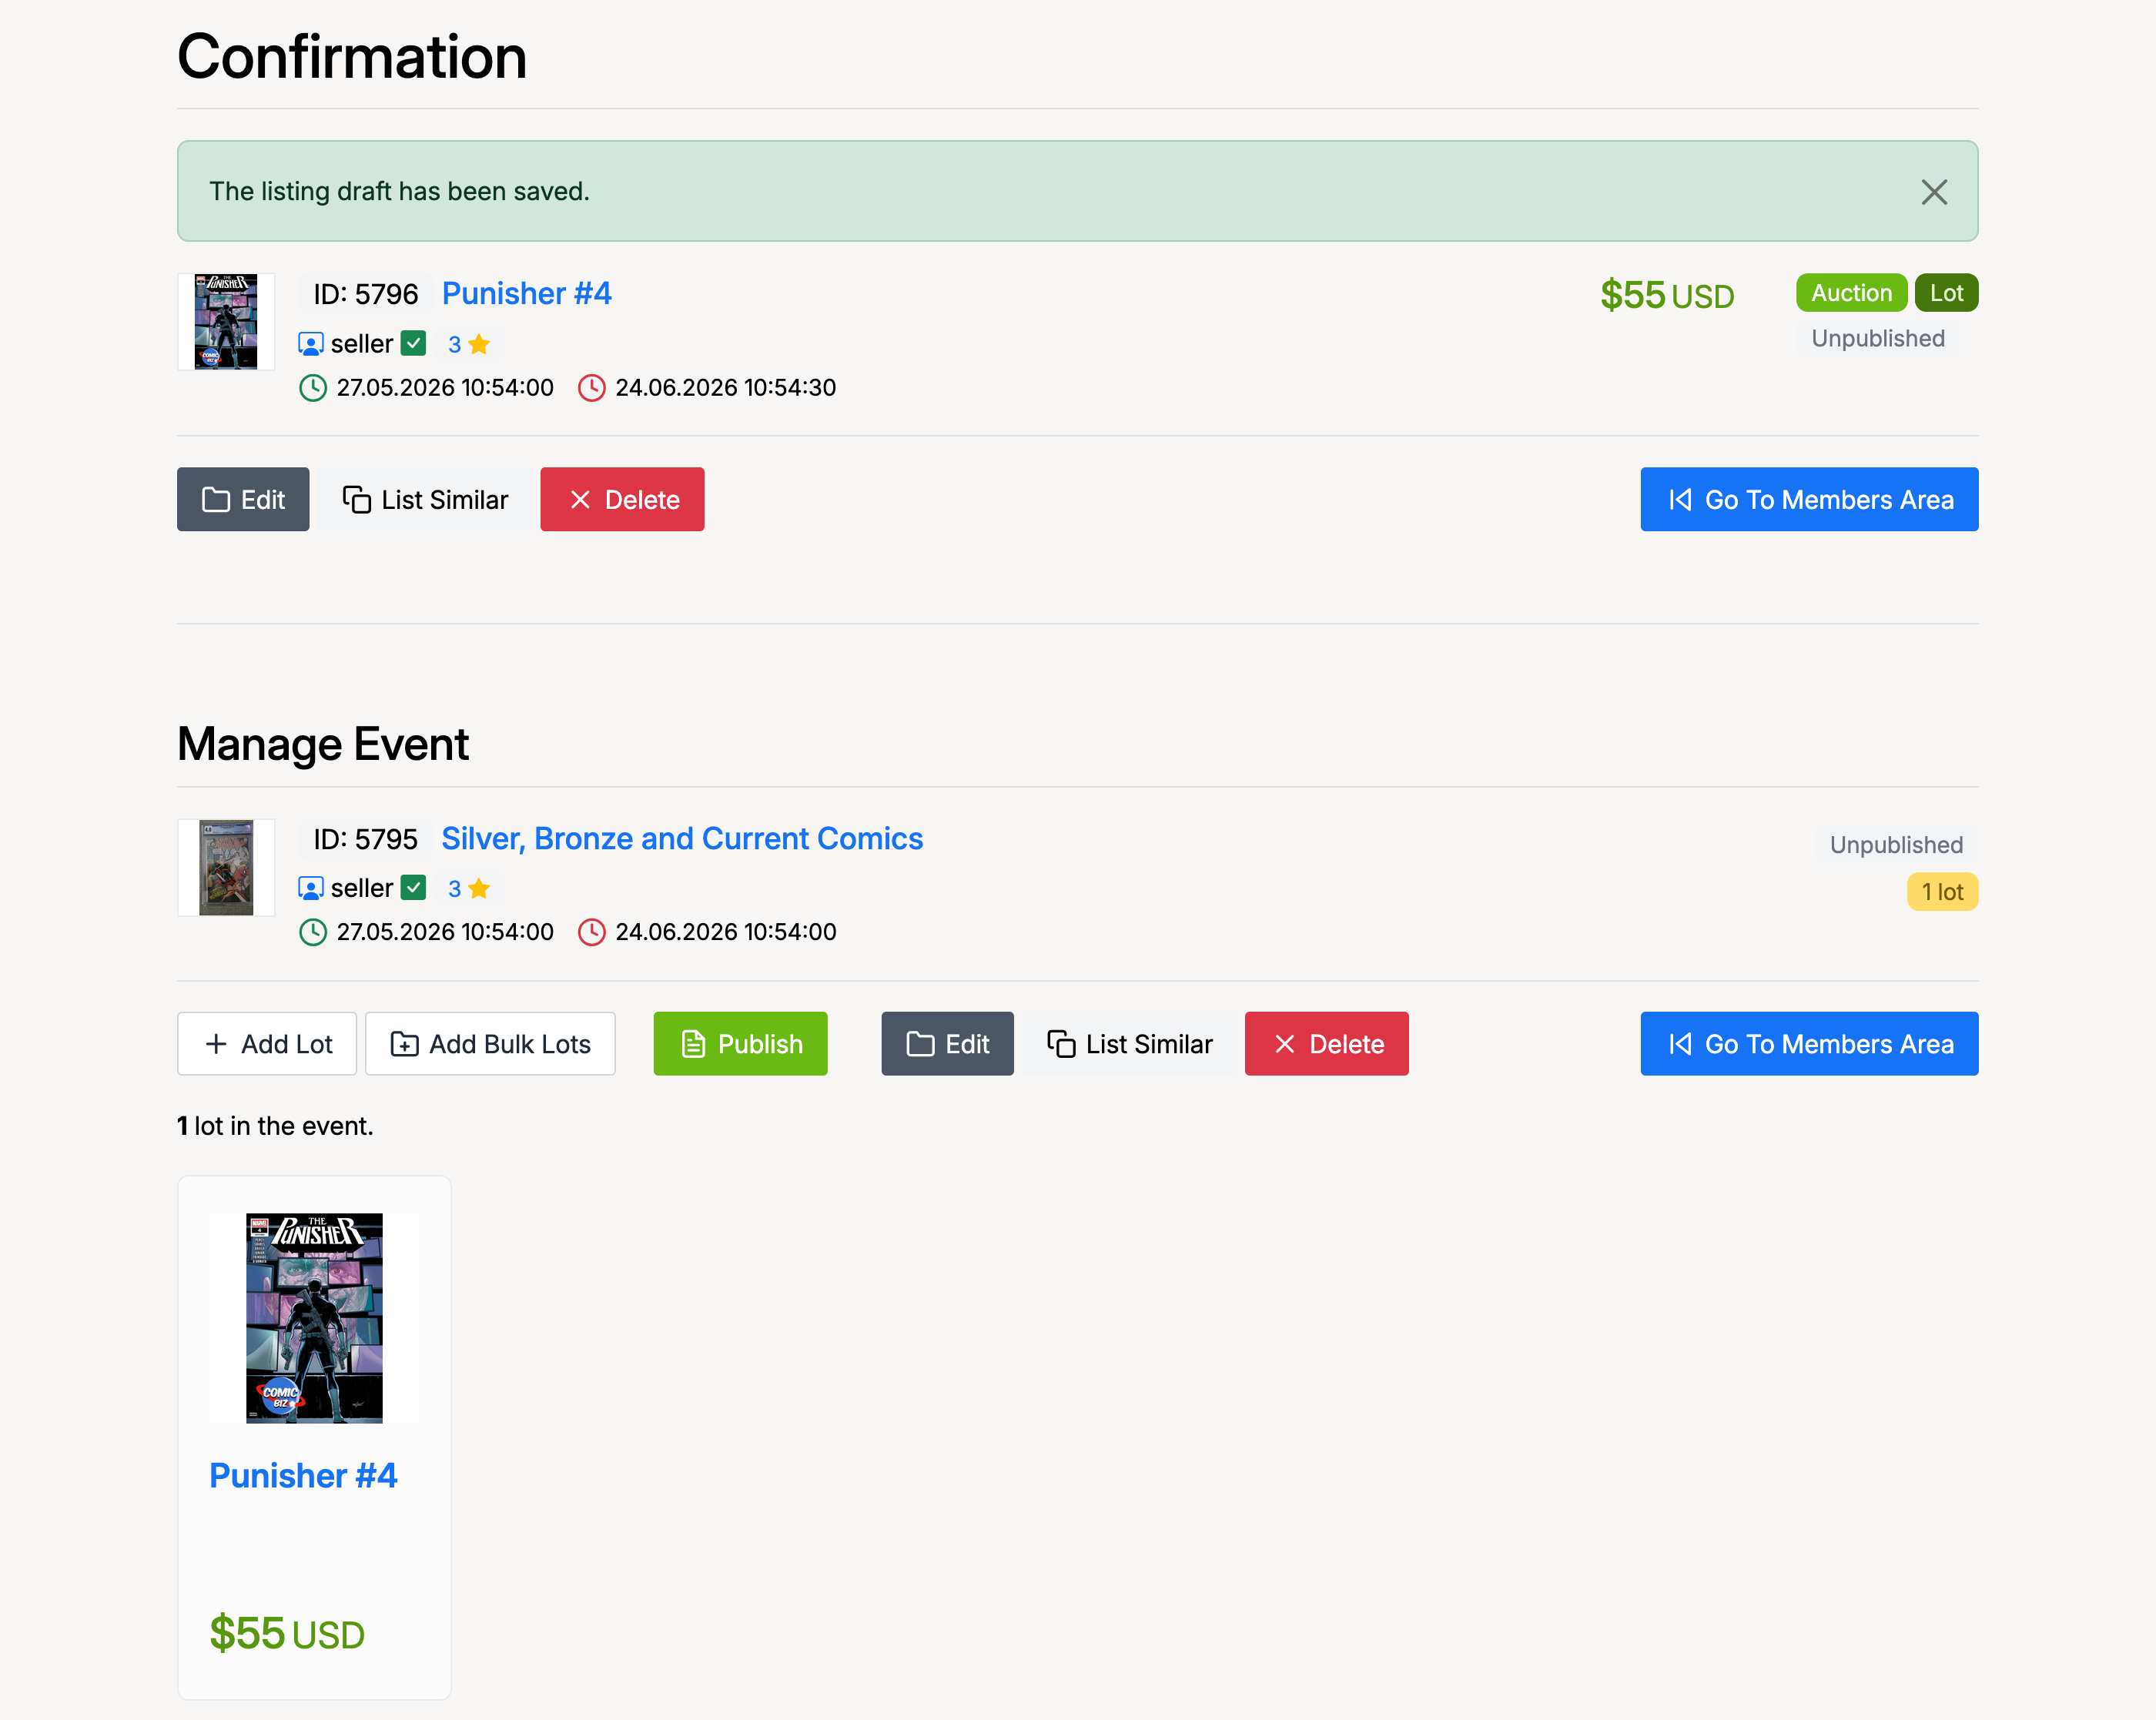
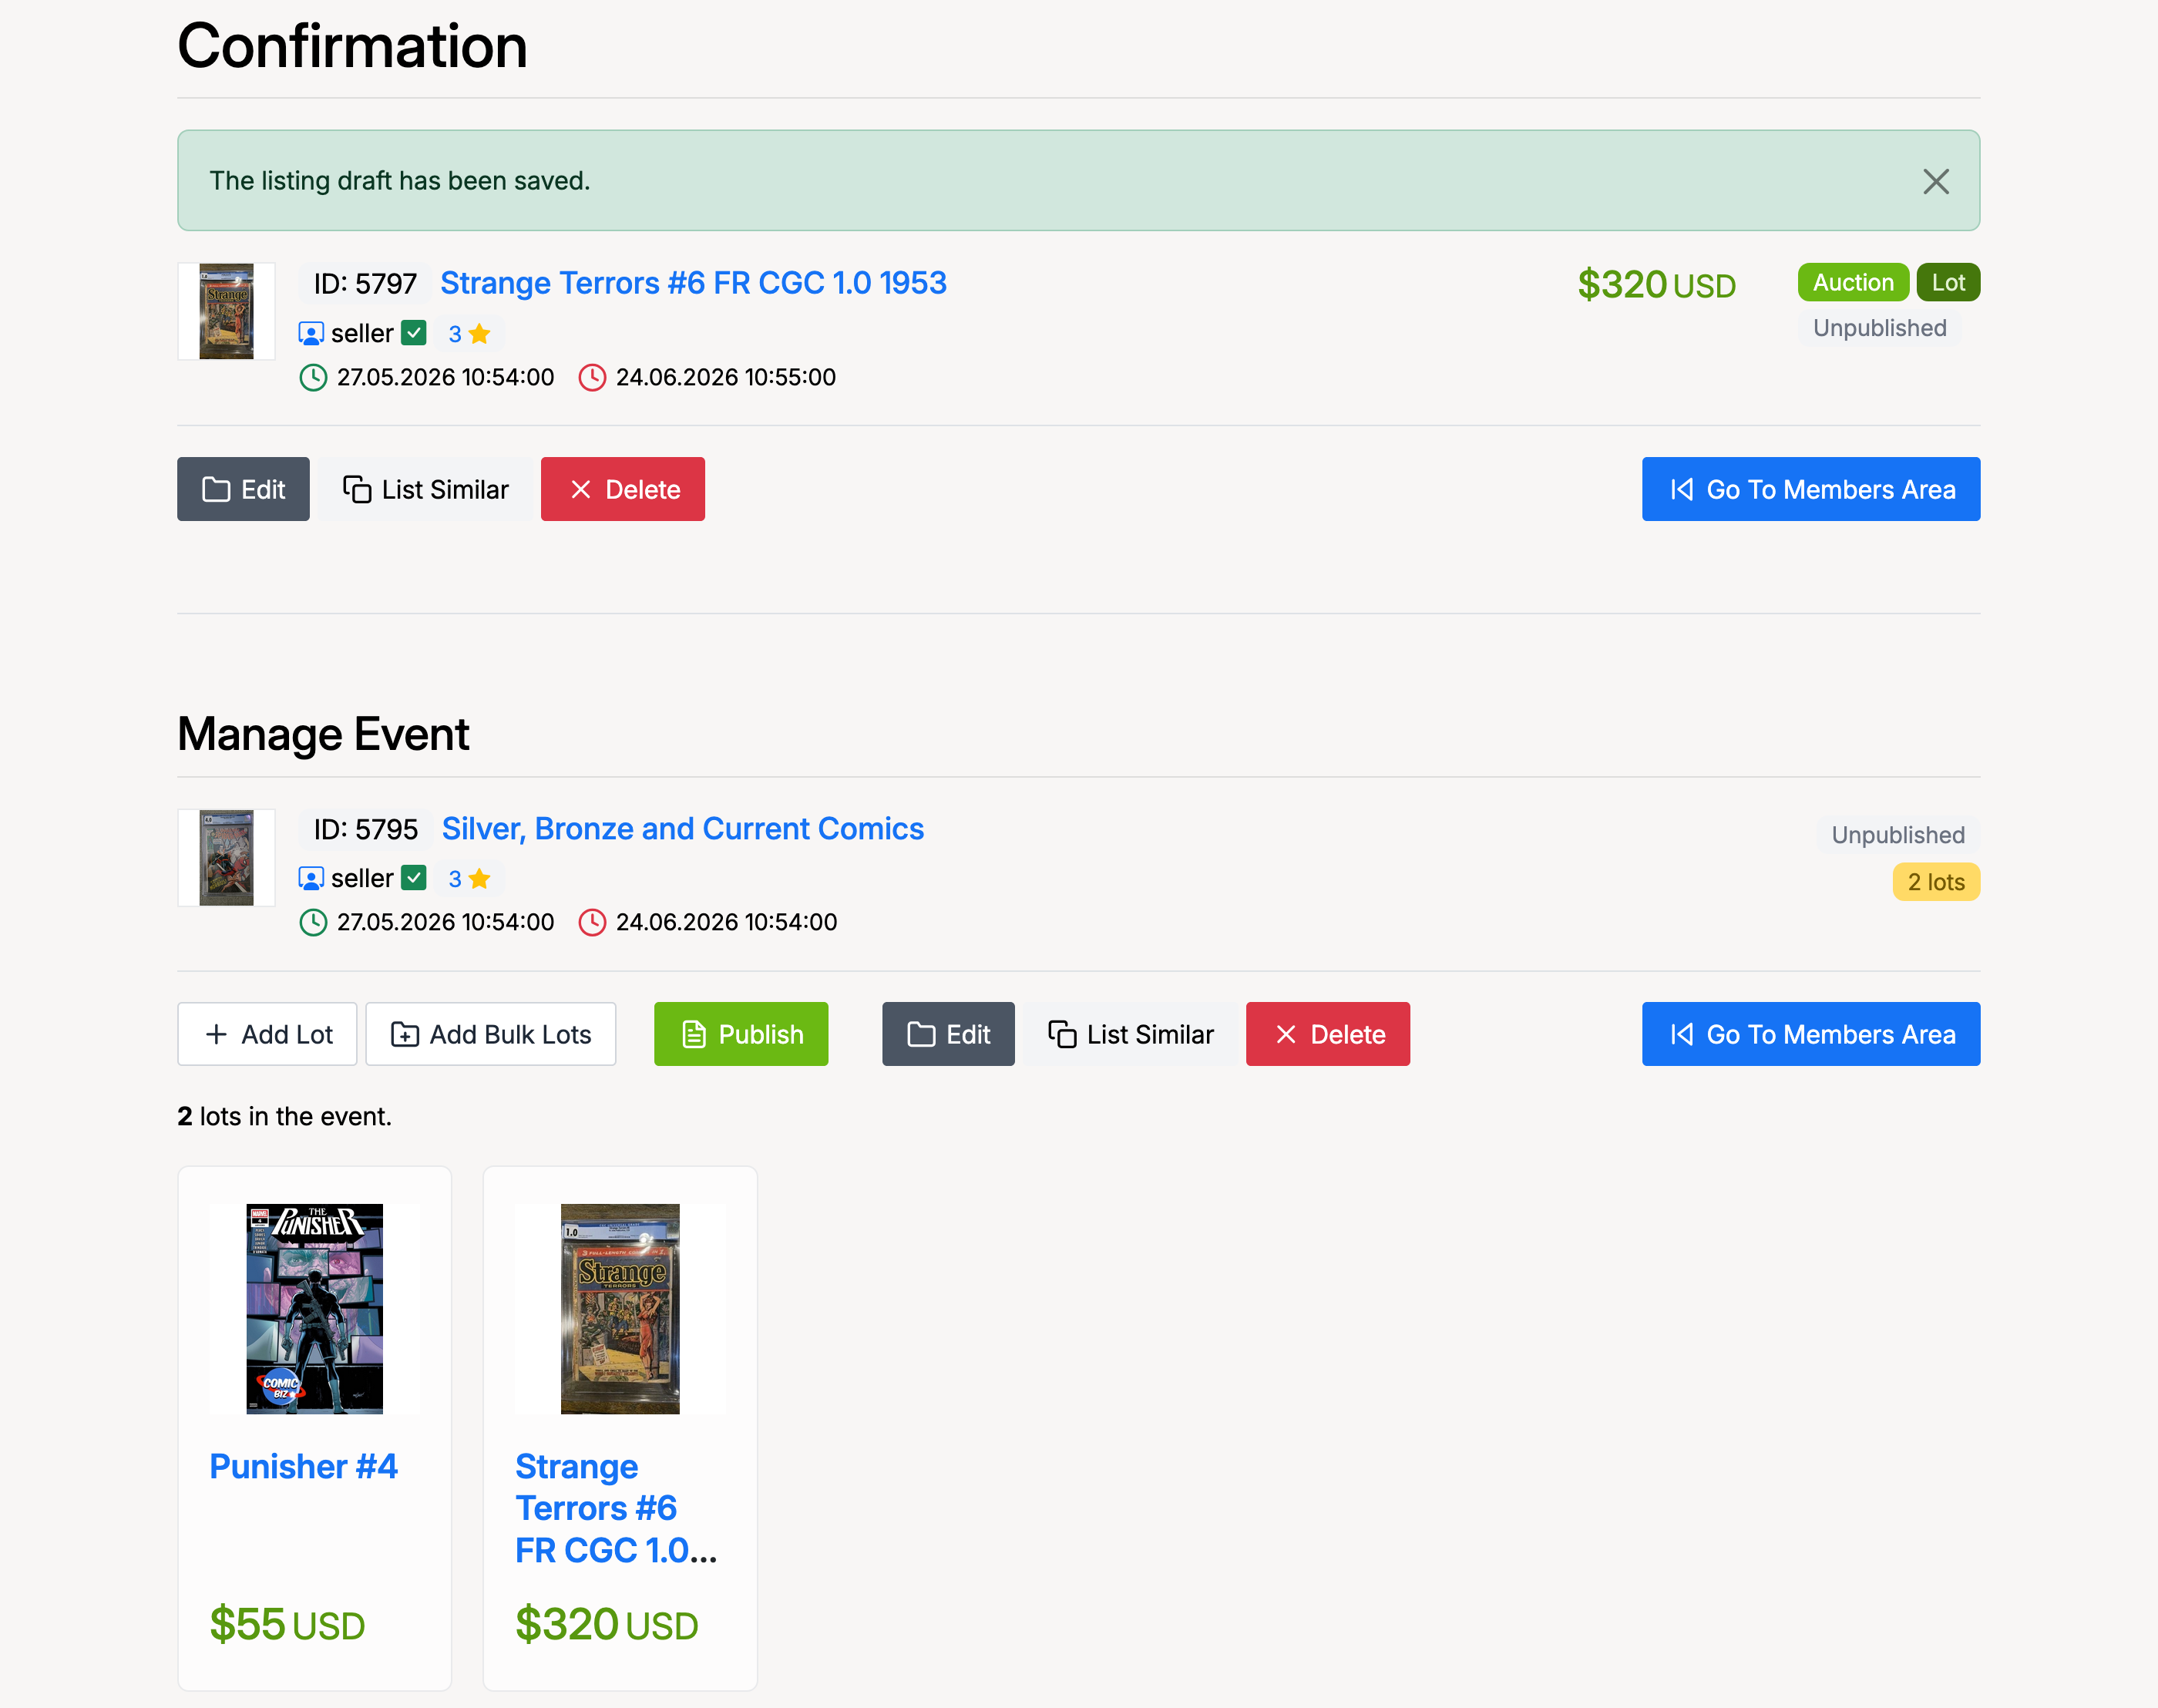
After saving, you see the lot confirmation at the top and the updated Manage Event section below, now showing the lot count and a thumbnail of the added lot.
Adding More Lots
Click Add Lot again to add more lots to the event. Each new lot goes through the same setup process. The Manage Event section updates to show all lots.
Once you have added all your lots, the next step is to publish the event.