
Create an Auction Event
What Are Auction Events?
Auction events let sellers group multiple lots into a single timed sale. All lots in an event share the same start time and end at staggered intervals. Buyers can browse lots within the event page and bid on individual items. Events are ideal for estate sales, themed collections, or any scenario where related items should be sold together in one session.
Event Basics
To create an event, go to Members Area → Selling → Create Event. The first step is to select a category for the event.
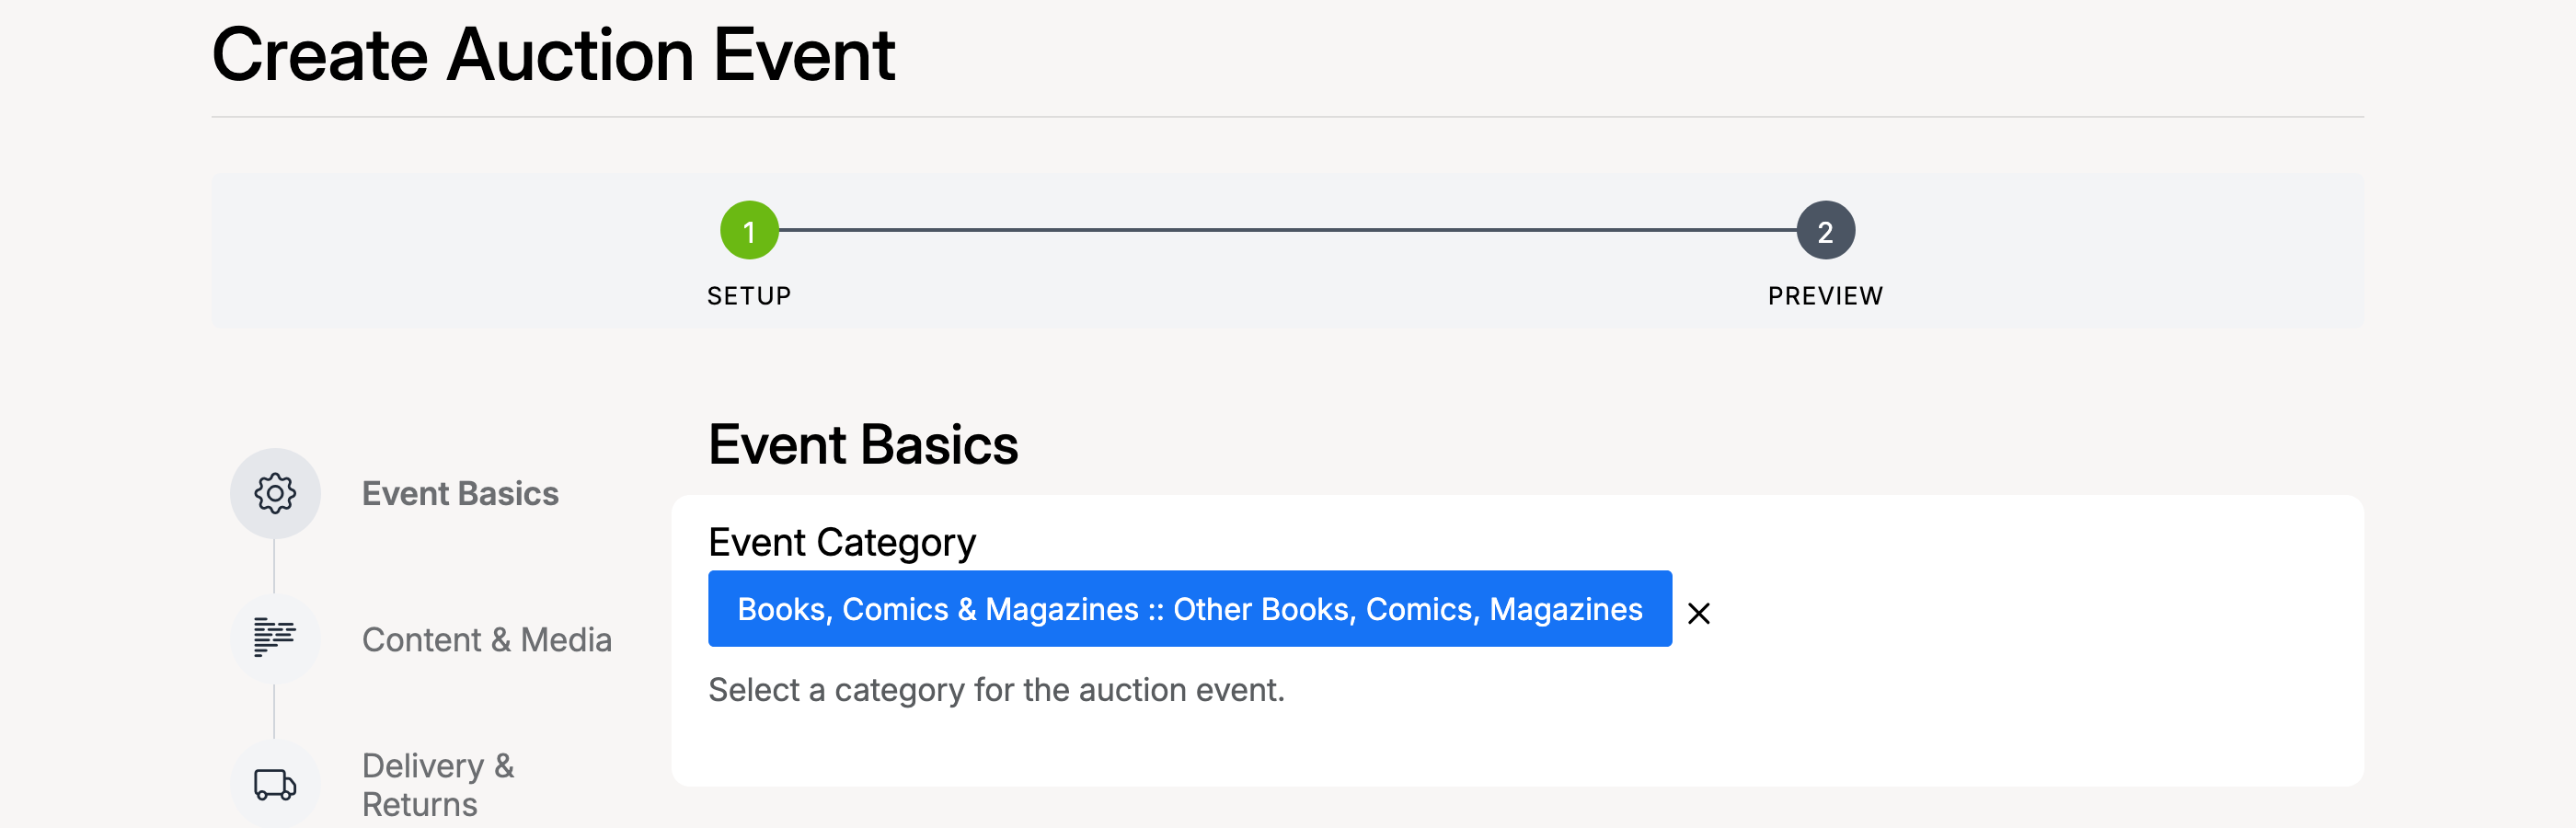
- Event Category — select the category that best describes the event. This determines where the event appears when buyers browse by category.
Content & Media
Add a title, description, and images for the event. This is the information buyers see on the event landing page.
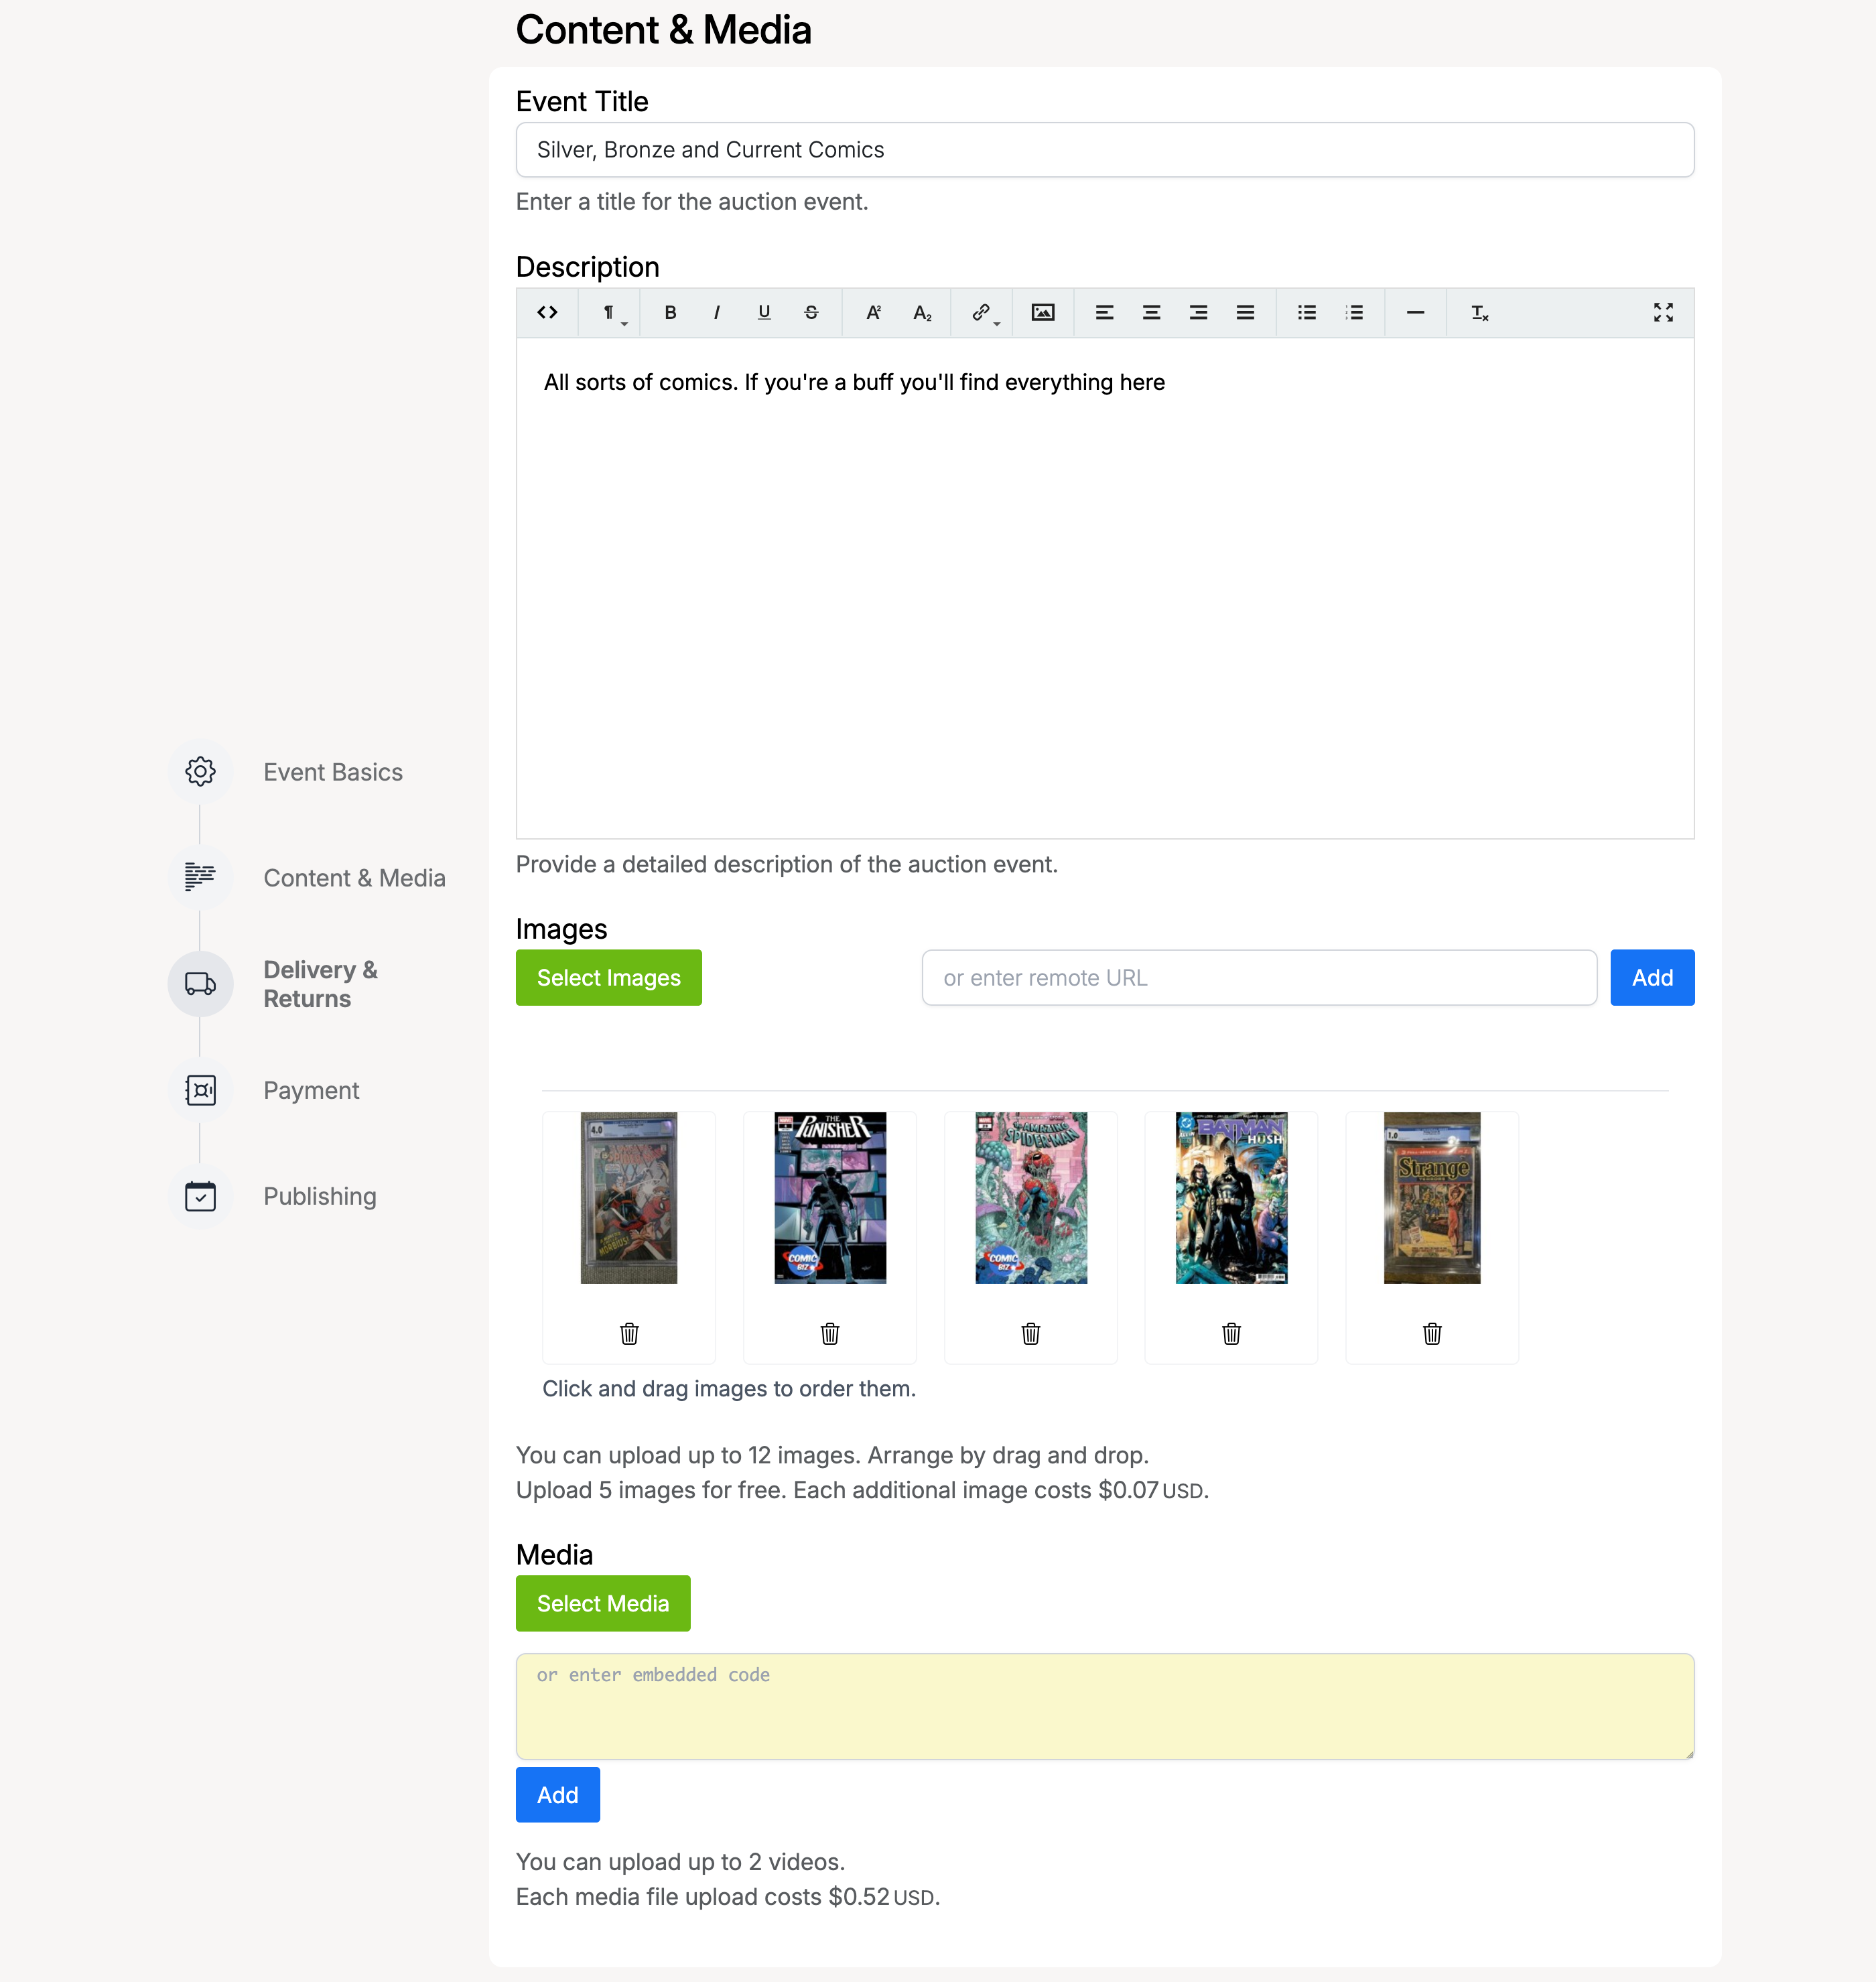
- Event Title — a descriptive name for your event.
- Description — a rich-text description of what the event includes. This appears on the event page under the Description tab.
- Images — upload images or add them via URL. The first image is used as the event thumbnail. You can reorder images by drag and drop.
- Media — optionally upload videos for the event.
Delivery & Returns
Set the event location and default shipping options that apply to lots in the event.
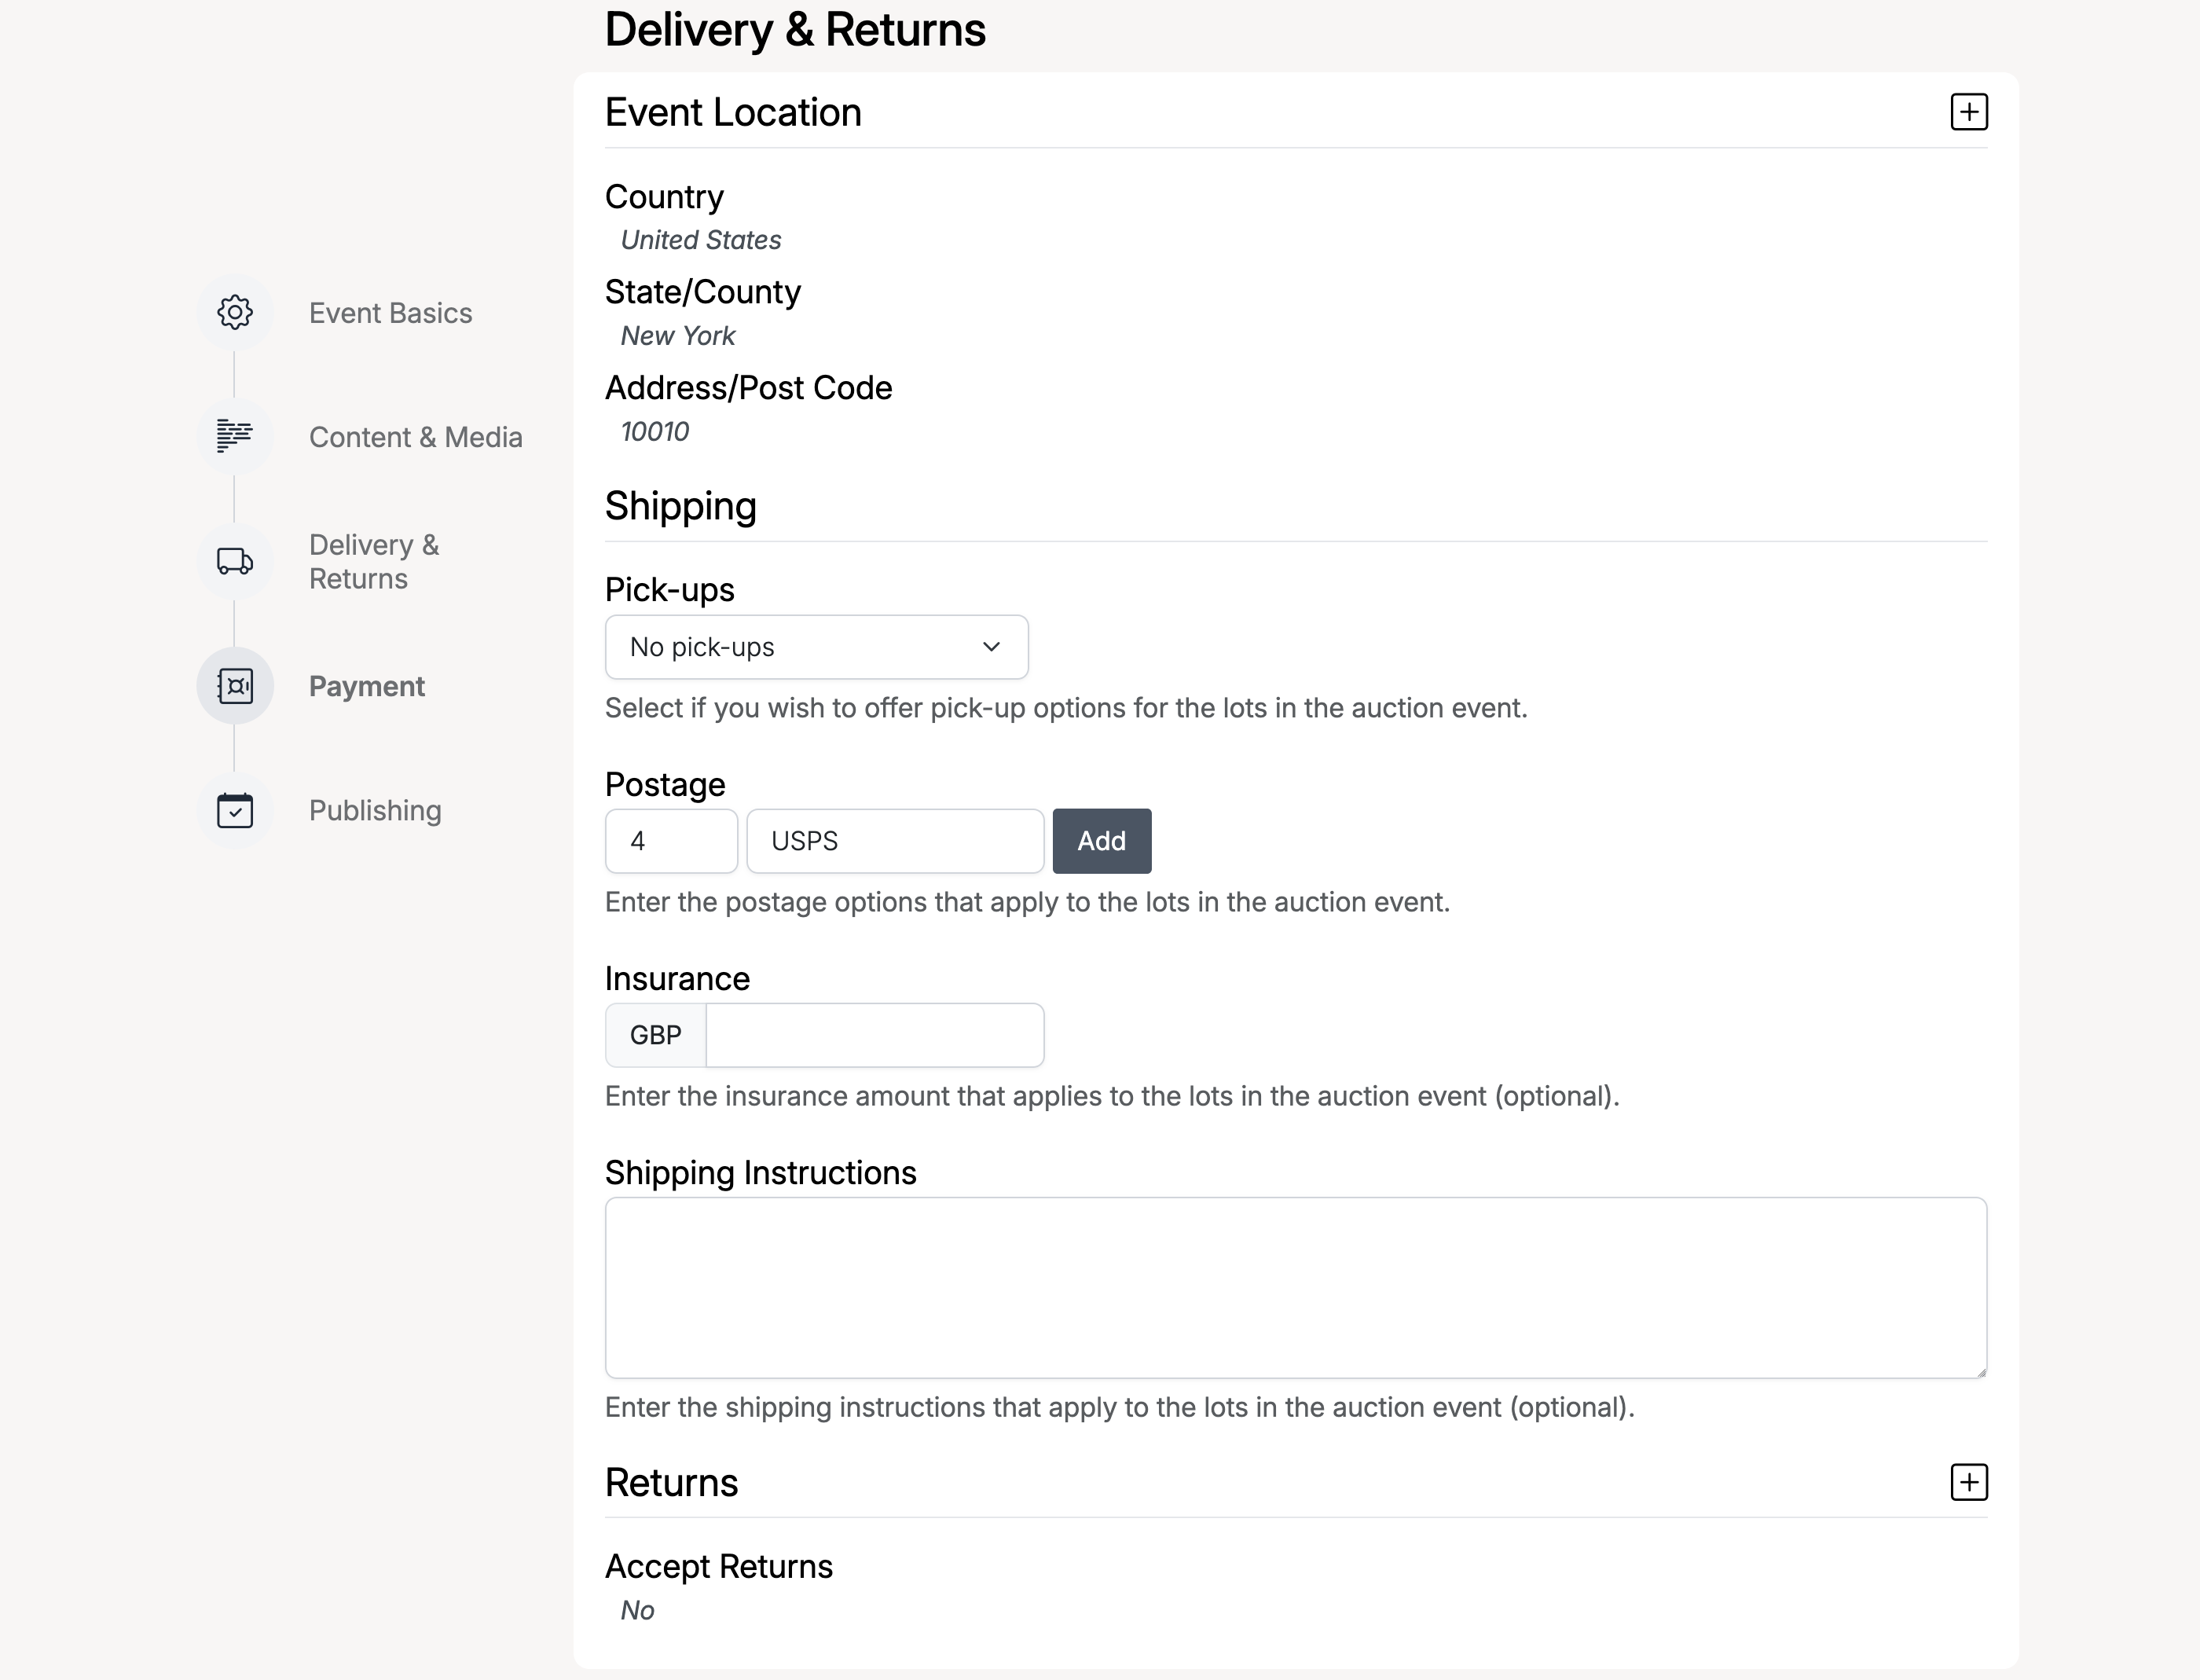
- Event Location — country, state/county, and address or post code.
- Pick-ups — choose whether buyers can or must pick up items.
- Postage — add postage options with price and method (e.g. USPS). Click Add to include multiple options.
- Insurance — optional insurance amount for the shipment.
- Shipping Instructions — any additional notes for buyers.
- Accept Returns — whether the event lots accept returns.
Payment & Publishing
Configure payment methods and set the event schedule.
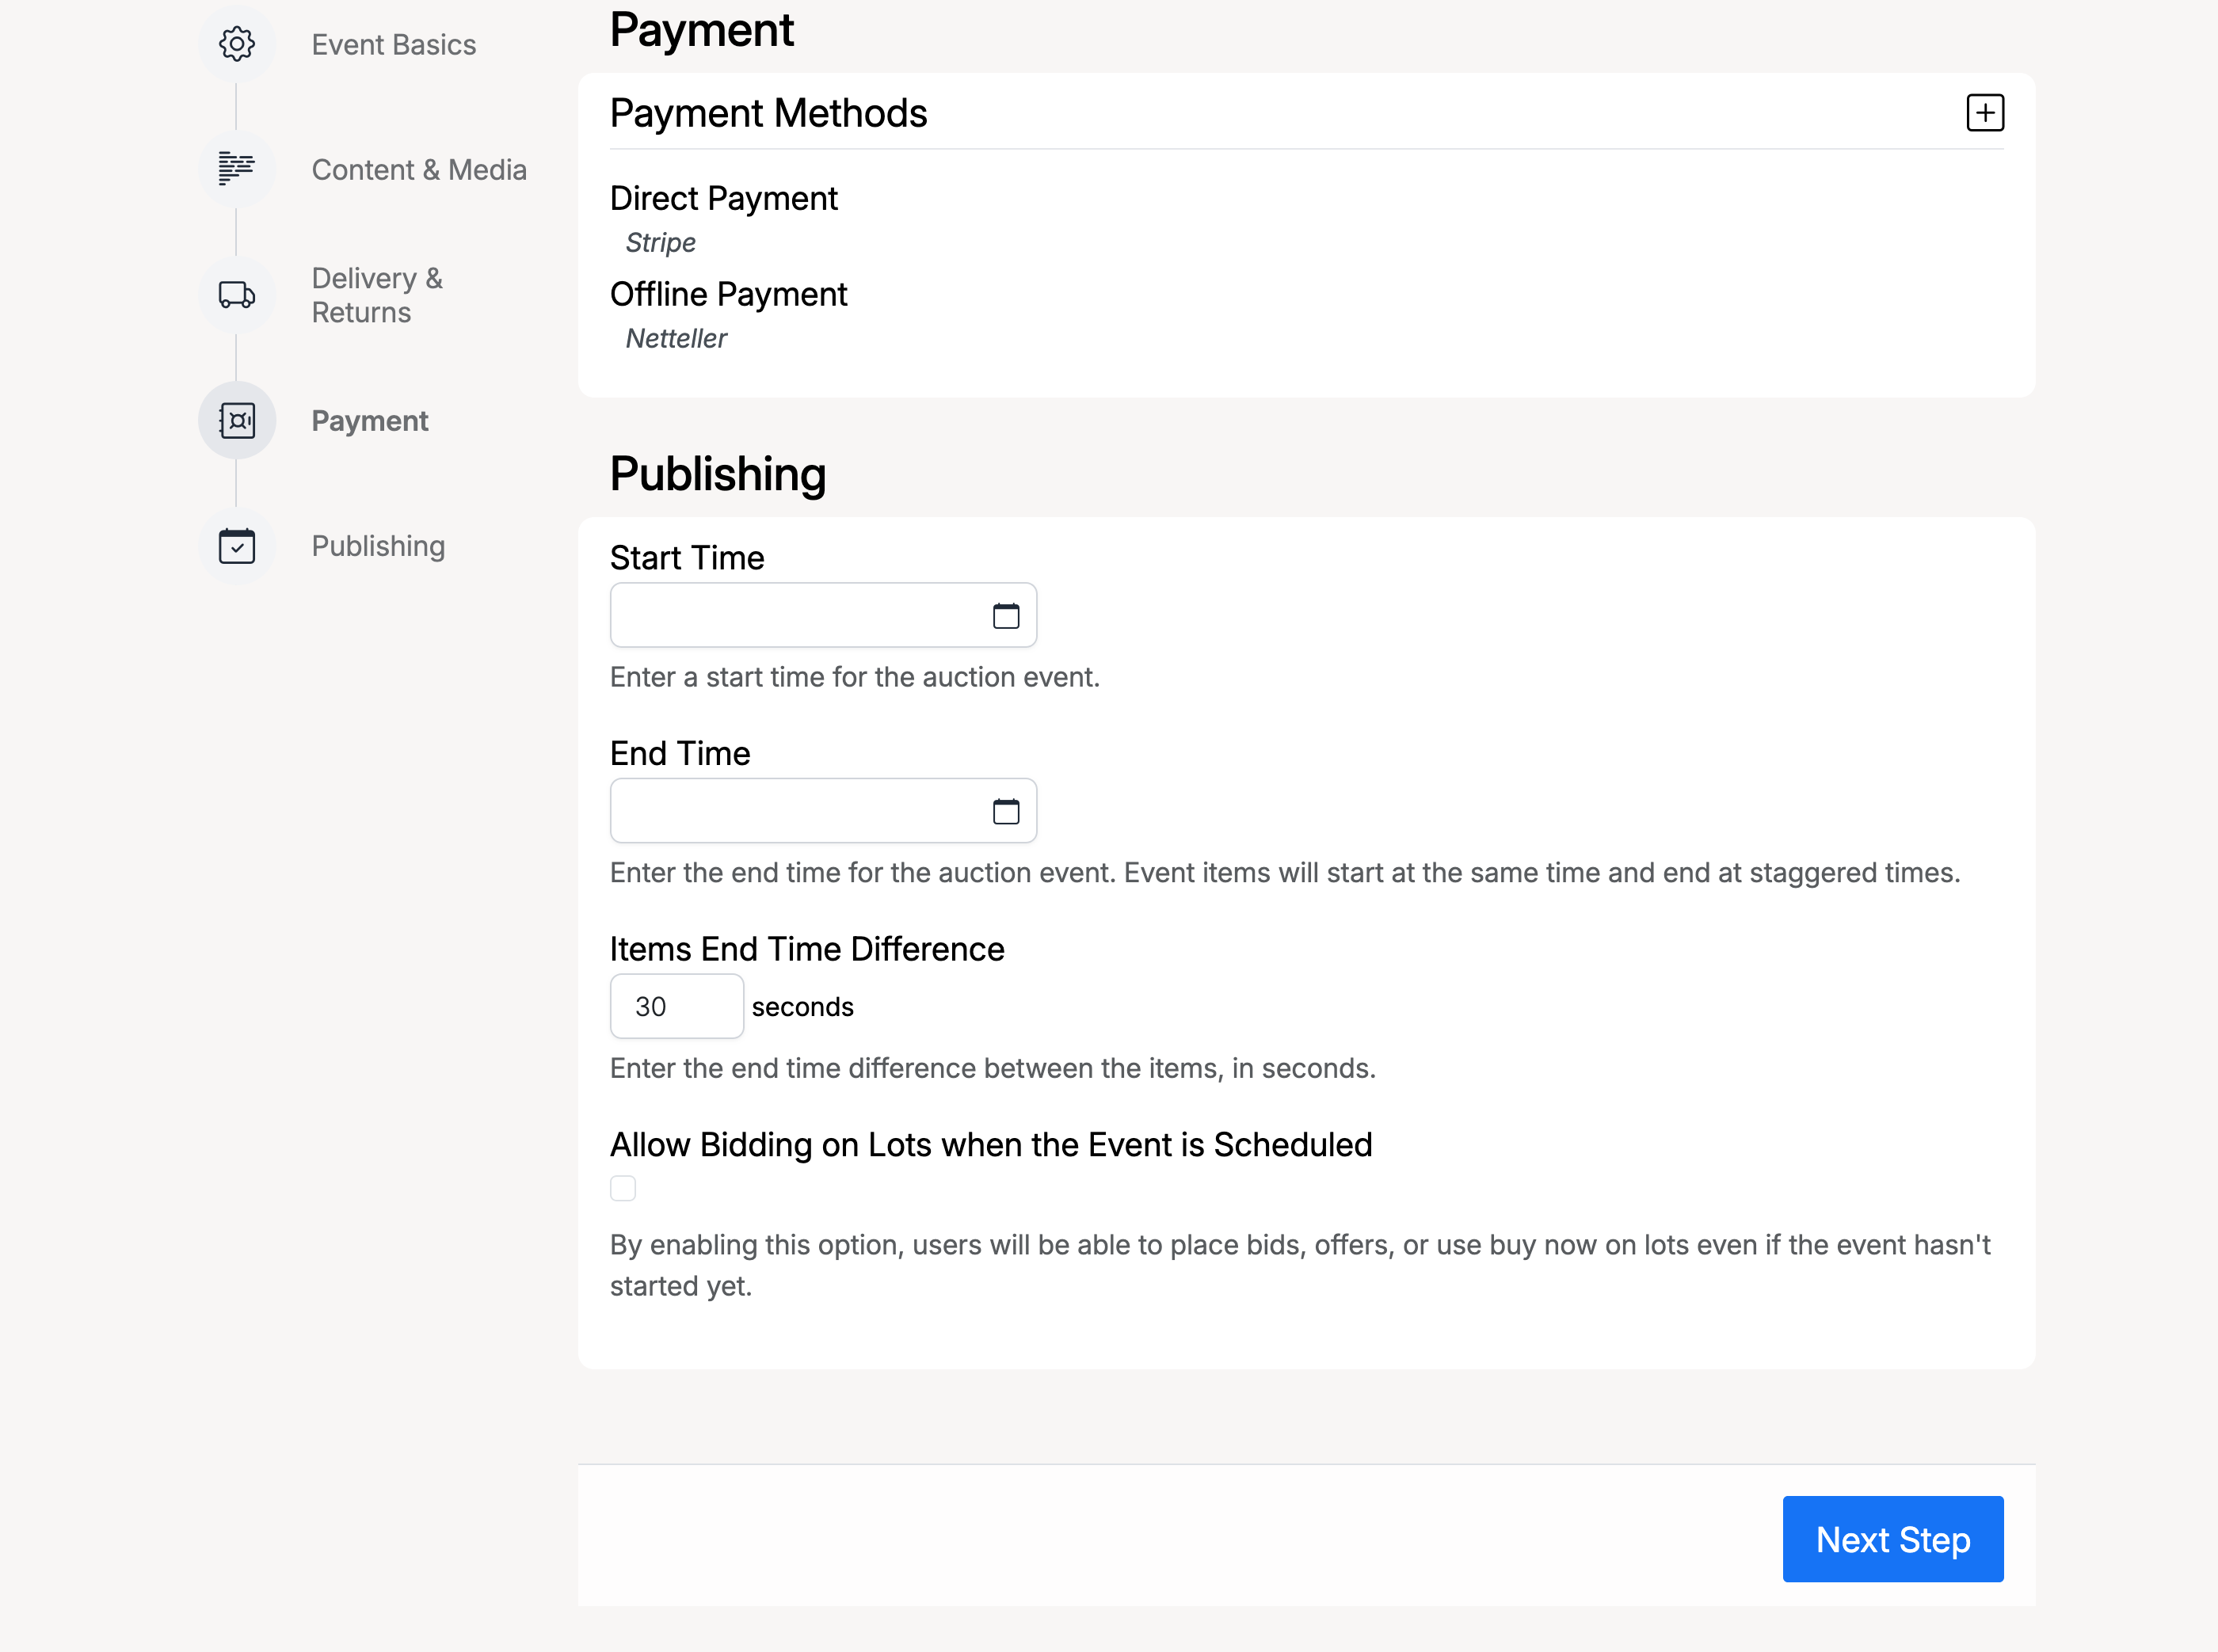
- Payment Methods — select which direct payment and offline payment methods buyers can use.
- Start Time — when the event goes live and bidding opens.
- End Time — when the event closes. All lots share this end time window.
- Items End Time Difference — the stagger interval (in seconds) between lots ending. For example, 30 seconds means each lot ends 30 seconds after the previous one.
- Allow Bidding on Lots when the Event is Scheduled — if enabled, buyers can place bids, offers, or use buy-out on lots even before the event starts.
Preview
The second step shows a preview of the event before you create it. Review the details under the Description, Payment, and Shipping & Returns tabs.
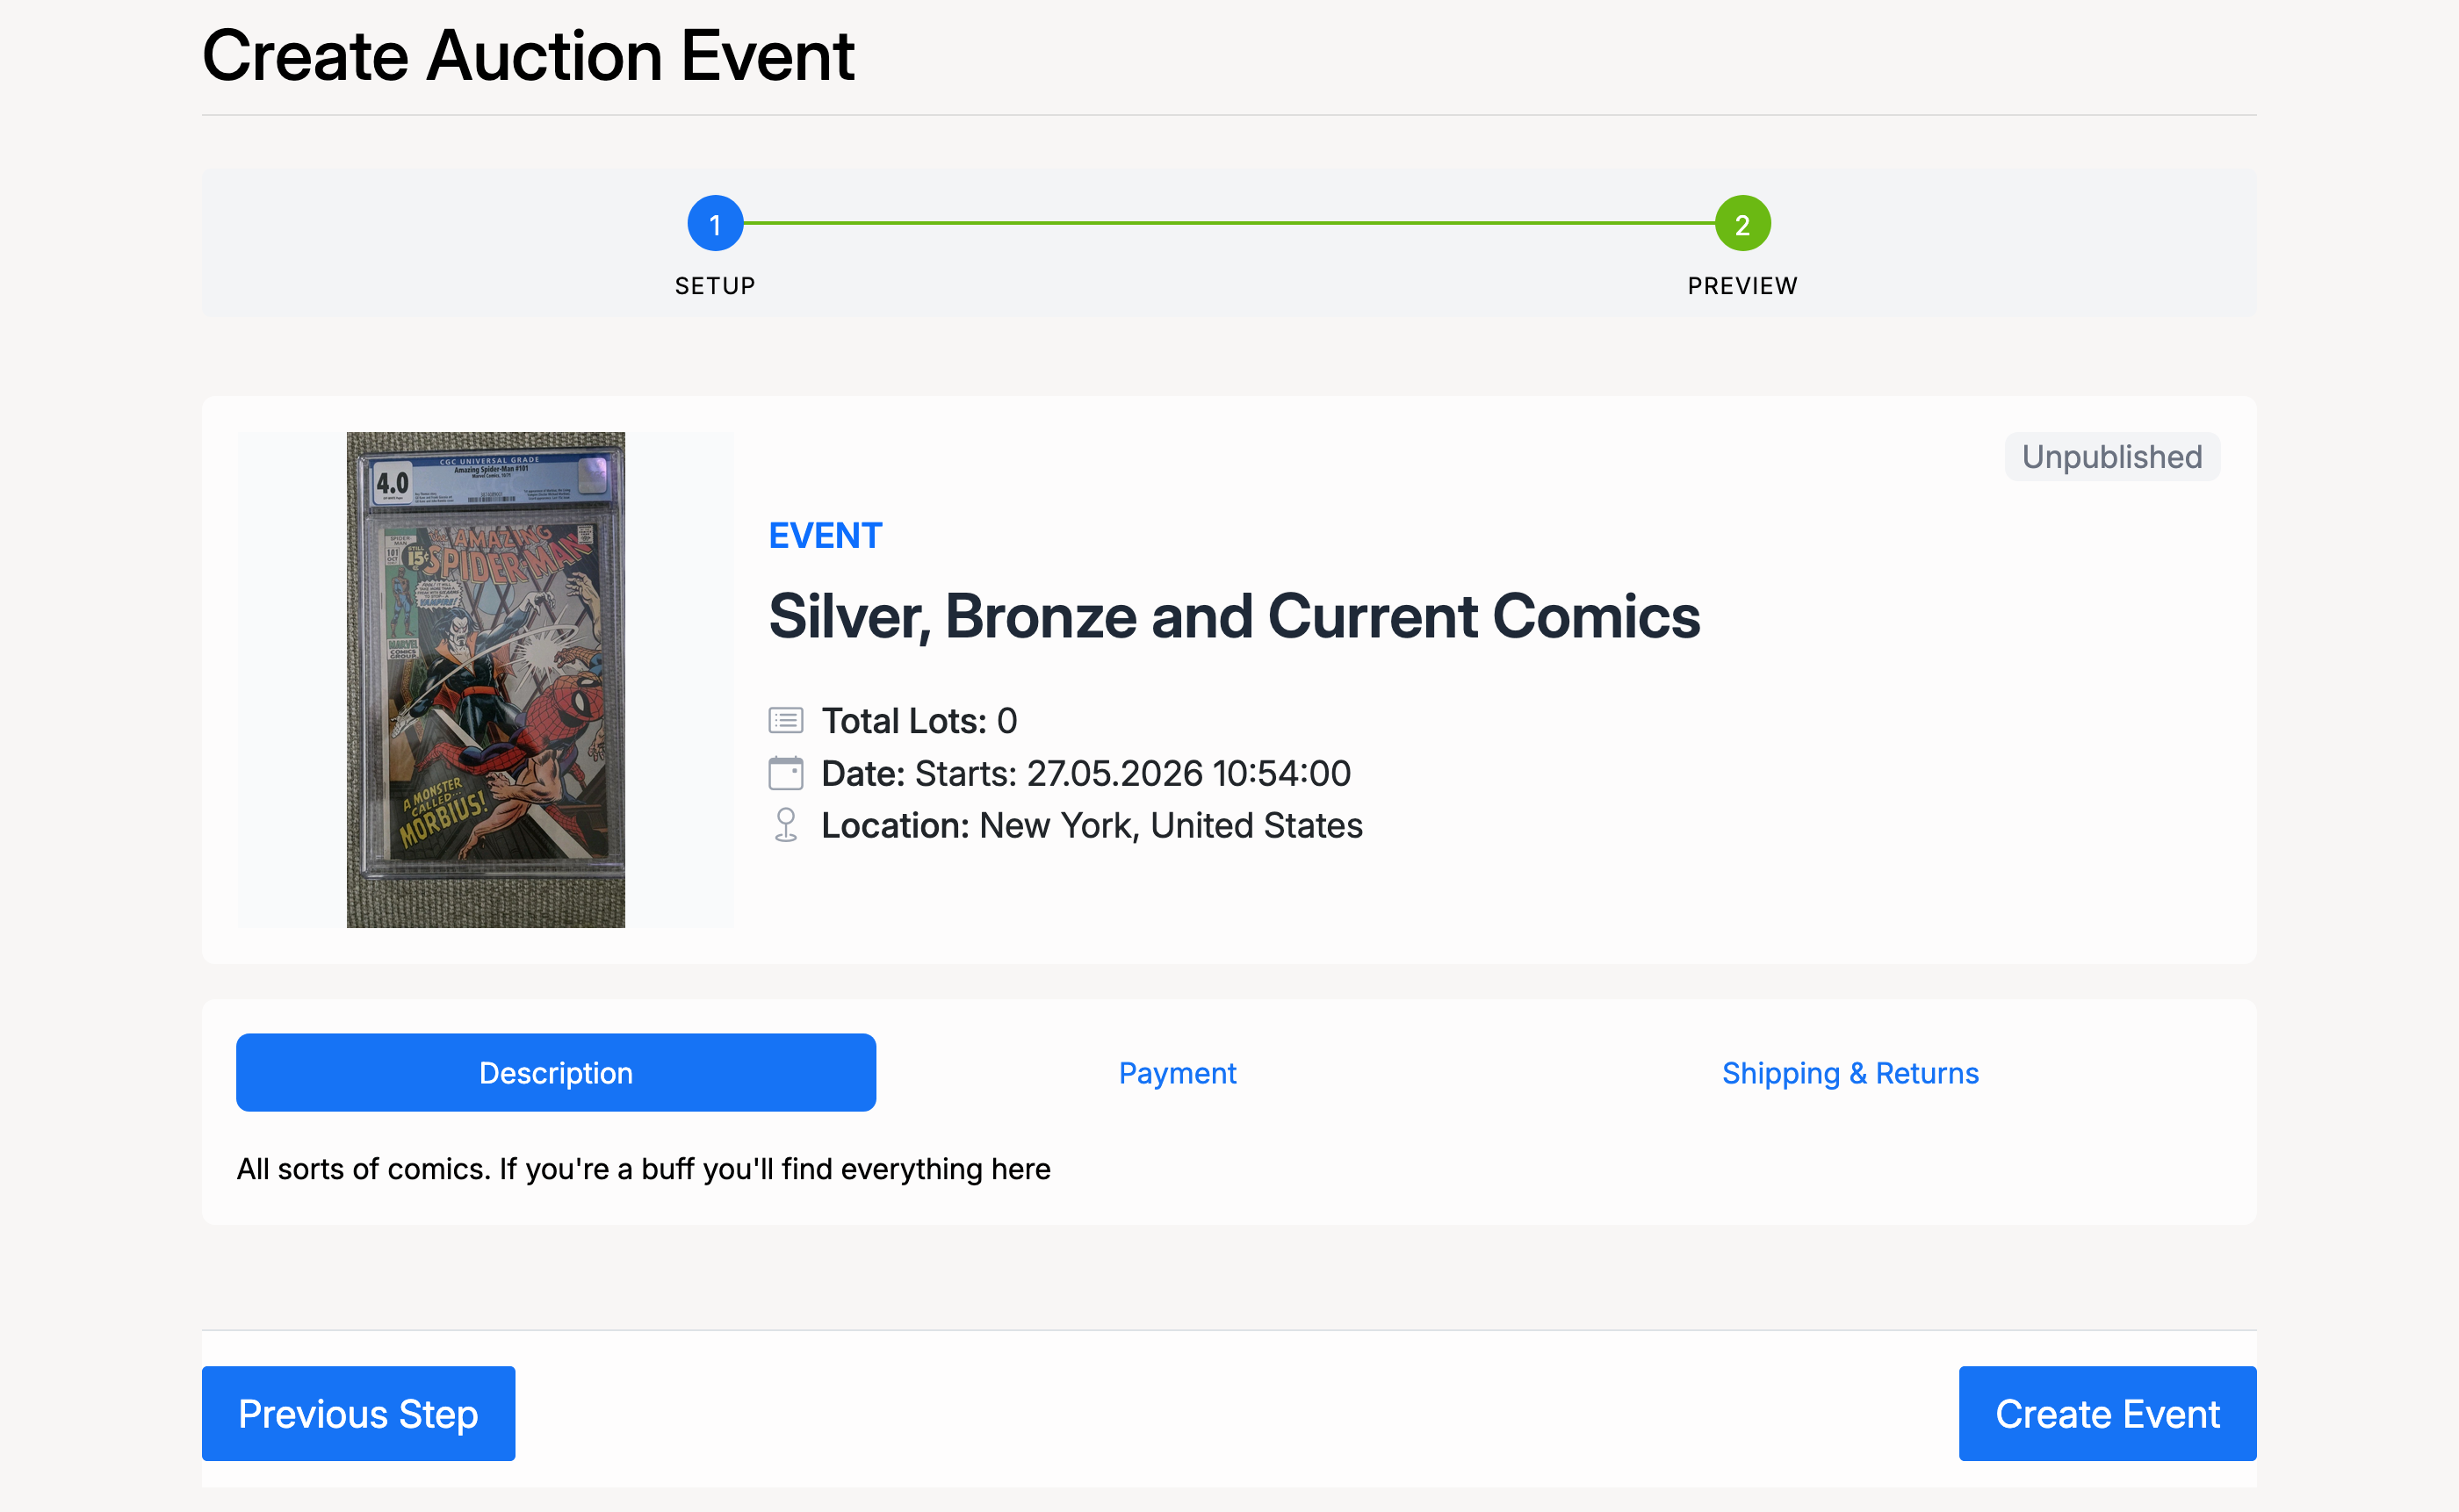
Click Create Event to save the event. The event is created in an Unpublished state — you need to add lots before you can publish it.
Event Created
After creating the event, you are taken to the Manage Event page. From here you can add lots, edit the event, or publish it once your lots are ready.
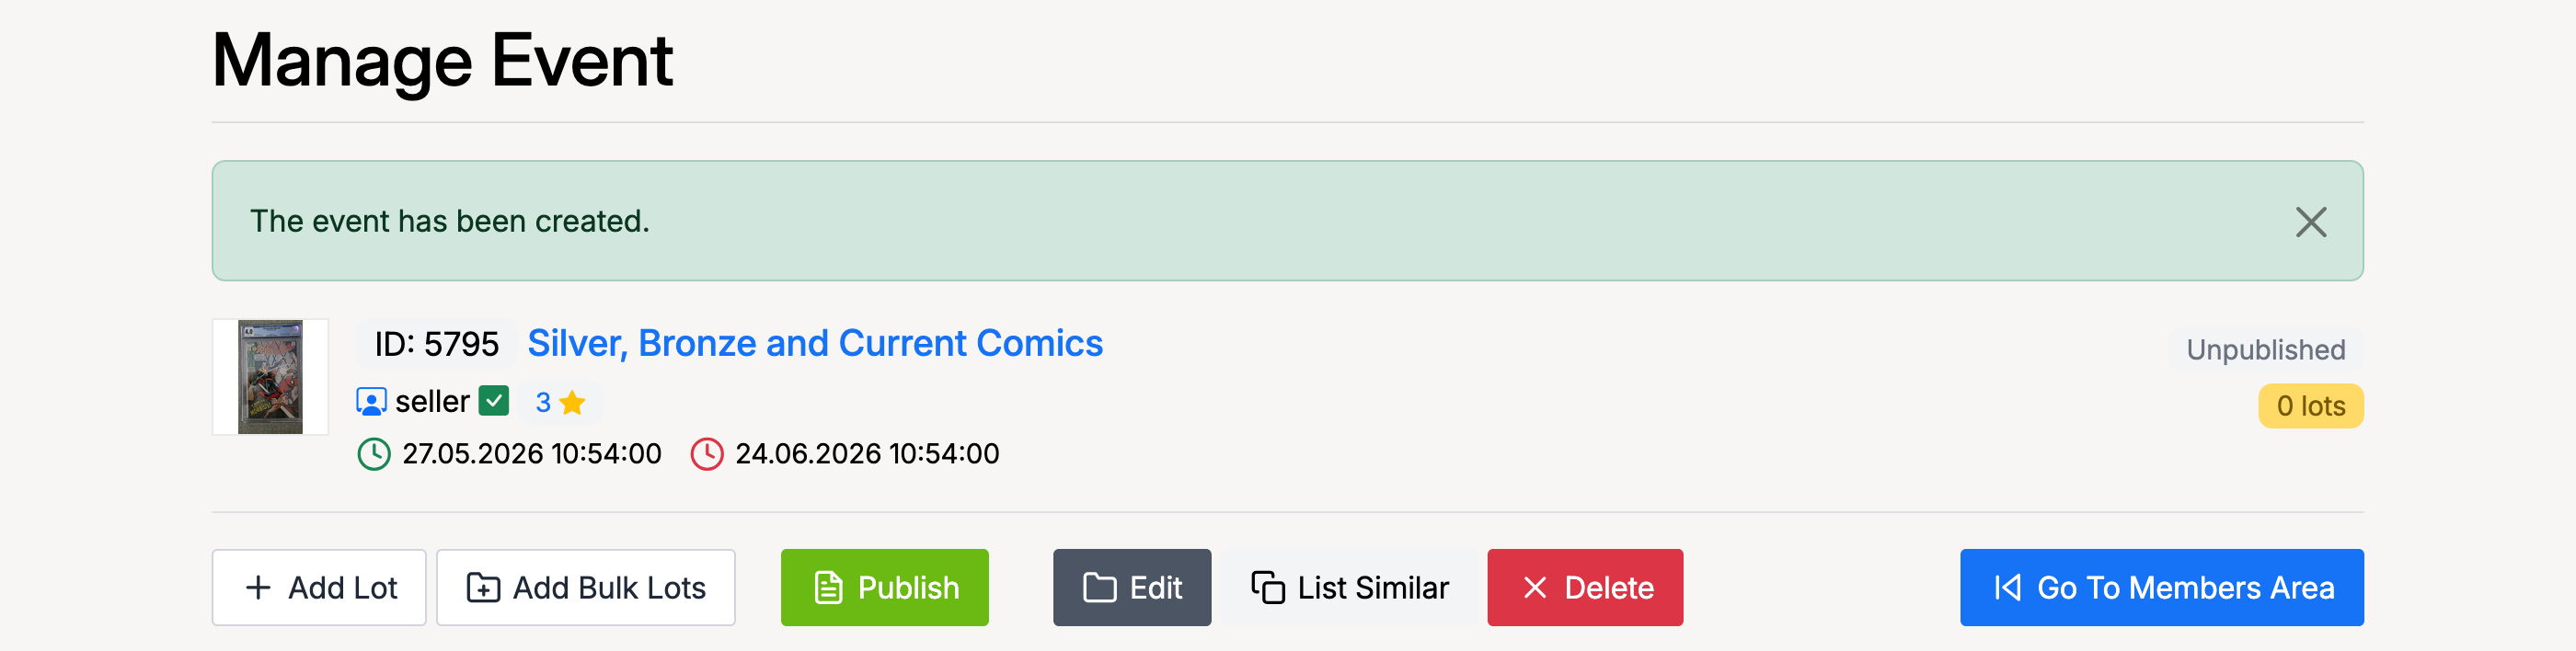
The available actions are:
- Add Lot — create a new listing as a lot in this event.
- Add Bulk Lots — add multiple lots at once.
- Publish — publish the event (available once lots have been added).
- Edit — modify the event details.
- List Similar — create a new event based on this one.
- Delete — remove the event entirely.
Admin Settings
To enable or disable auction events, go to Admin → Listings → Settings → Events.

- Enable Auction Events — check to allow sellers to create auction events. When unchecked, the Create Event option is hidden from the Members Area.
Browse Event Listings
To view and manage event lots, go to Admin → Listings → Browse and click the Events tab to filter by event listings. You can also use the Auctions, Products, and Classifieds tabs to filter by listing type.
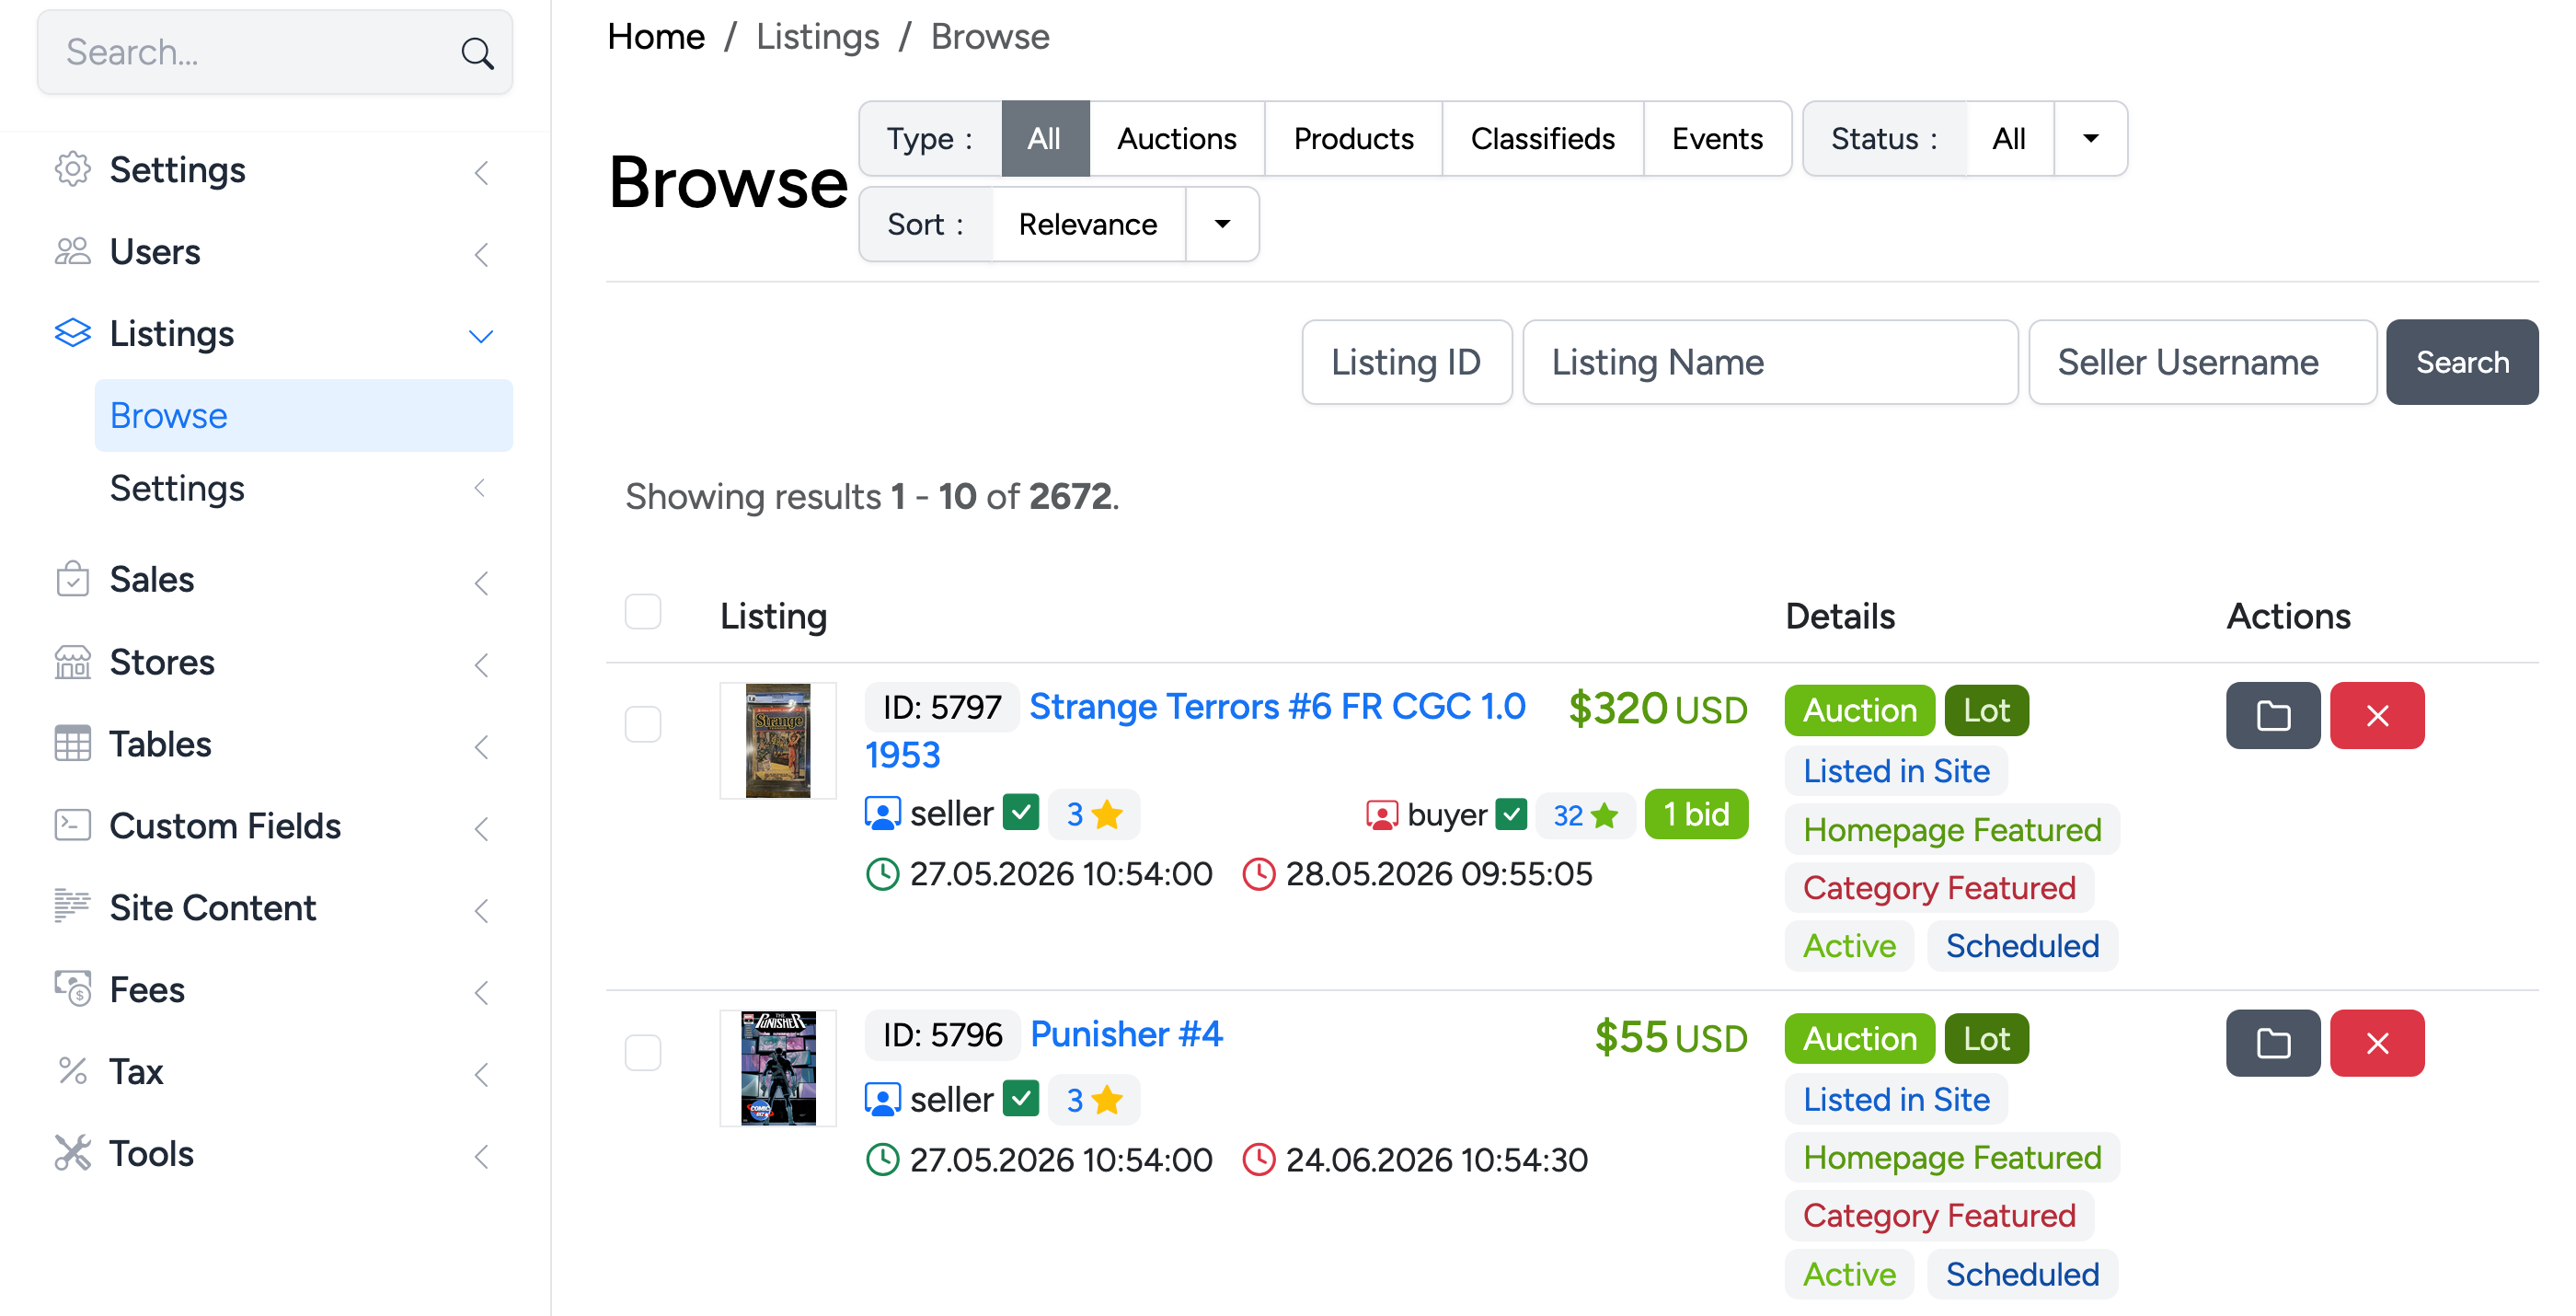
Each event lot shows an Auction and Lot badge, the current bid count, status badges (Listed in Site, Homepage Featured, Category Featured, Active, Scheduled), and action buttons.