
Payment Gateways
Overview
Payment gateways handle the transfer of funds between buyer and seller when a purchase is completed. PHP Pro Bid supports multiple payment gateways out of the box, including Stripe, Authorize.net, Coinbase Commerce, and Netteller.
The site administrator enables one or more gateways and enters the required API credentials. Buyers then choose their preferred payment method during checkout.
Checkout Flow
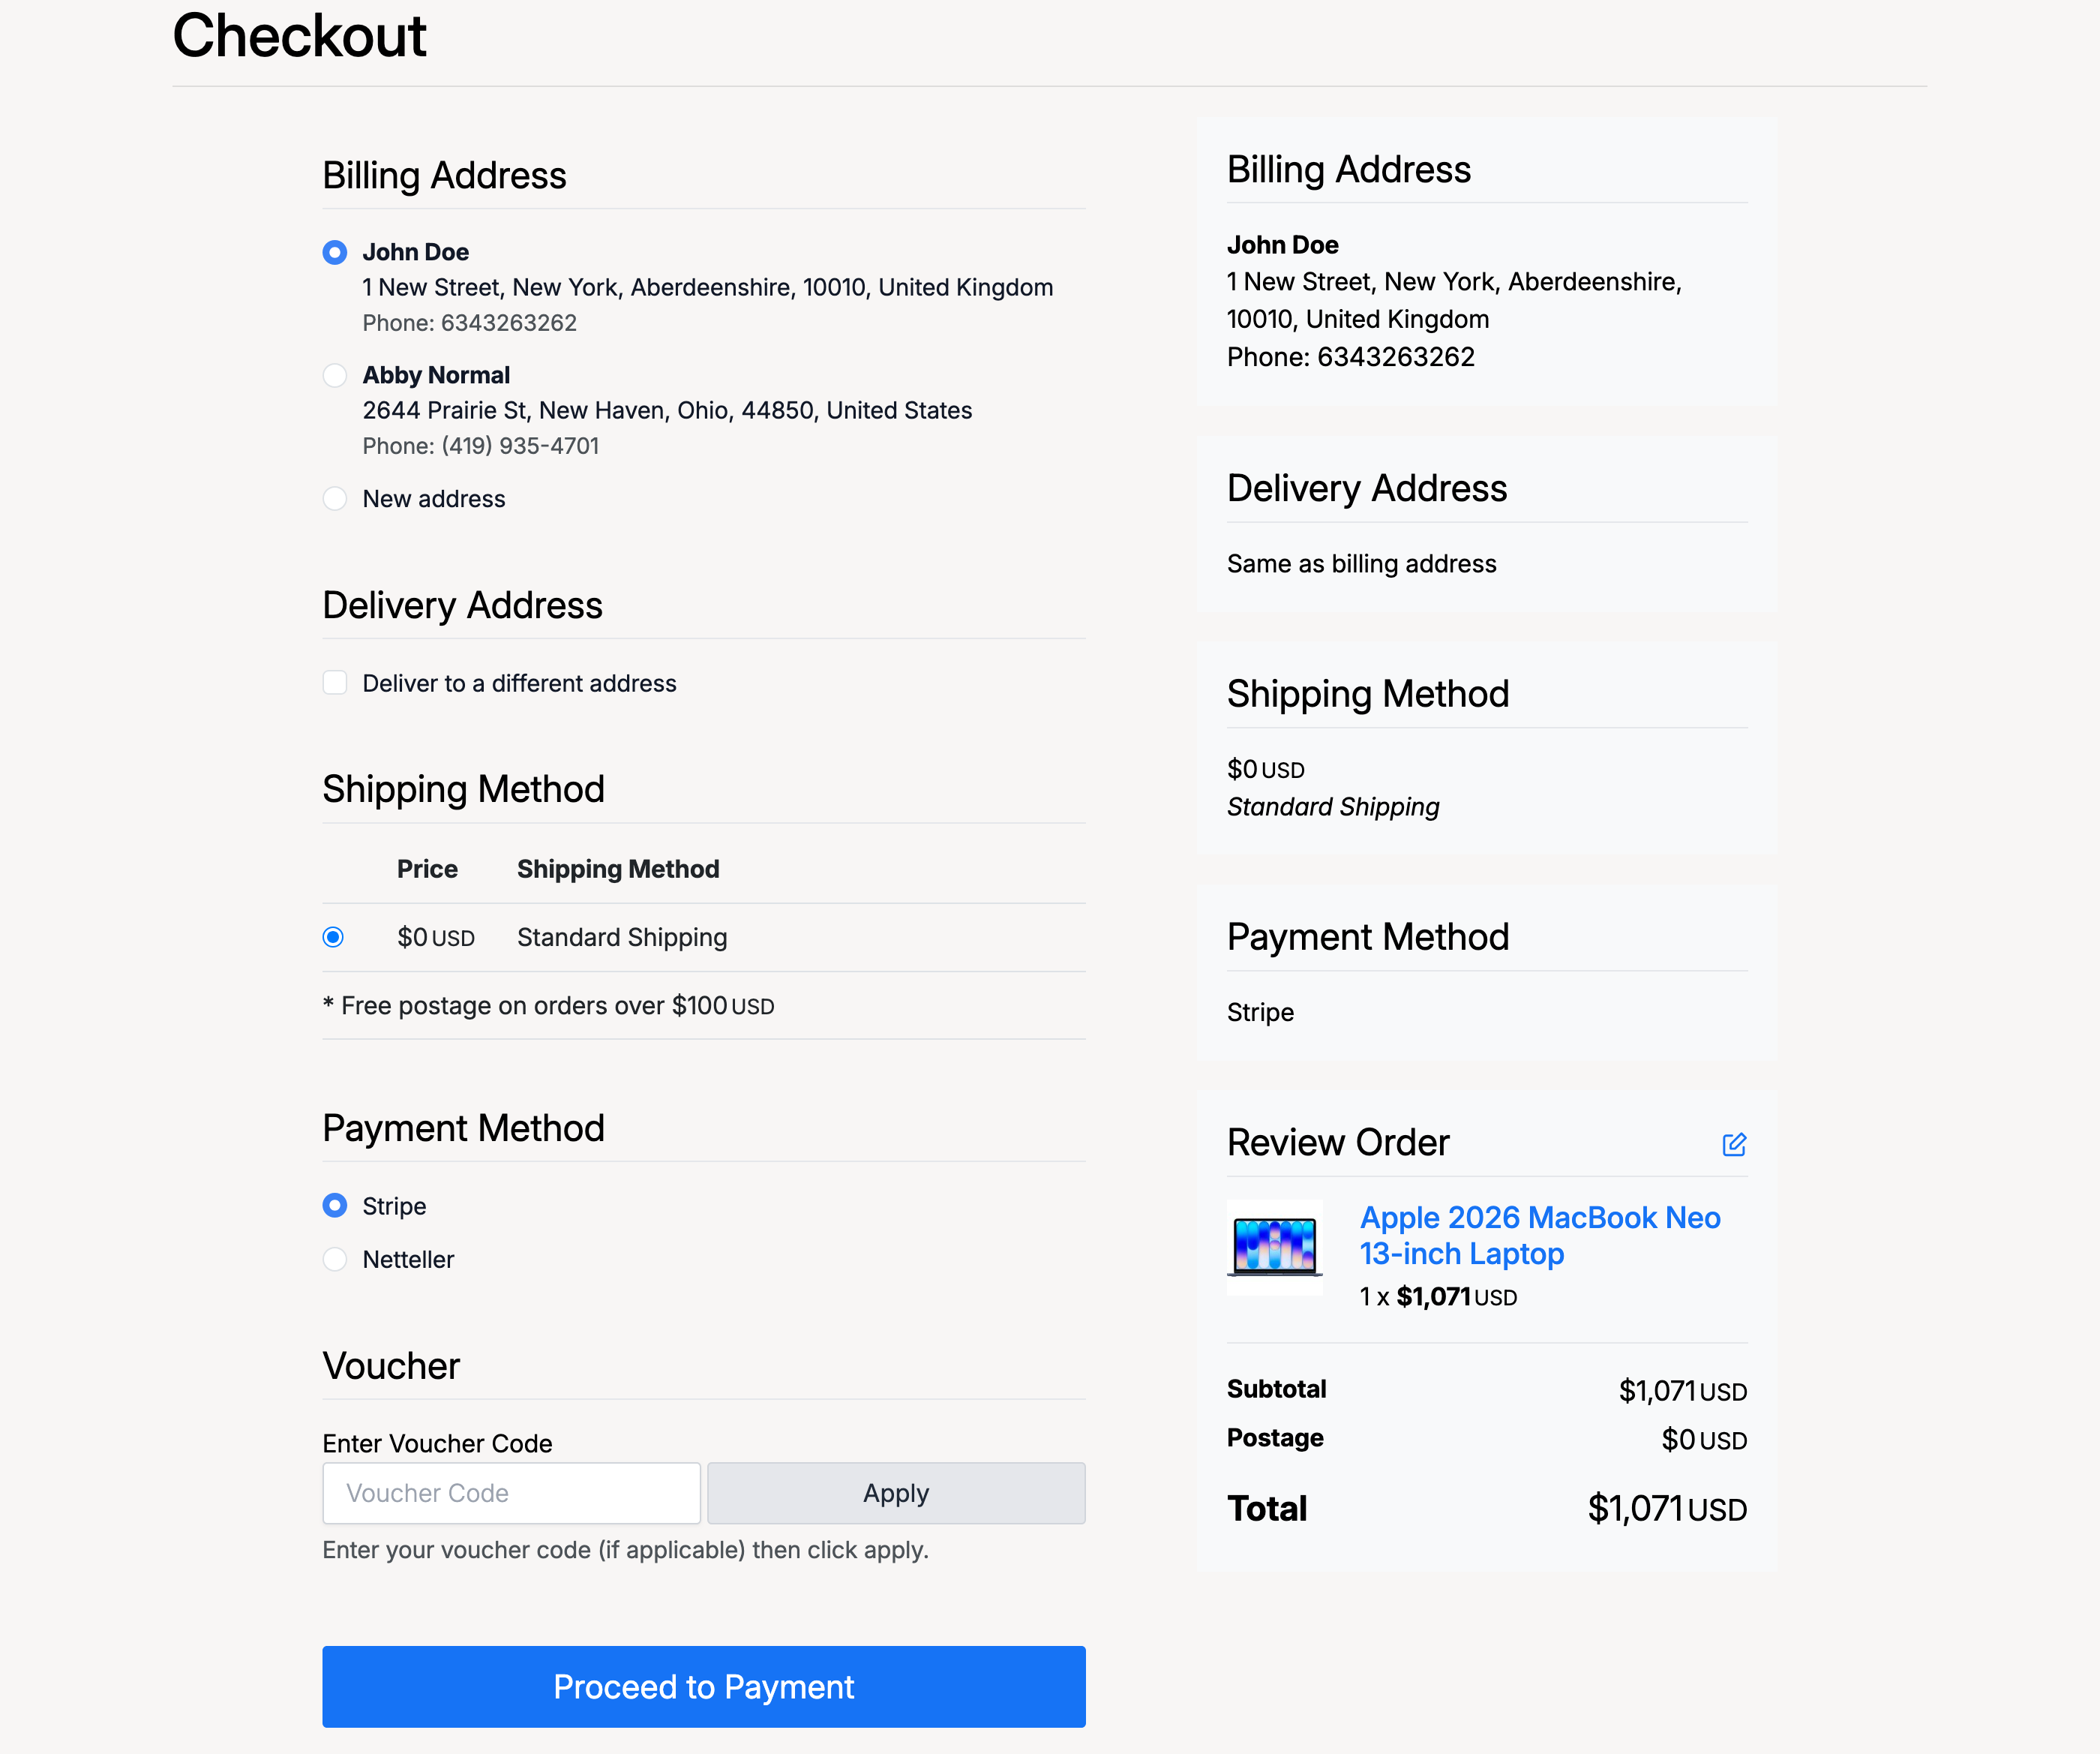
After adding items to your cart and proceeding to checkout, you will see a summary of your order along with the available payment options.
- Select your Billing Address from your saved addresses, or add a new one.
- Choose whether to deliver to a different address or use the billing address.
- Select a Shipping Method if multiple options are available.
- Choose your Payment Method from the enabled gateways (e.g. Stripe, Netteller).
- Optionally enter a Voucher Code for a discount.
- Review the order summary on the right — items, subtotal, postage, and total.
- Click Proceed to Payment.
Completing Payment
After clicking Proceed to Payment, you are taken to the payment page for the selected gateway. Here you enter your payment details and confirm the transaction.
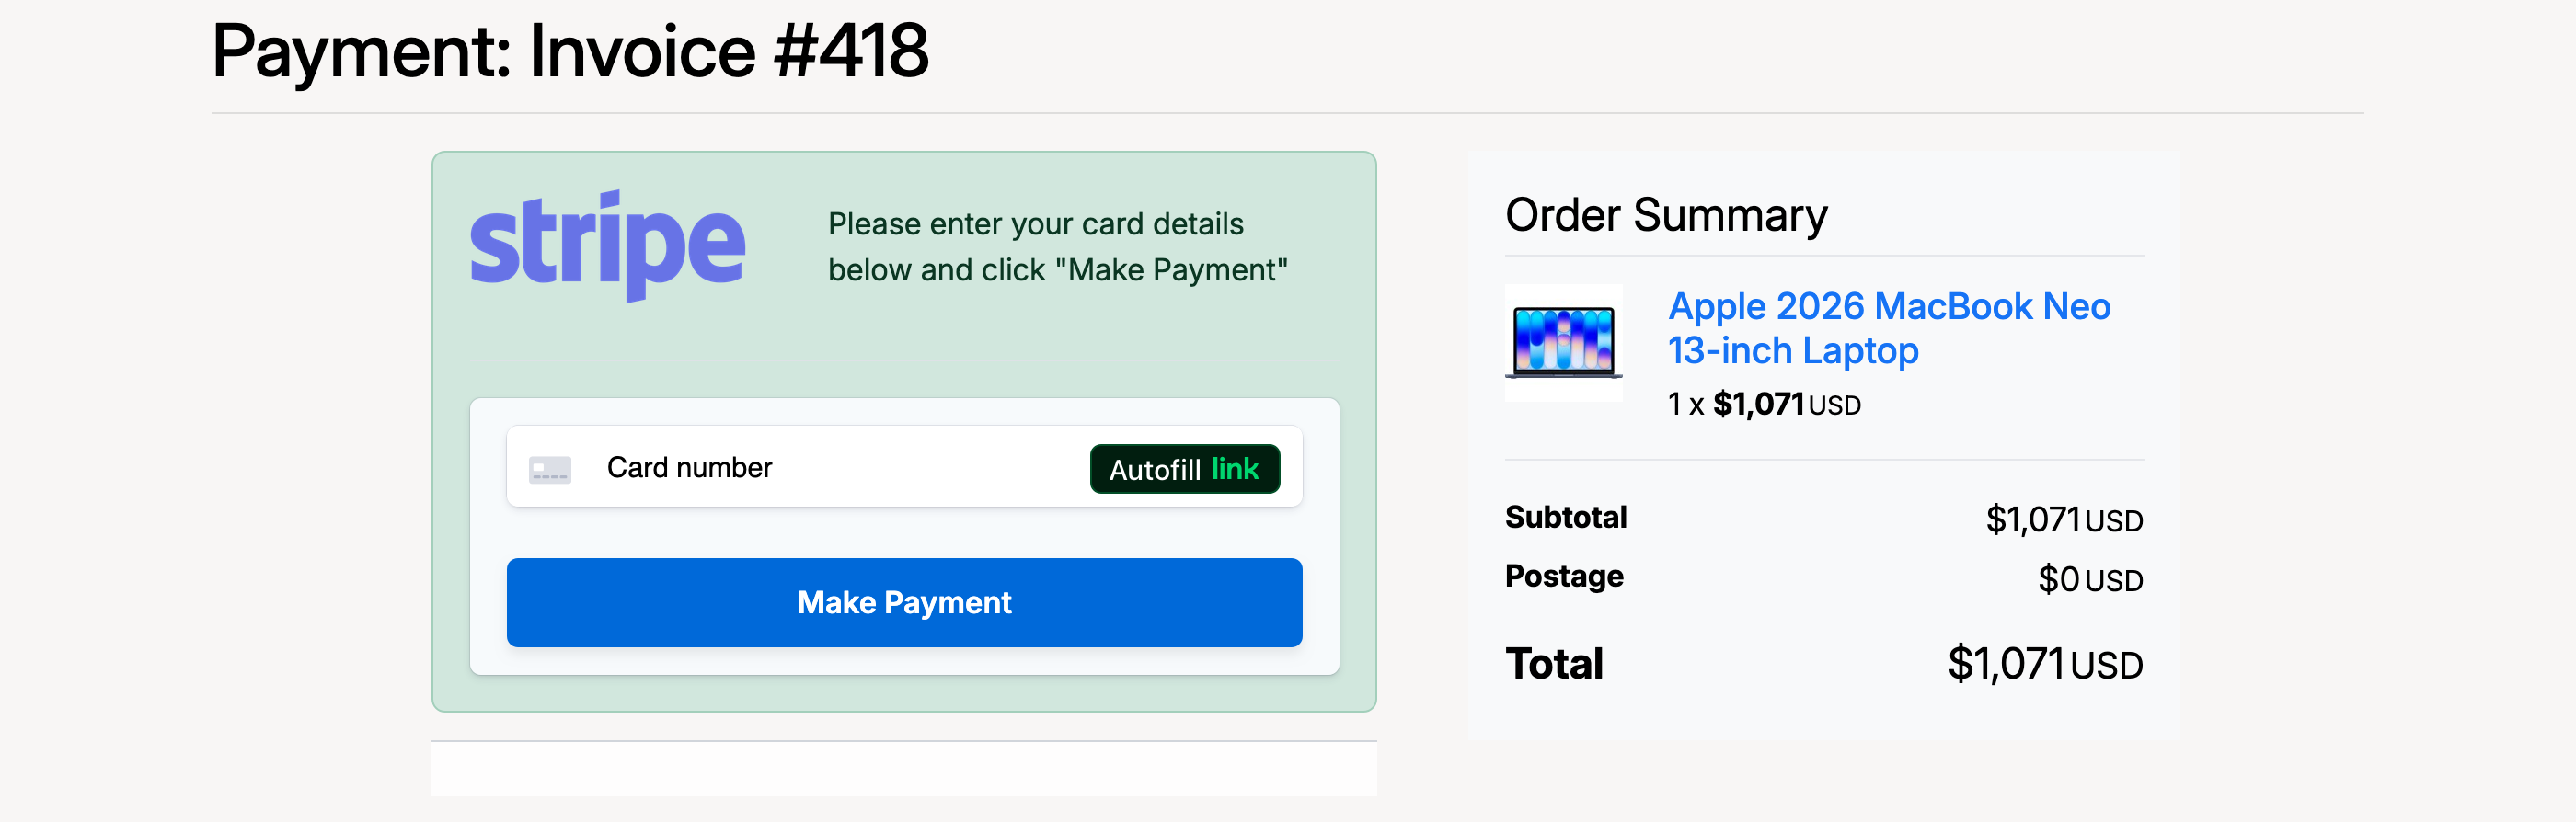
The payment page shows:
- Invoice number — the reference for this transaction.
- Card details form — provided by the payment gateway (Stripe in this example).
- Order Summary — item name, quantity, subtotal, postage, and total.
- Make Payment button — submits your payment for processing.
Once payment is confirmed, your order is complete and an invoice is generated. You can view all your invoices from Members Area → Buying → Invoices.
Admin — Gateway Setup
Administrators configure payment gateways from Admin Control Panel → Fees → Payment Gateways.
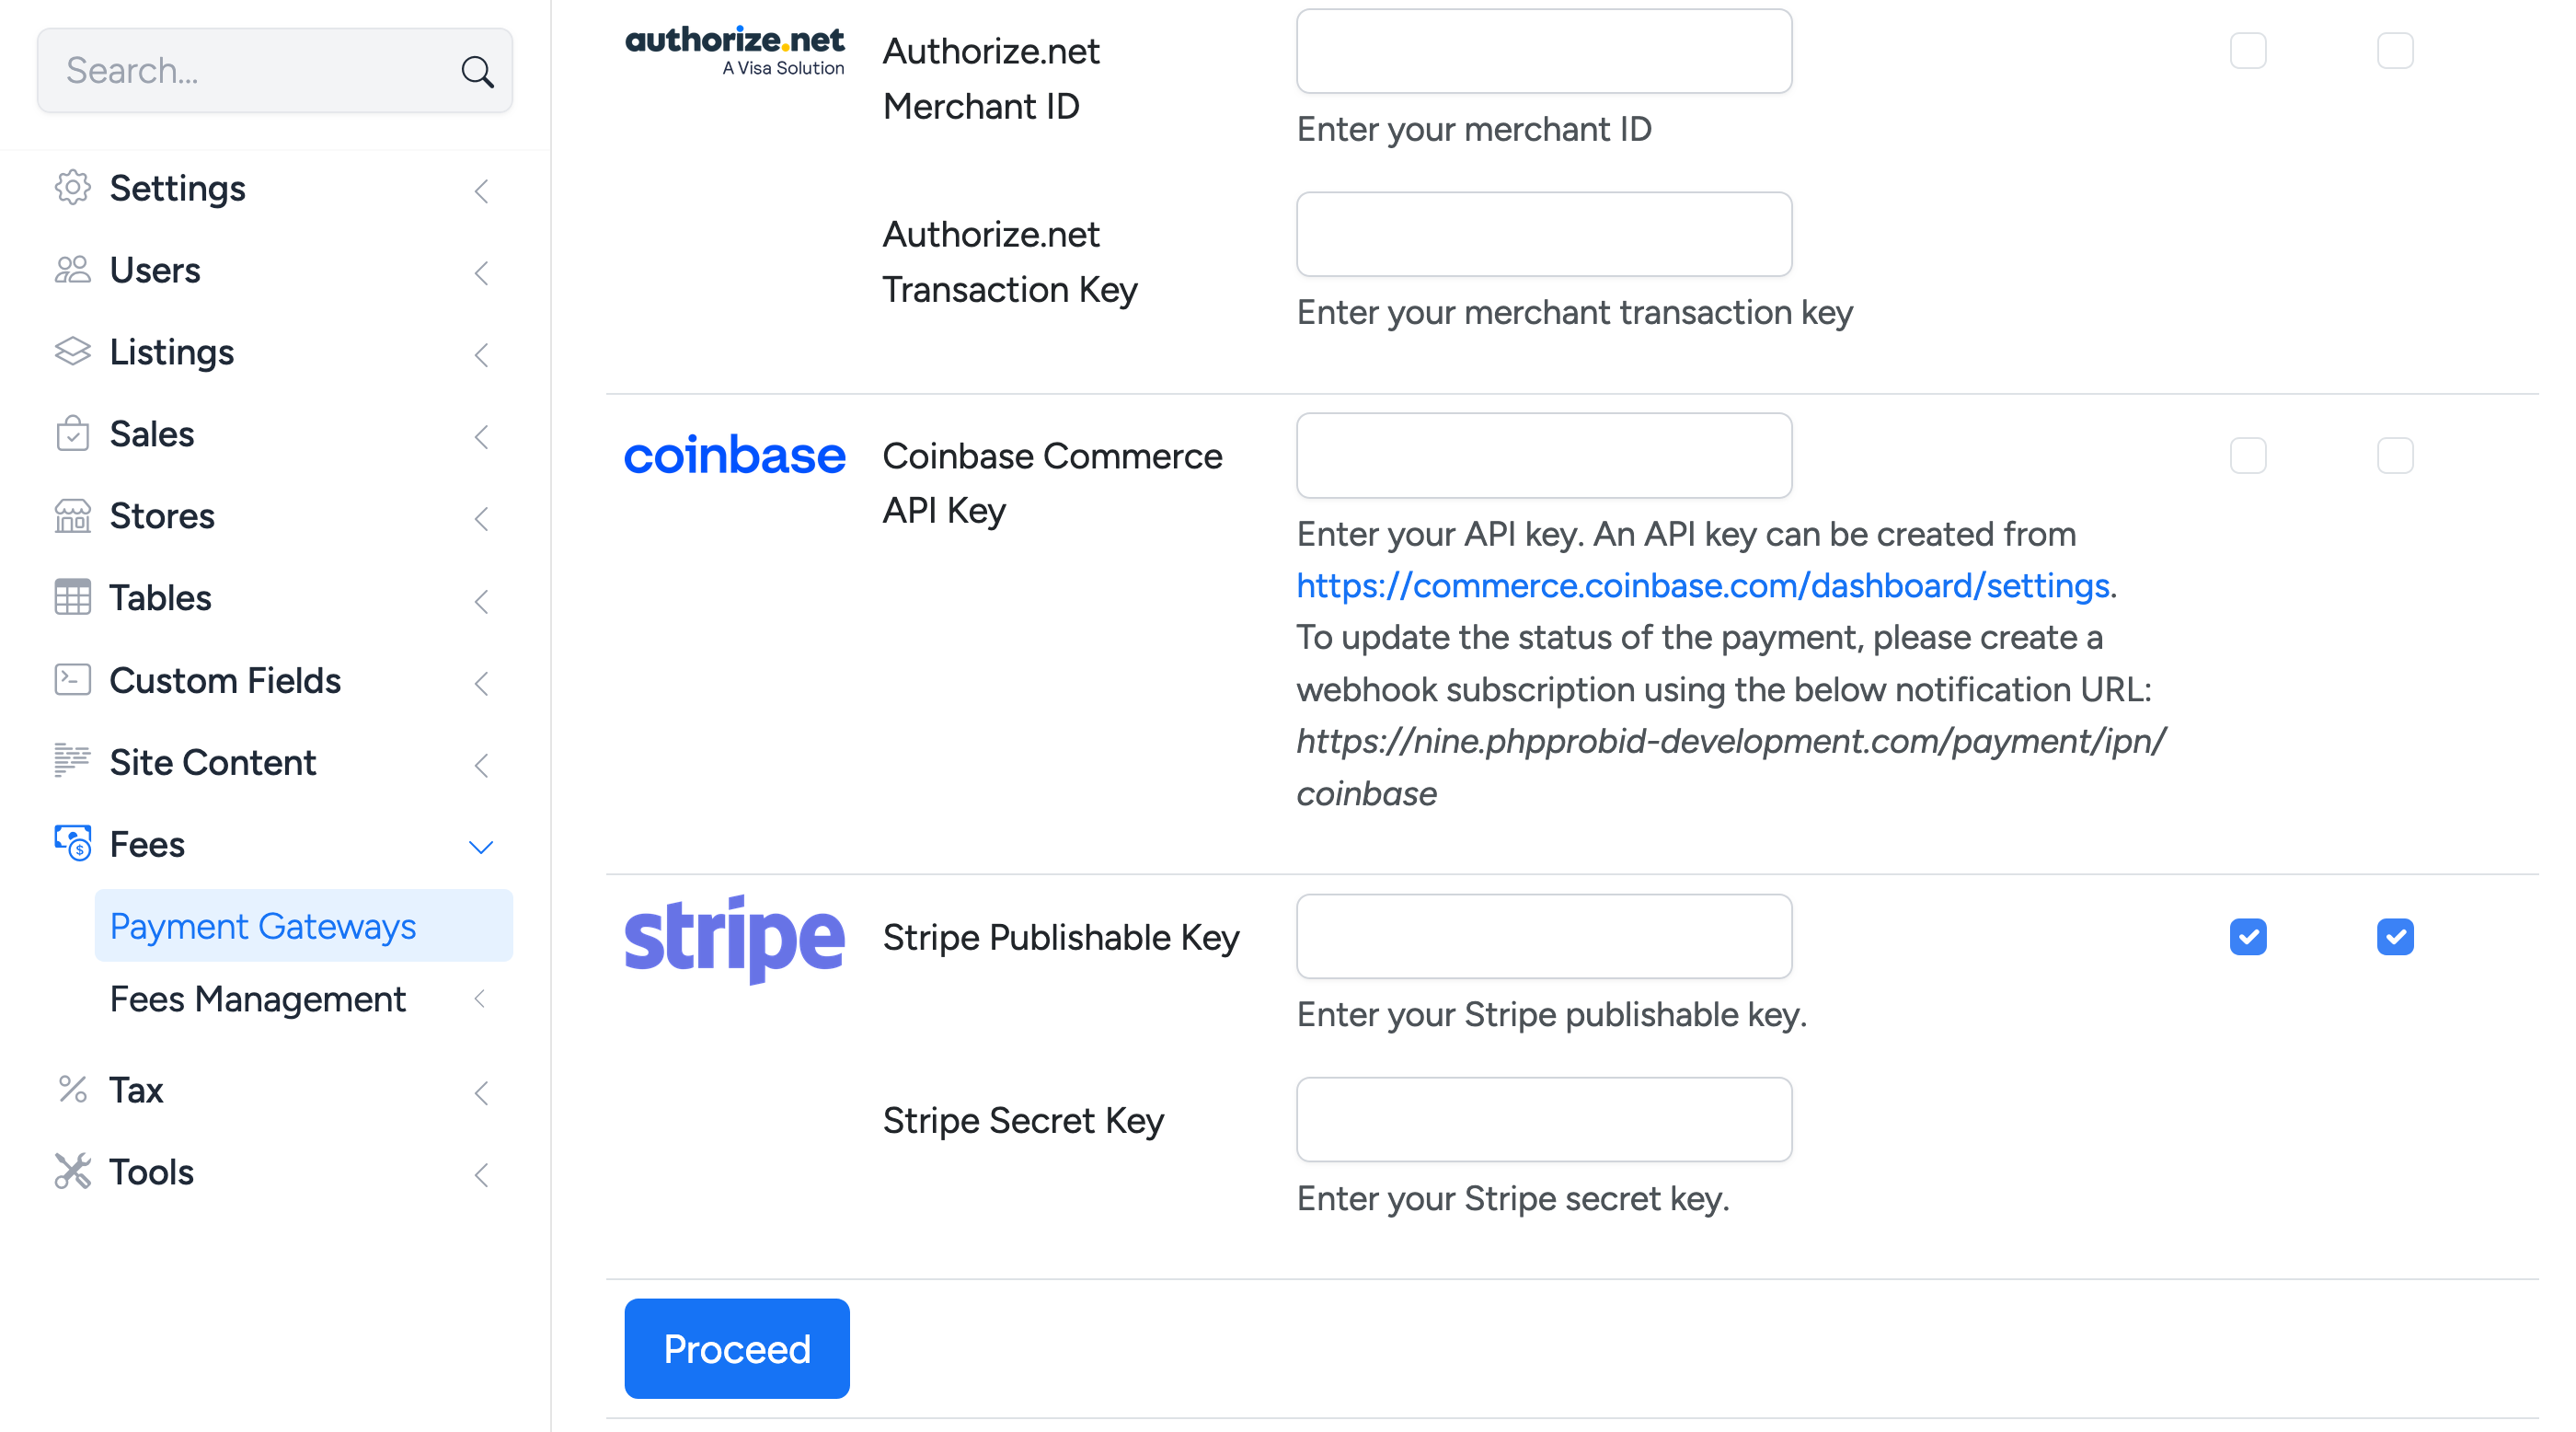
Each gateway has its own set of fields:
- Authorize.net — Merchant ID and Transaction Key.
- Coinbase Commerce — API Key. A webhook subscription URL is also displayed for IPN (Instant Payment Notification) setup.
- Stripe — Publishable Key and Secret Key. Use the checkboxes to enable Stripe as a payment method.
Enable the gateways you want to offer by ticking their checkboxes, enter the required API credentials, and click Proceed to save.
Per-User Gateway Keys
Individual sellers can use their own payment gateway credentials so that buyer payments go directly to the seller’s account rather than through the site’s main gateway.
To view or set a user’s gateway keys, go to Admin Control Panel → Users → Site Users, find the user, and click Edit.
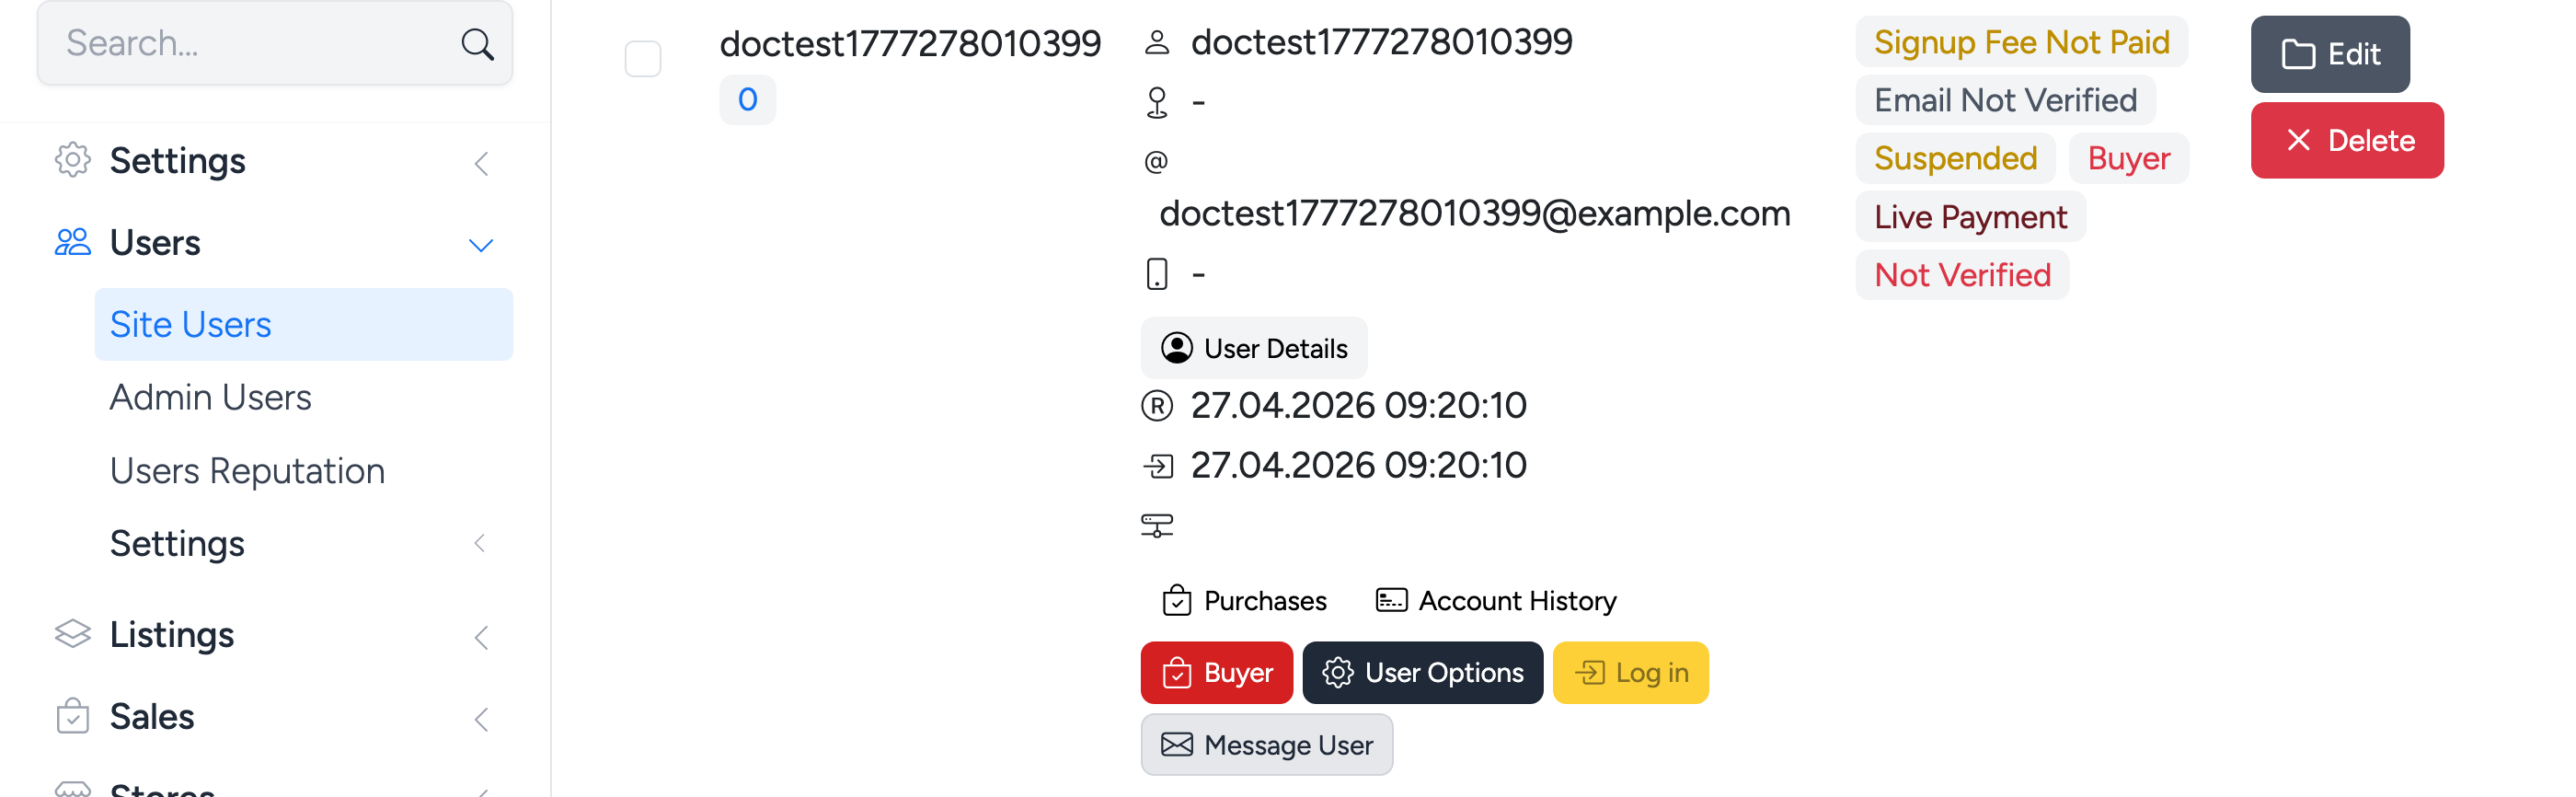
On the user’s edit page, the gateway key fields are displayed (e.g. Stripe Publishable Key and Stripe Secret Key). When populated, payments for that seller’s listings are processed through their own gateway account.
