An entry is a standalone page on your site. However, depending on your needs, there are two types of entries. Please read further to find out how to create an entry and discover all of its (optional) features.
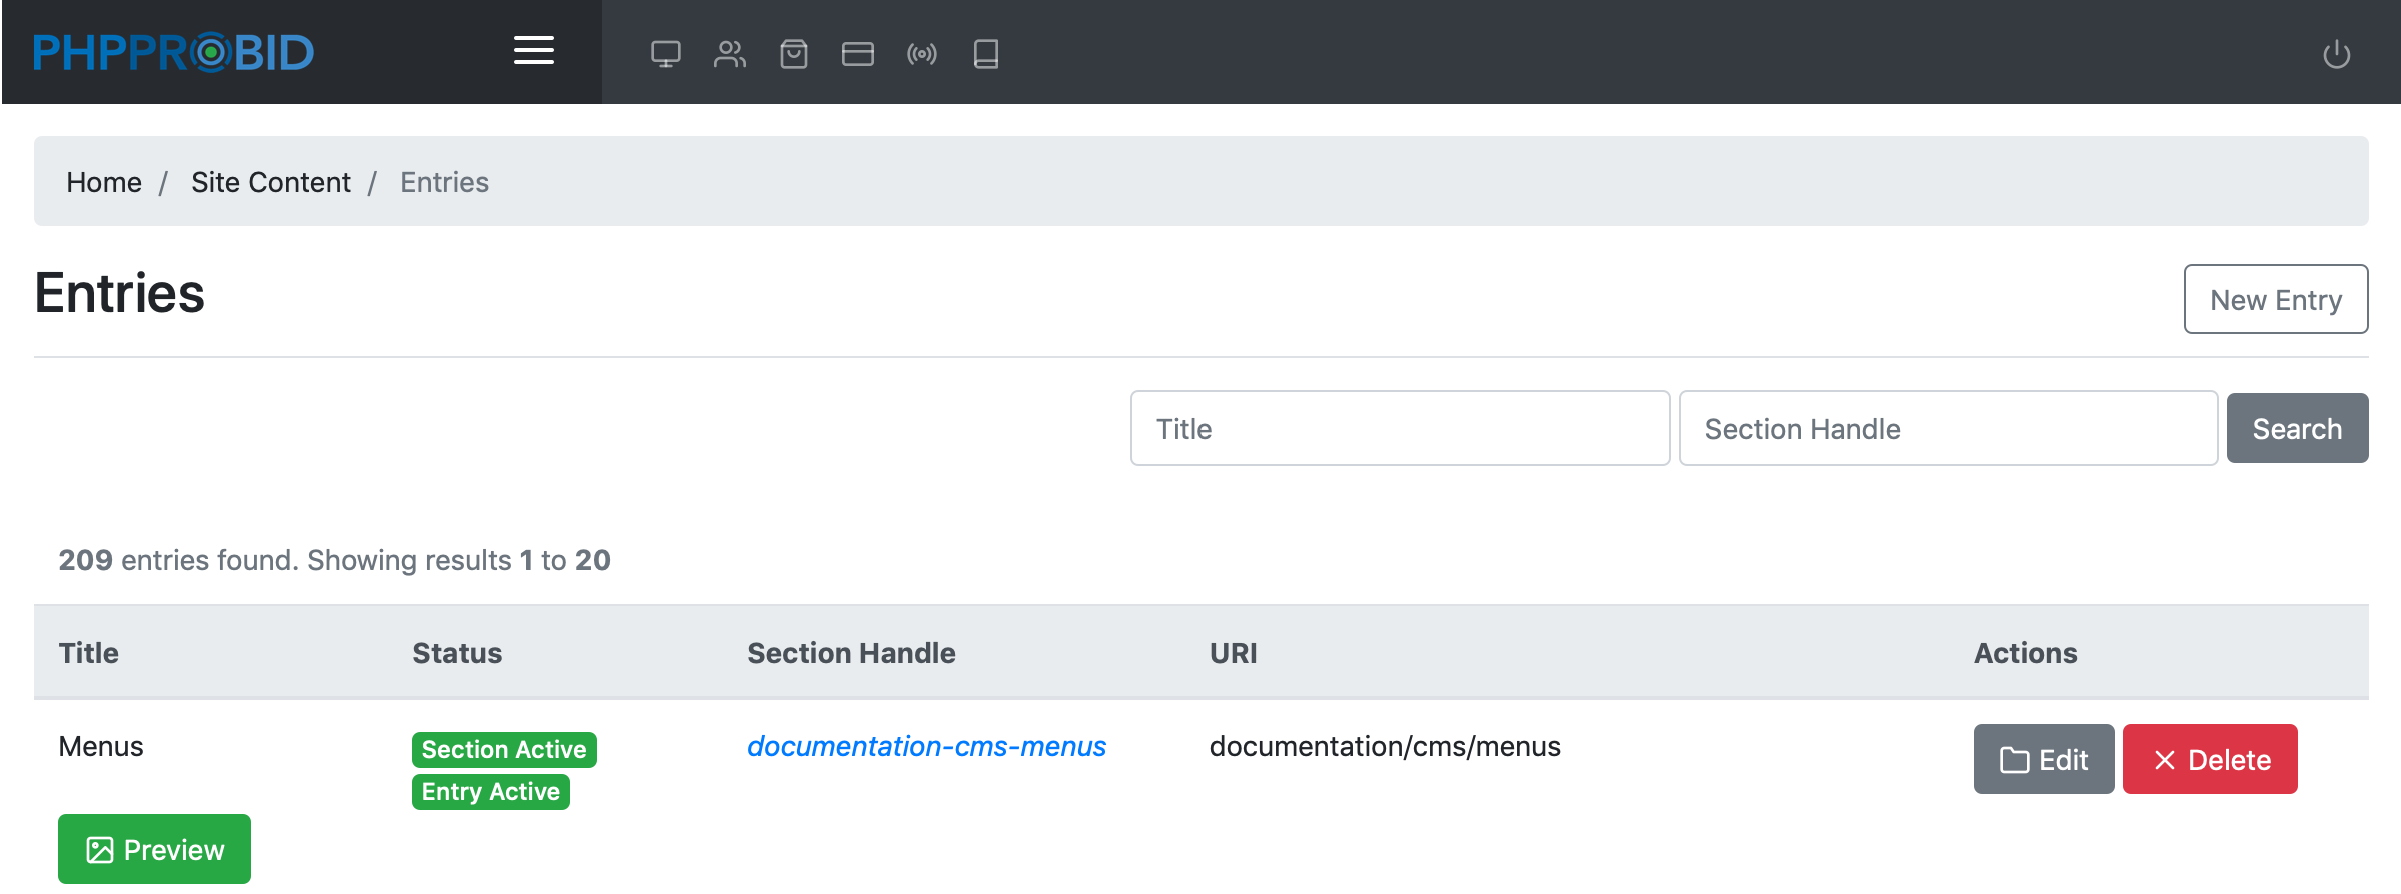
From the Entries (Admin Control Panel -> Site Content -> Entries) menu click on the New Entry button in the upper right corner of the screen.

Next, you'll see a screen with the following options:
An entry can either be attached to a section or stand on its own. If you want to add your newly created entry to a particular section, select it from the dropdown menu. If you prefer a standalone entry select None.

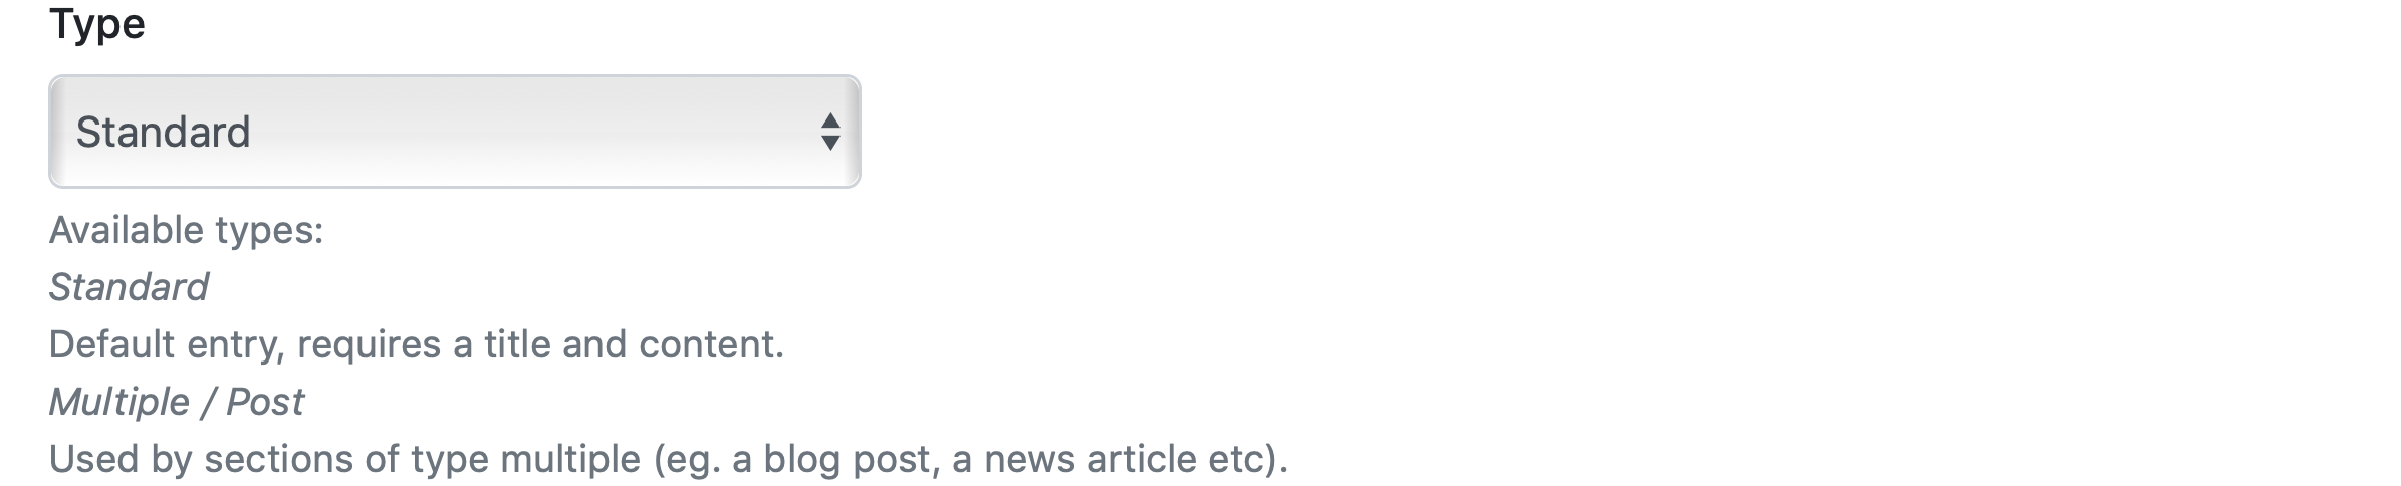
Select the entry type:
Add entry title.

Add an entry description. It will be displayed in the on the main/summary page.

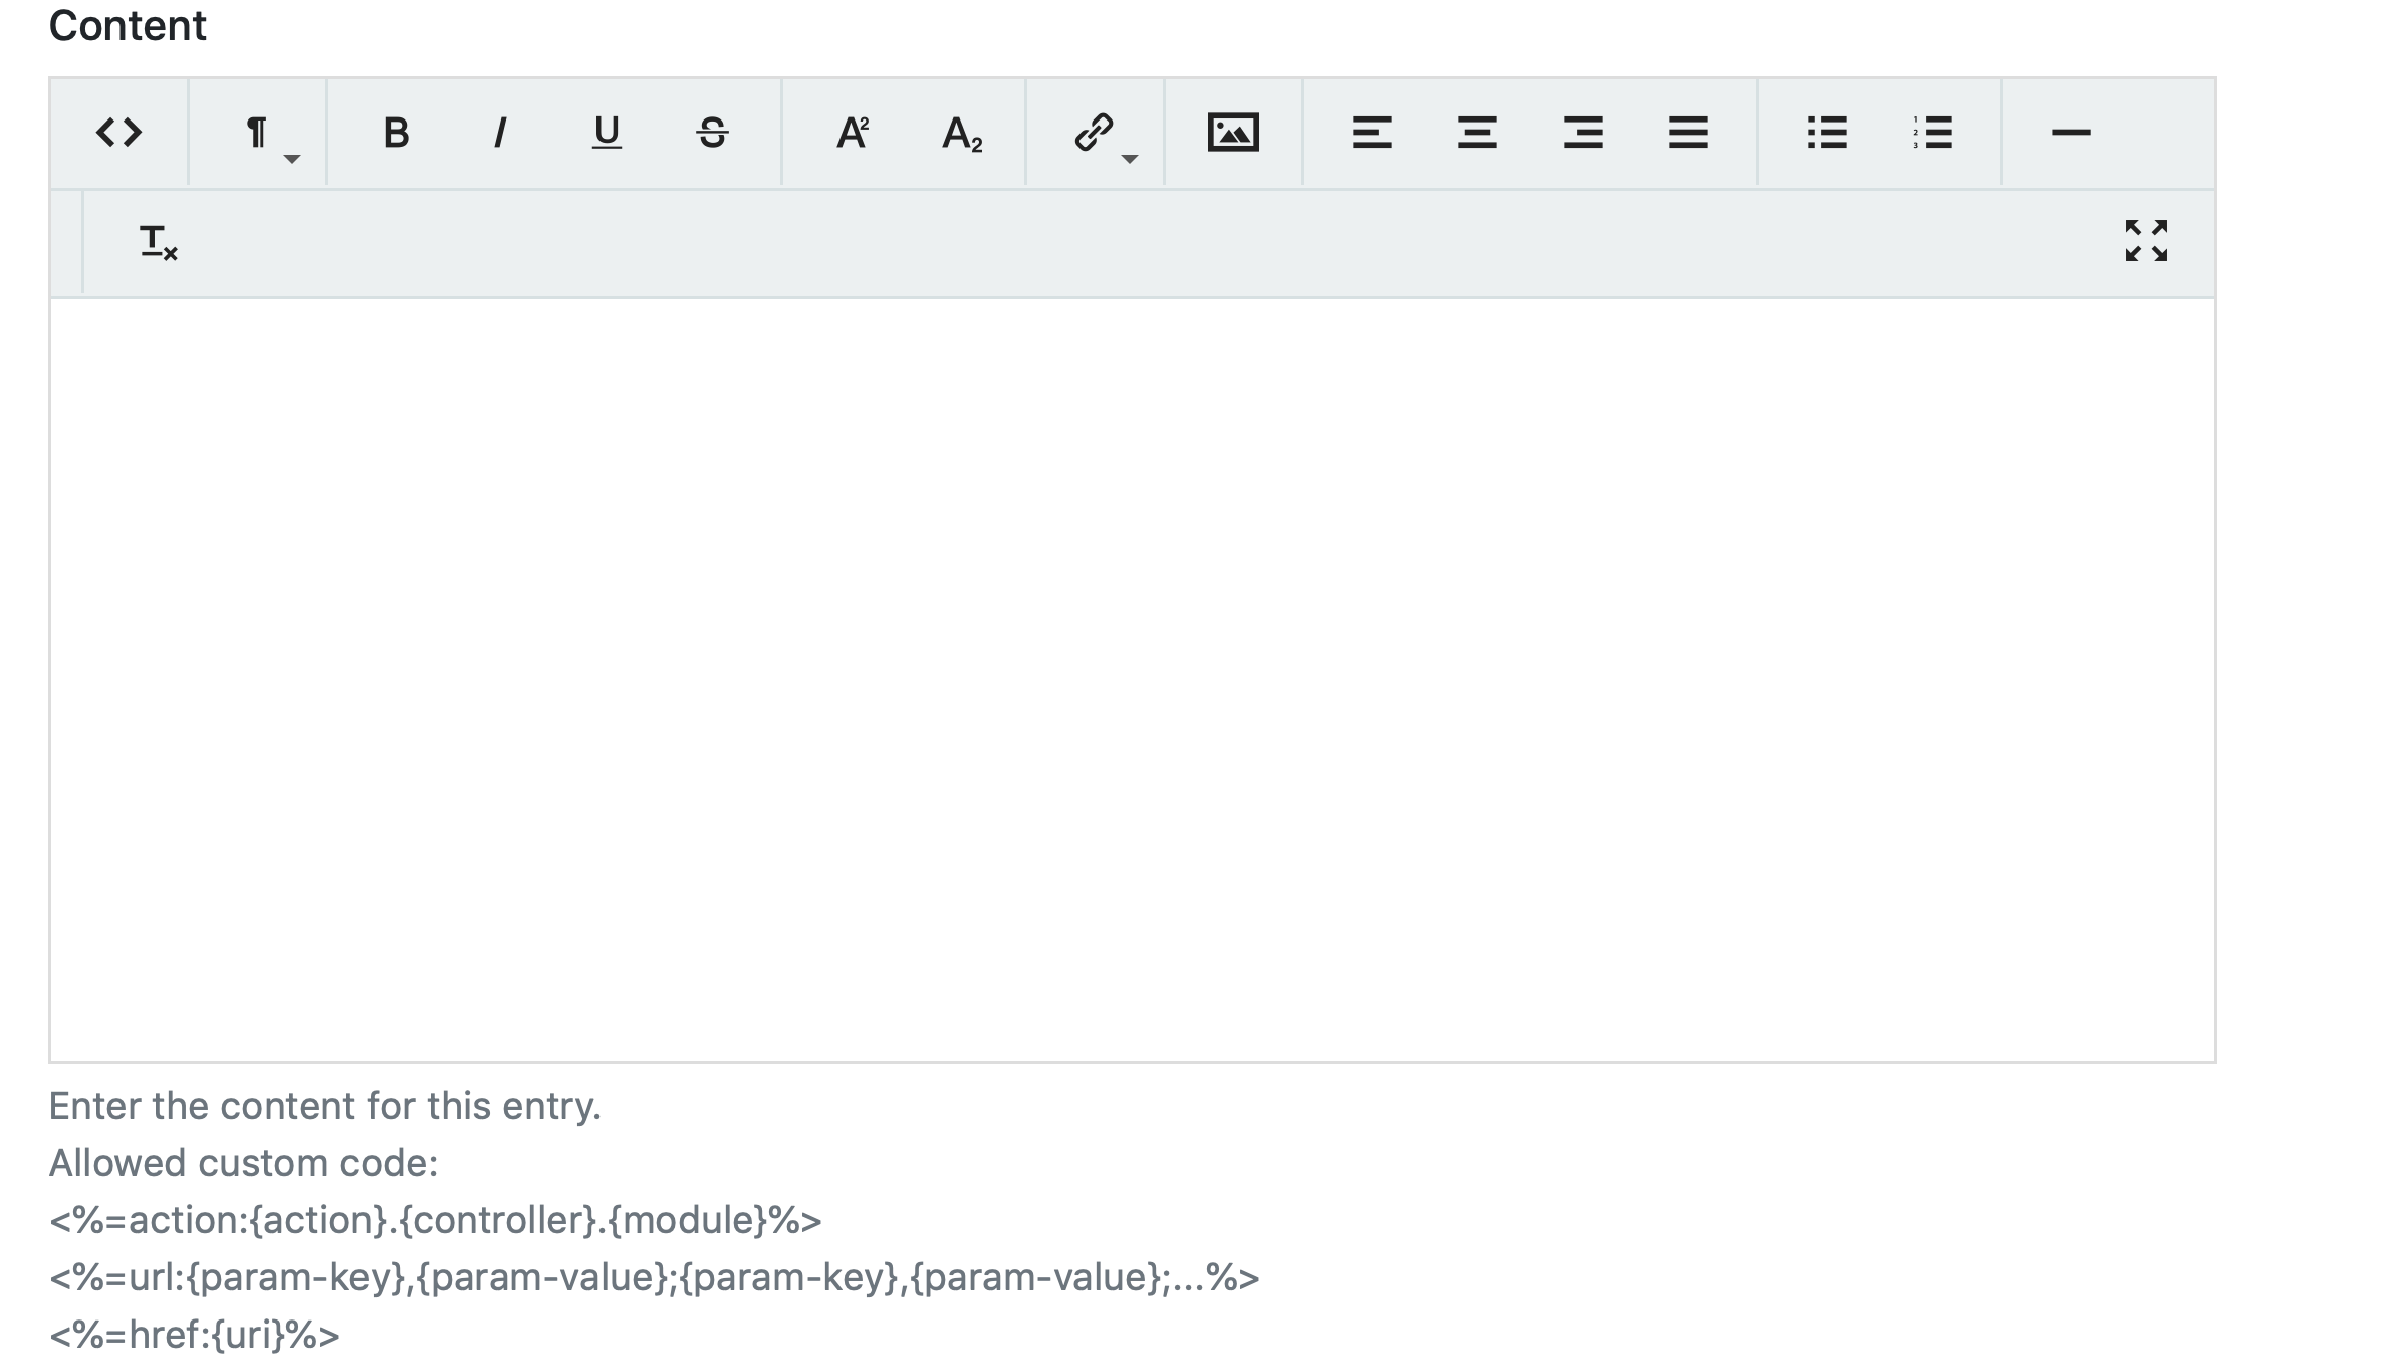
Add the content of the entry.
Add an entry meta title. If left empty, the meta title will be generated automatically.

Add an entry meta description. If left empty, the meta description will be generated automatically.

Select from the dropdown menu the entry's author.

Select the entry's posting date.

Set the entry's expiration date.

Make the entry a draft for future use.

When selecting a Multiple/Post entry there will be two additional options to complete:
Add a custom image for the entry.

Enter the slug of the entry. It will create its final url.

When you're done click Save and you'll be redirected to the Entries menu.
Now, you can search for your new entry by entering its name in the field on the right side of the screen.
When looking at the list of entries you'll see the following options:
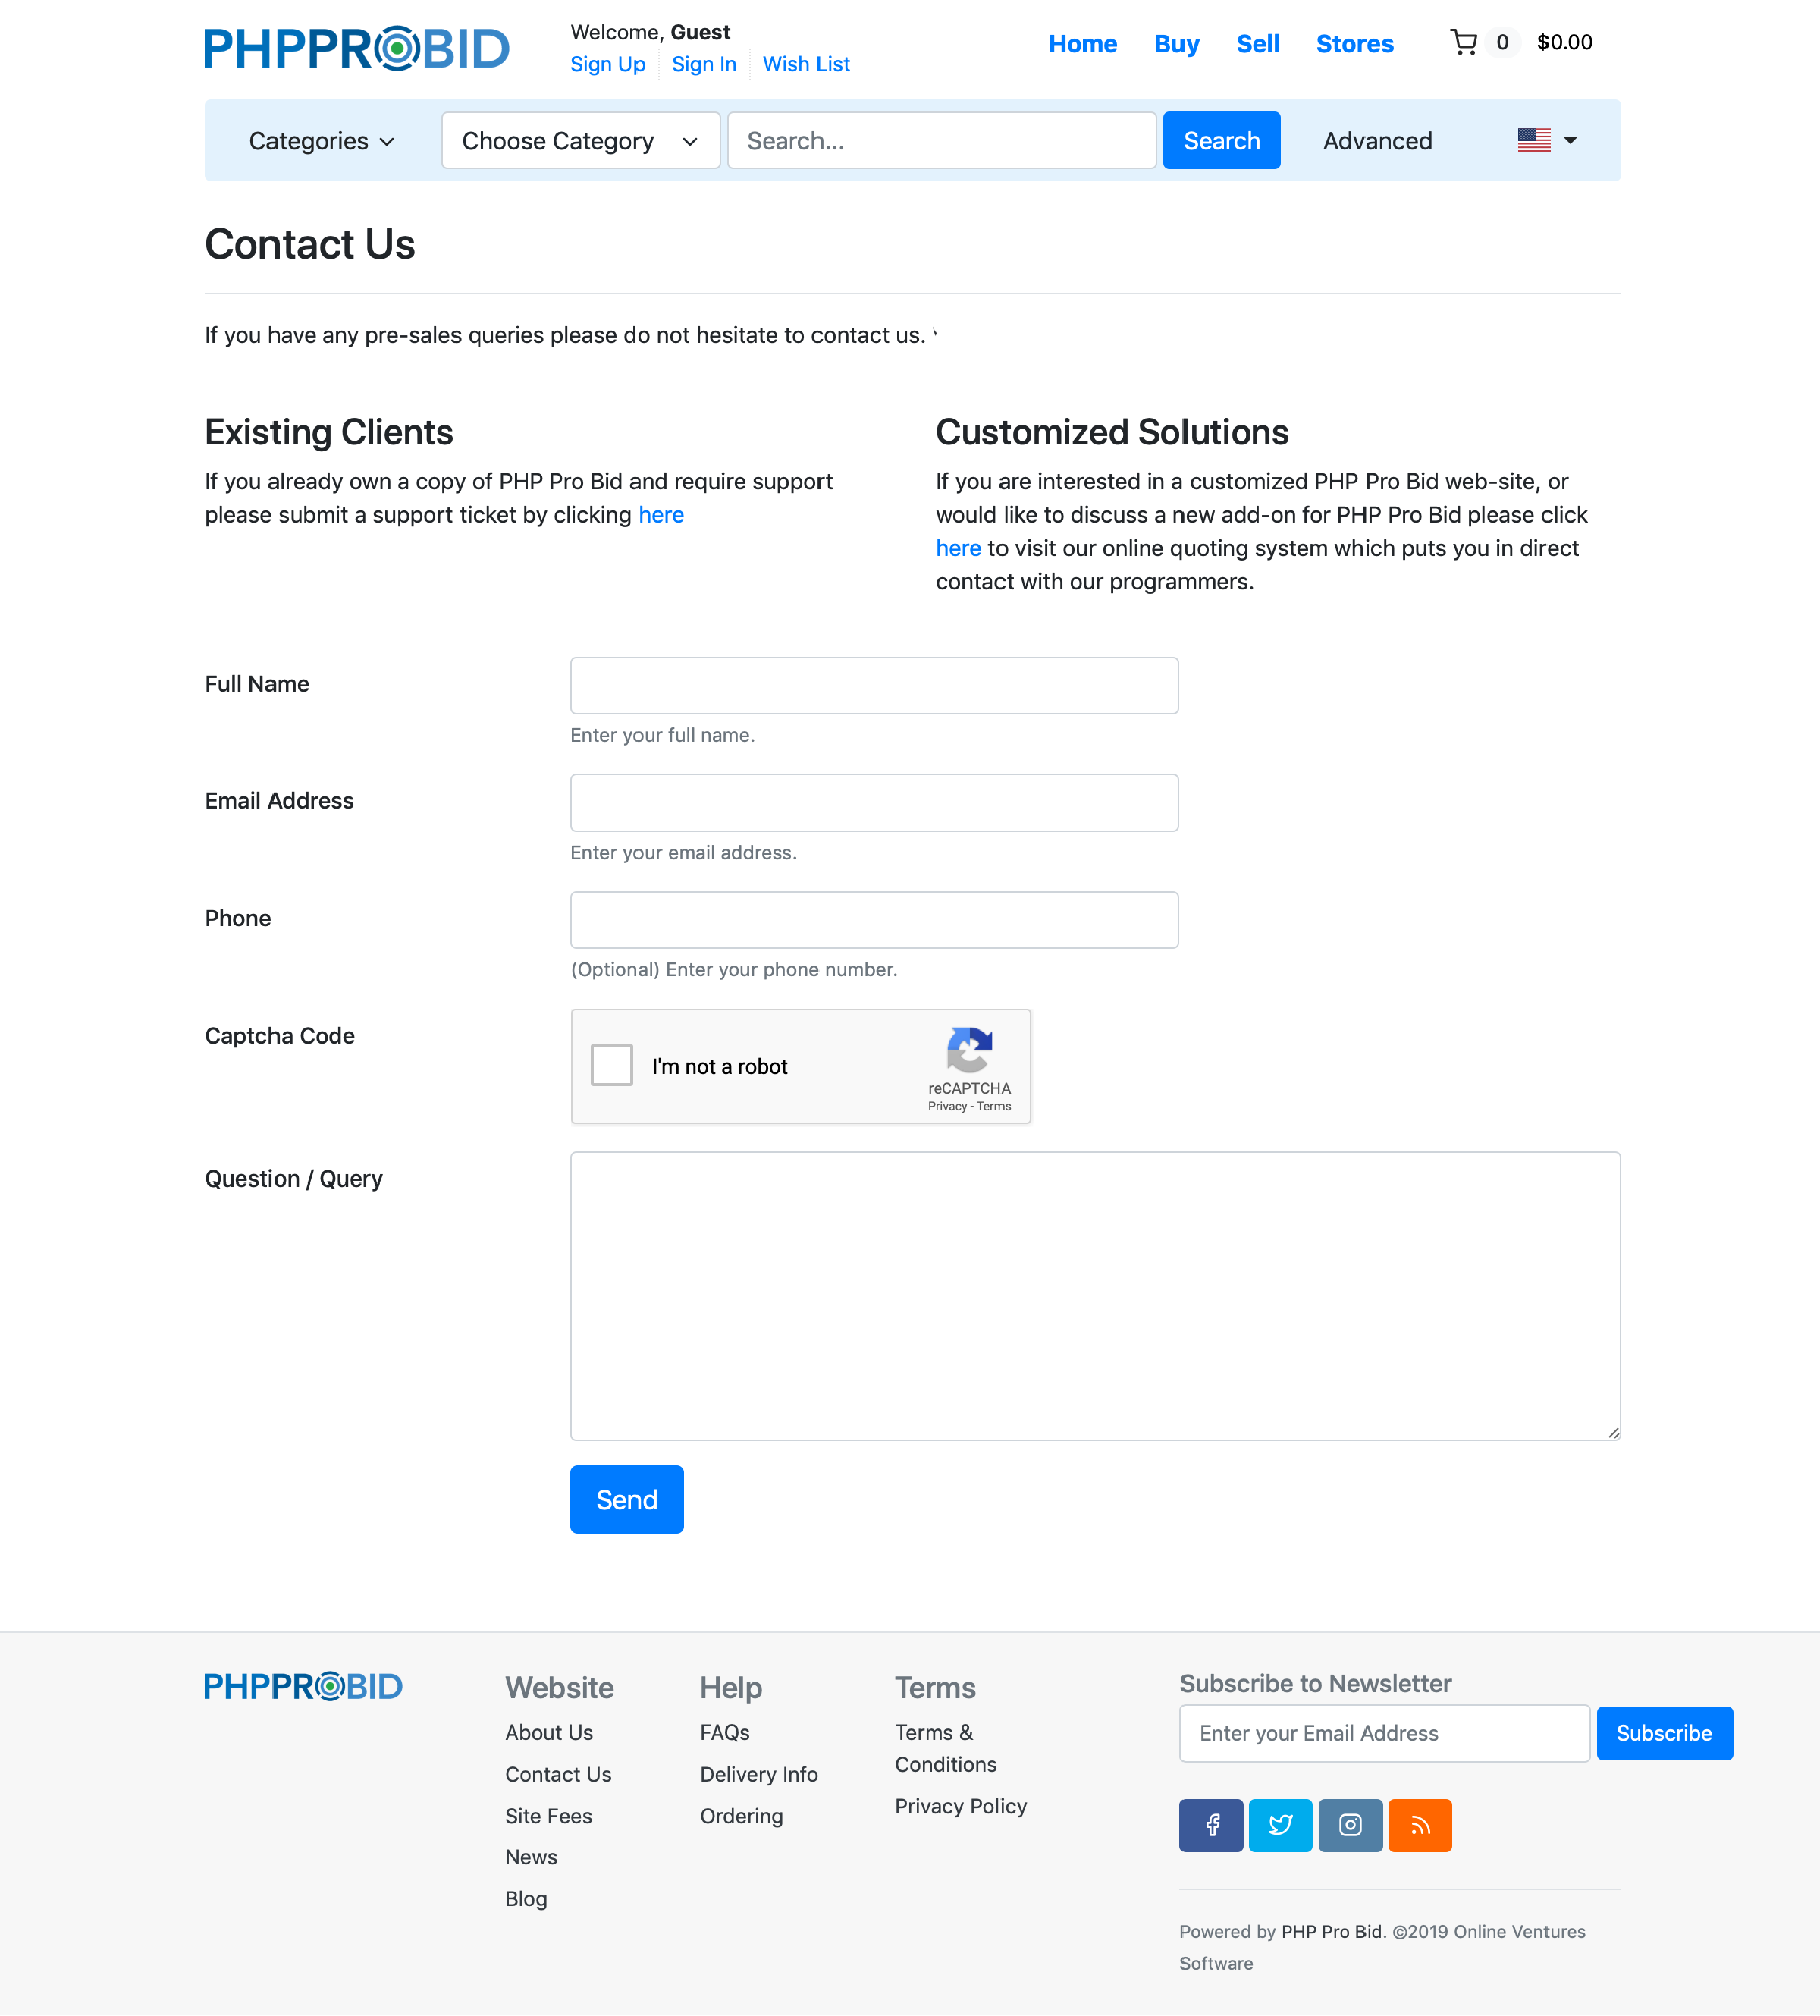
A Standard Entry is always on its own. How can you recognize one? There are no breadcrumbs - the sign that indicates that an entry belongs to a section.
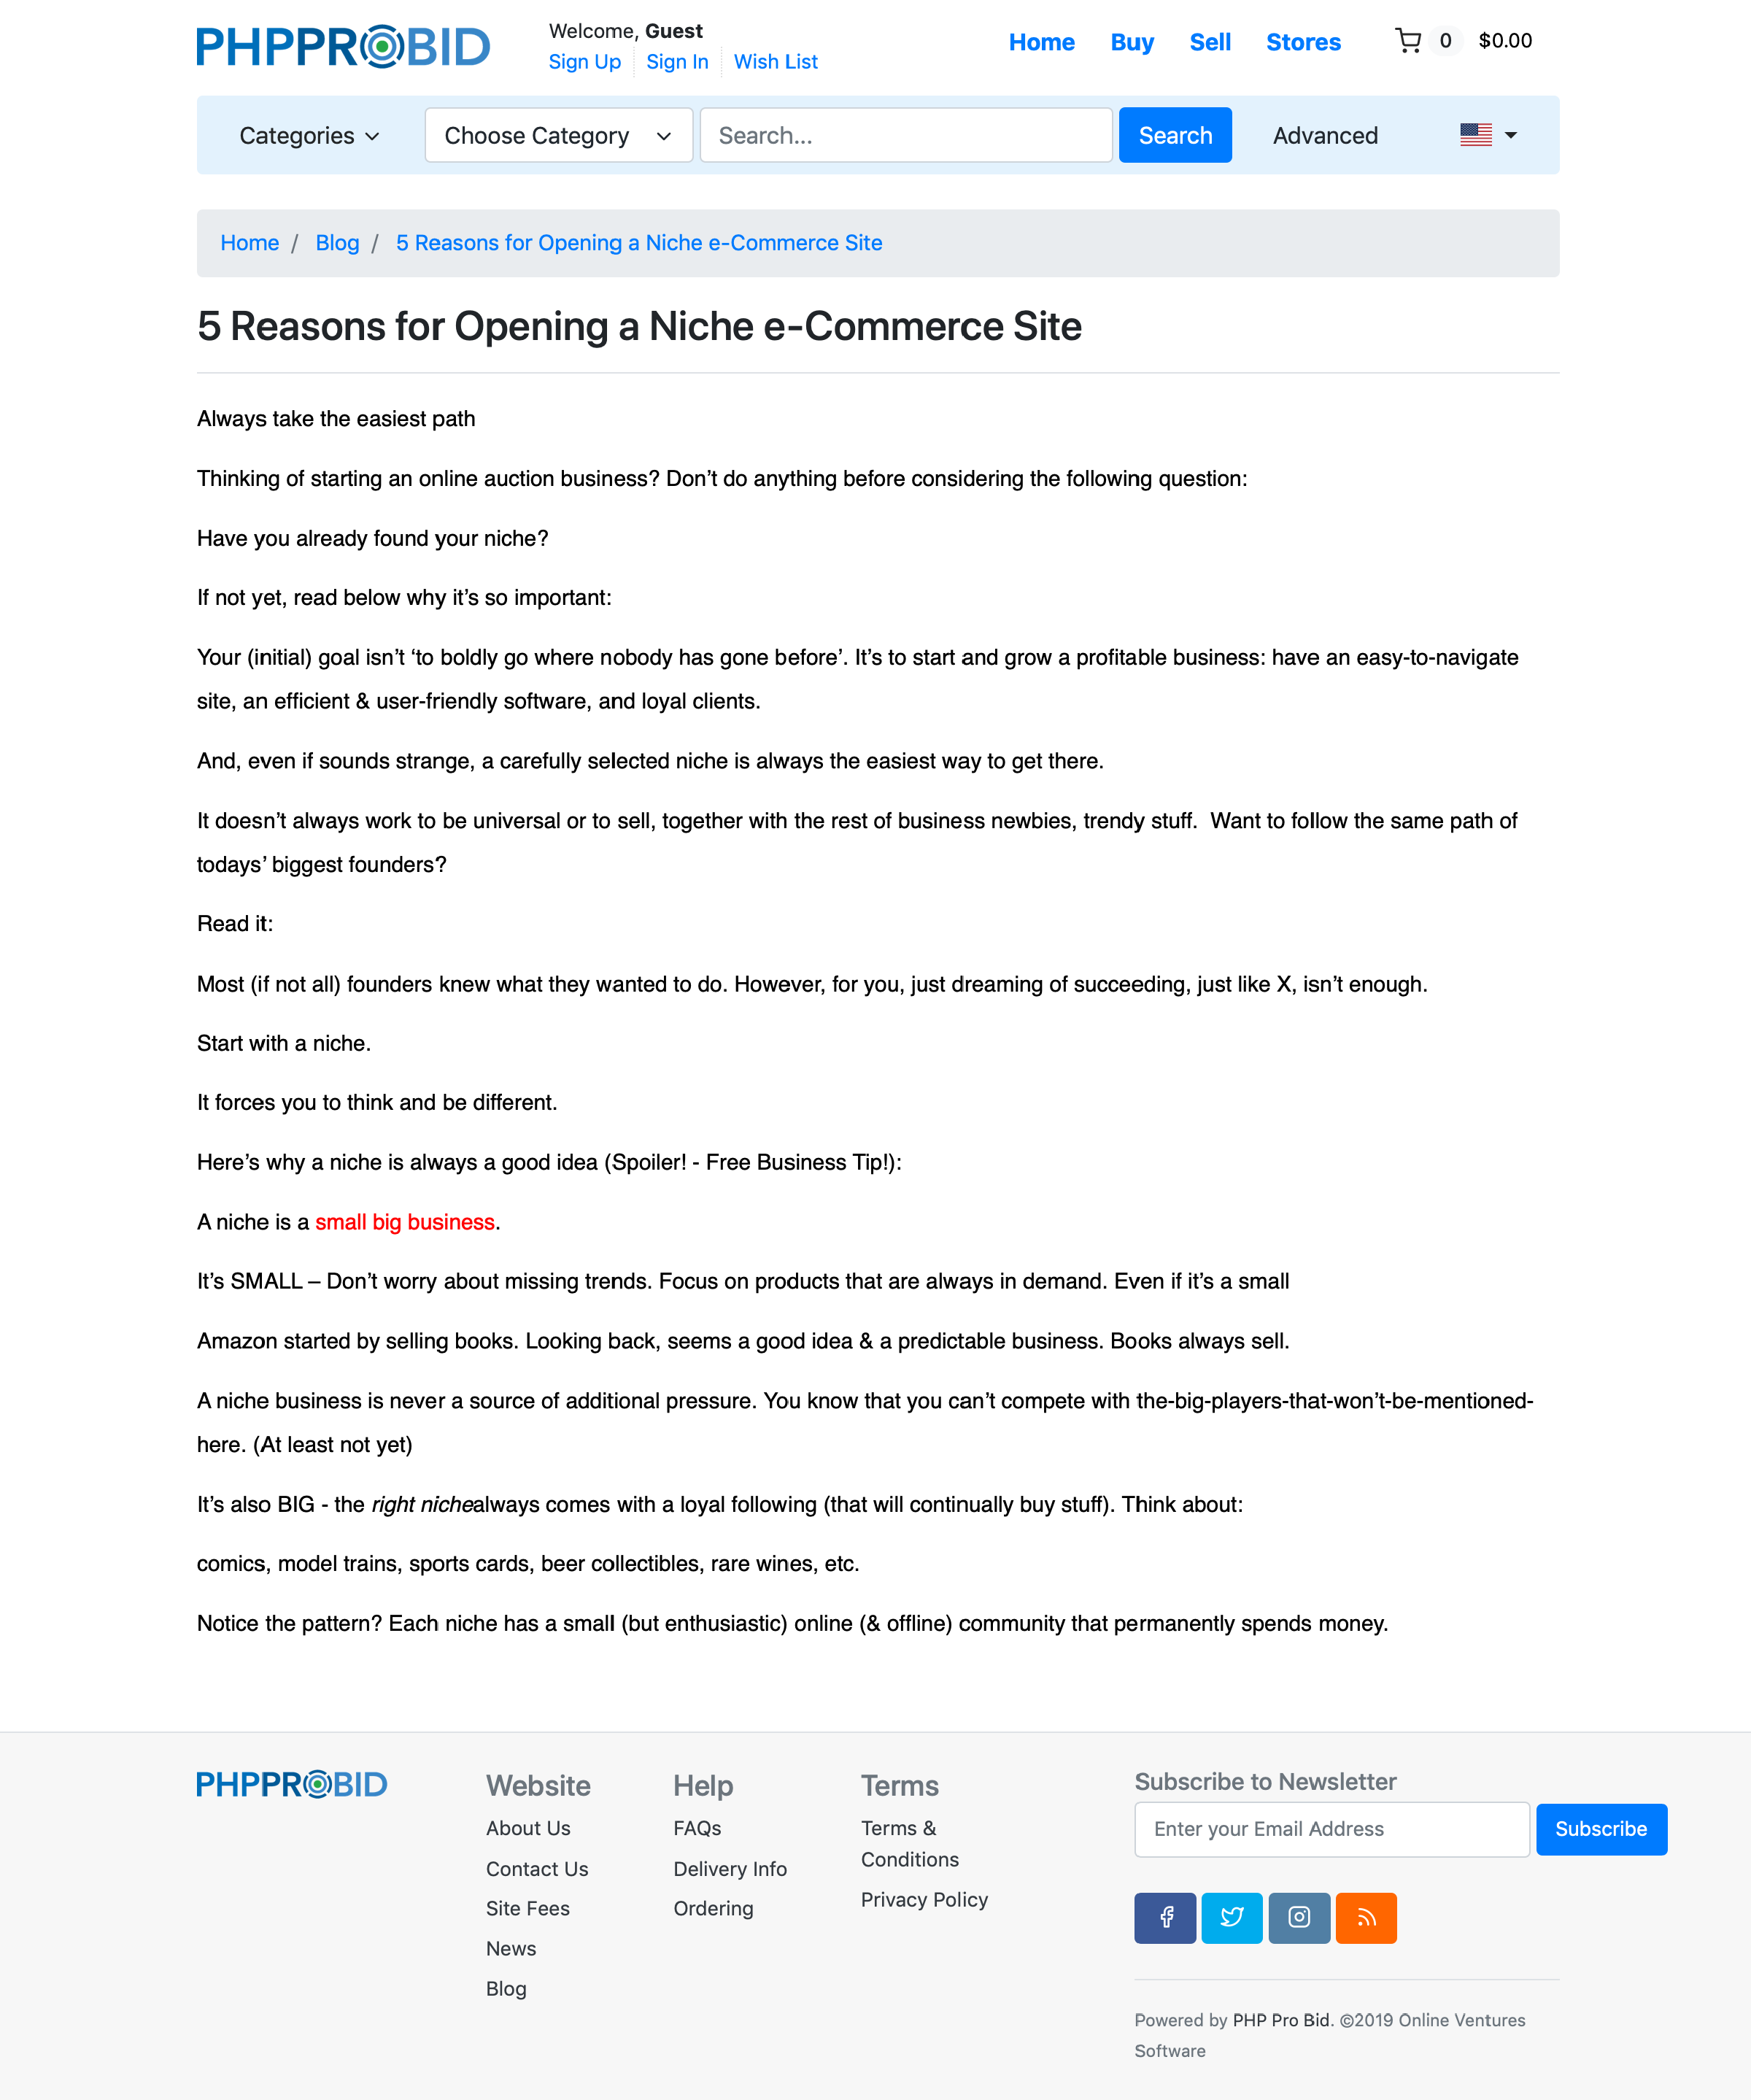
When creating a Multiple / Post (Entry) you'll notice in the upper left corner the posts' breadcrumbs, indicating their membership to a particular section. In the example below, the entry belongs to the Blog section.
Please notice also that, in the lower right corner of the page, there's always a link to the next and prior entries of the section.